
News
A new podcast in English! This one is about my ongoing project on Instagram, #100daysofcrochetswatches
Free your stripes and carry your yarn
In the April newsletter, we discussed how to carry your yarn along the selvedge when working stripes over an even number of rows. In that case (which is quite a common one), yarn changes are always made at the same selvedge.
But sometimes, you want to make a one-row stripe, or a stripe over an odd number of rows – without necessarily cutting your yarn at every change.
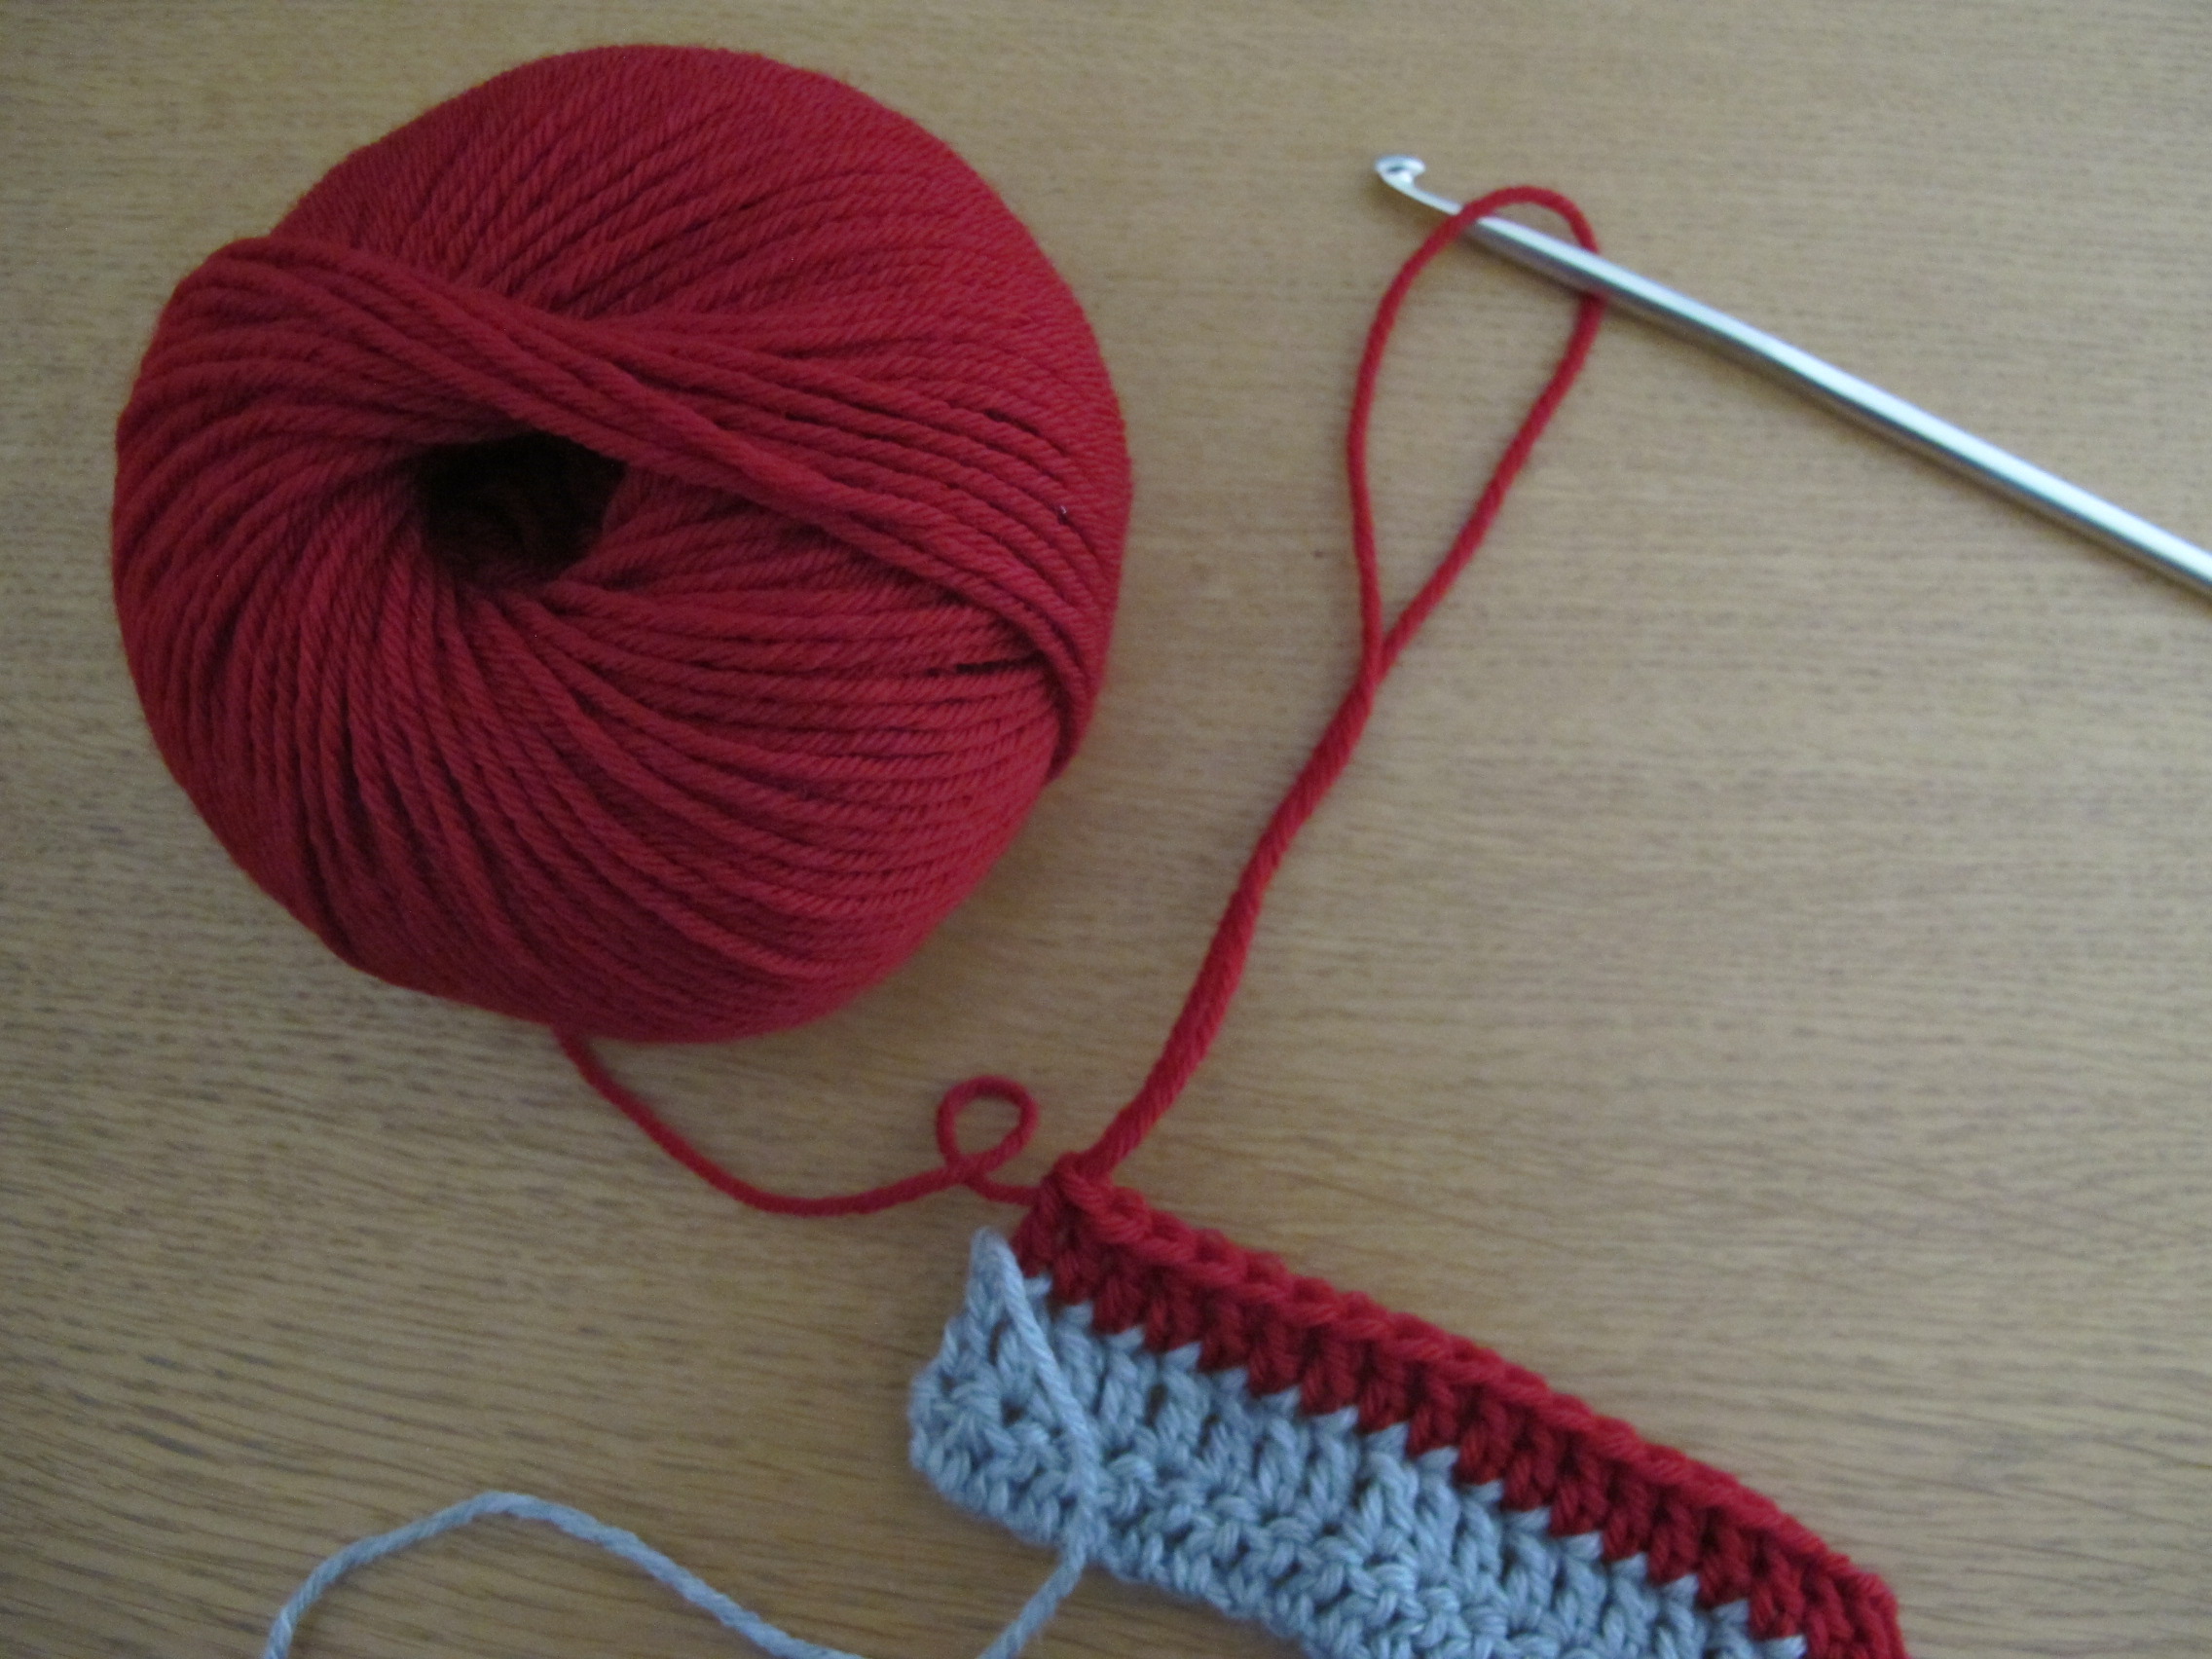
For this kind of situation, I suggest two different techniques. My example is a swatch worked in simple dc’s, in which two rows of the main colour (MC) alternate with one-row stripes of the contrast colour (CC). You can, of course, vary the techniques as you prefer, and check out the April newsletter when you want to carry your « resting yarn » over a larger number of rows.
1. The « classic » method, putting the loop on hold.
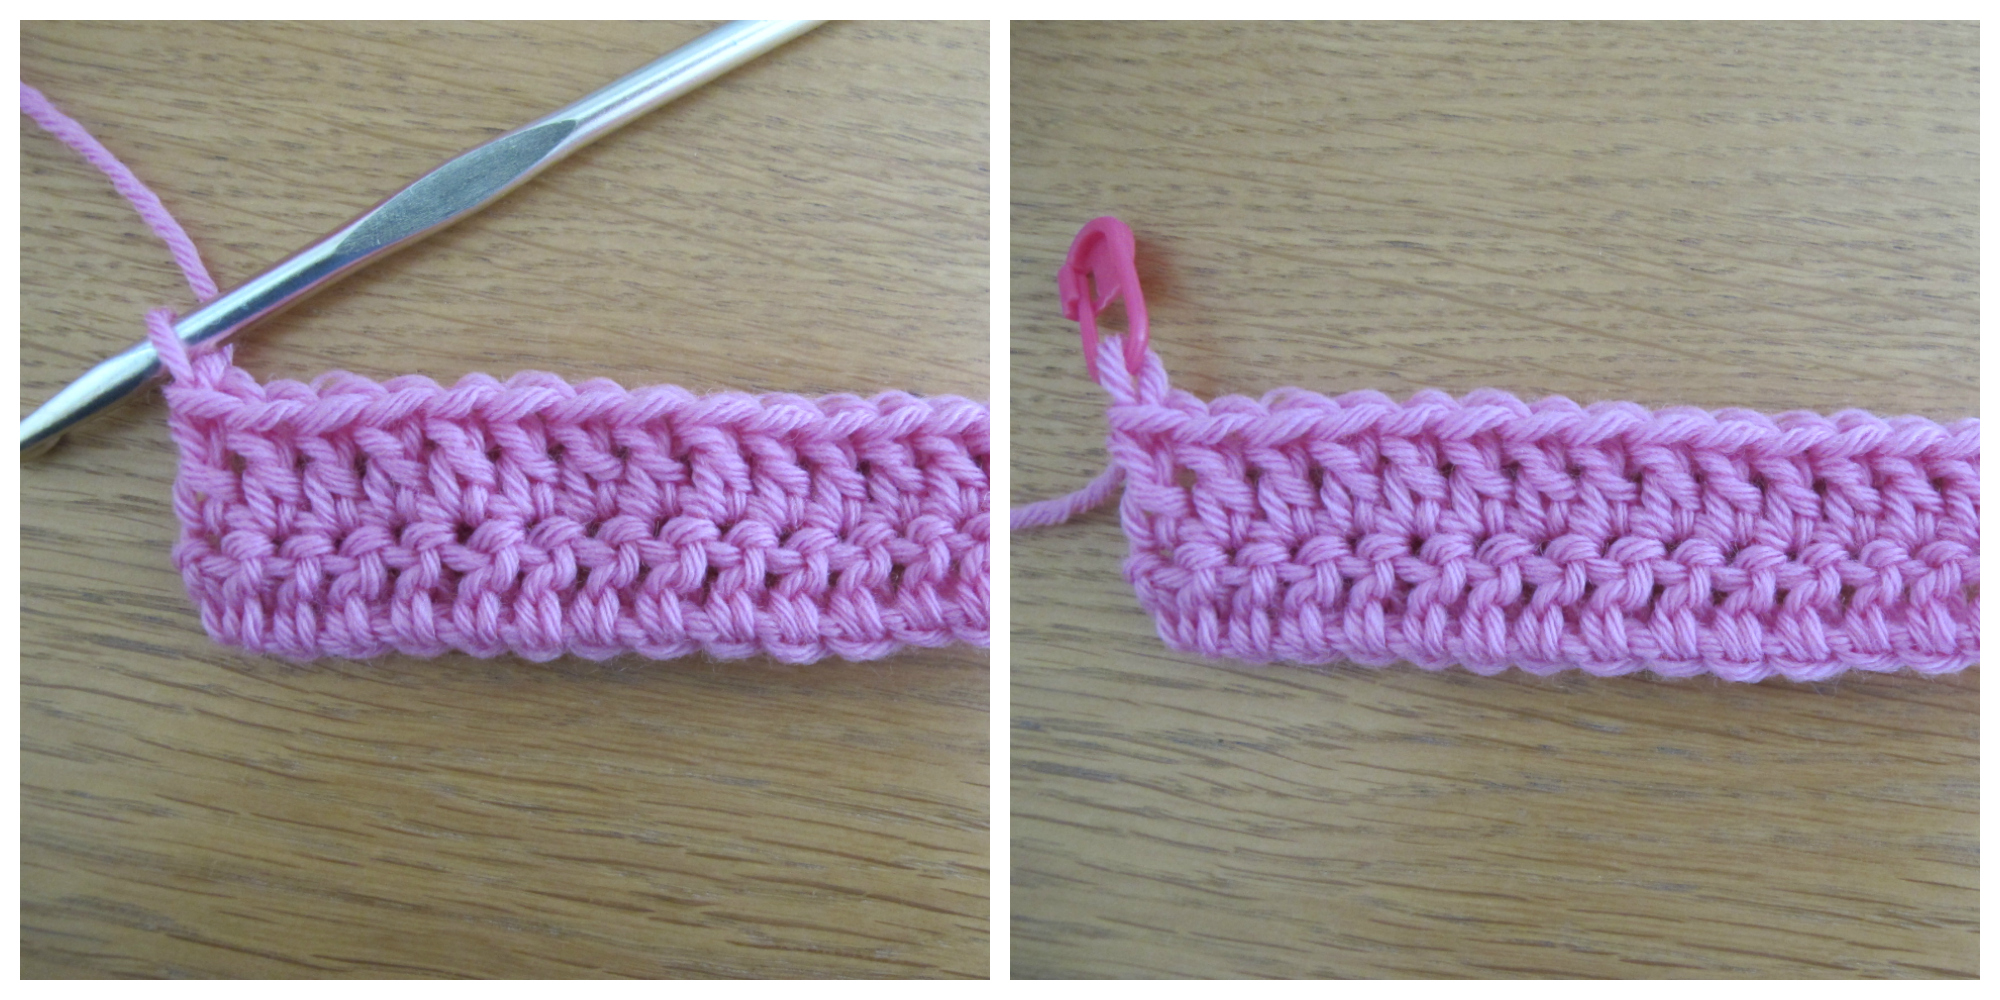
Here, I have finished my first two rows of the MC. I put a locking stitch marker (a safety pin works fine) in the loop left on my hook to secure it and avoid unwanted unraveling.
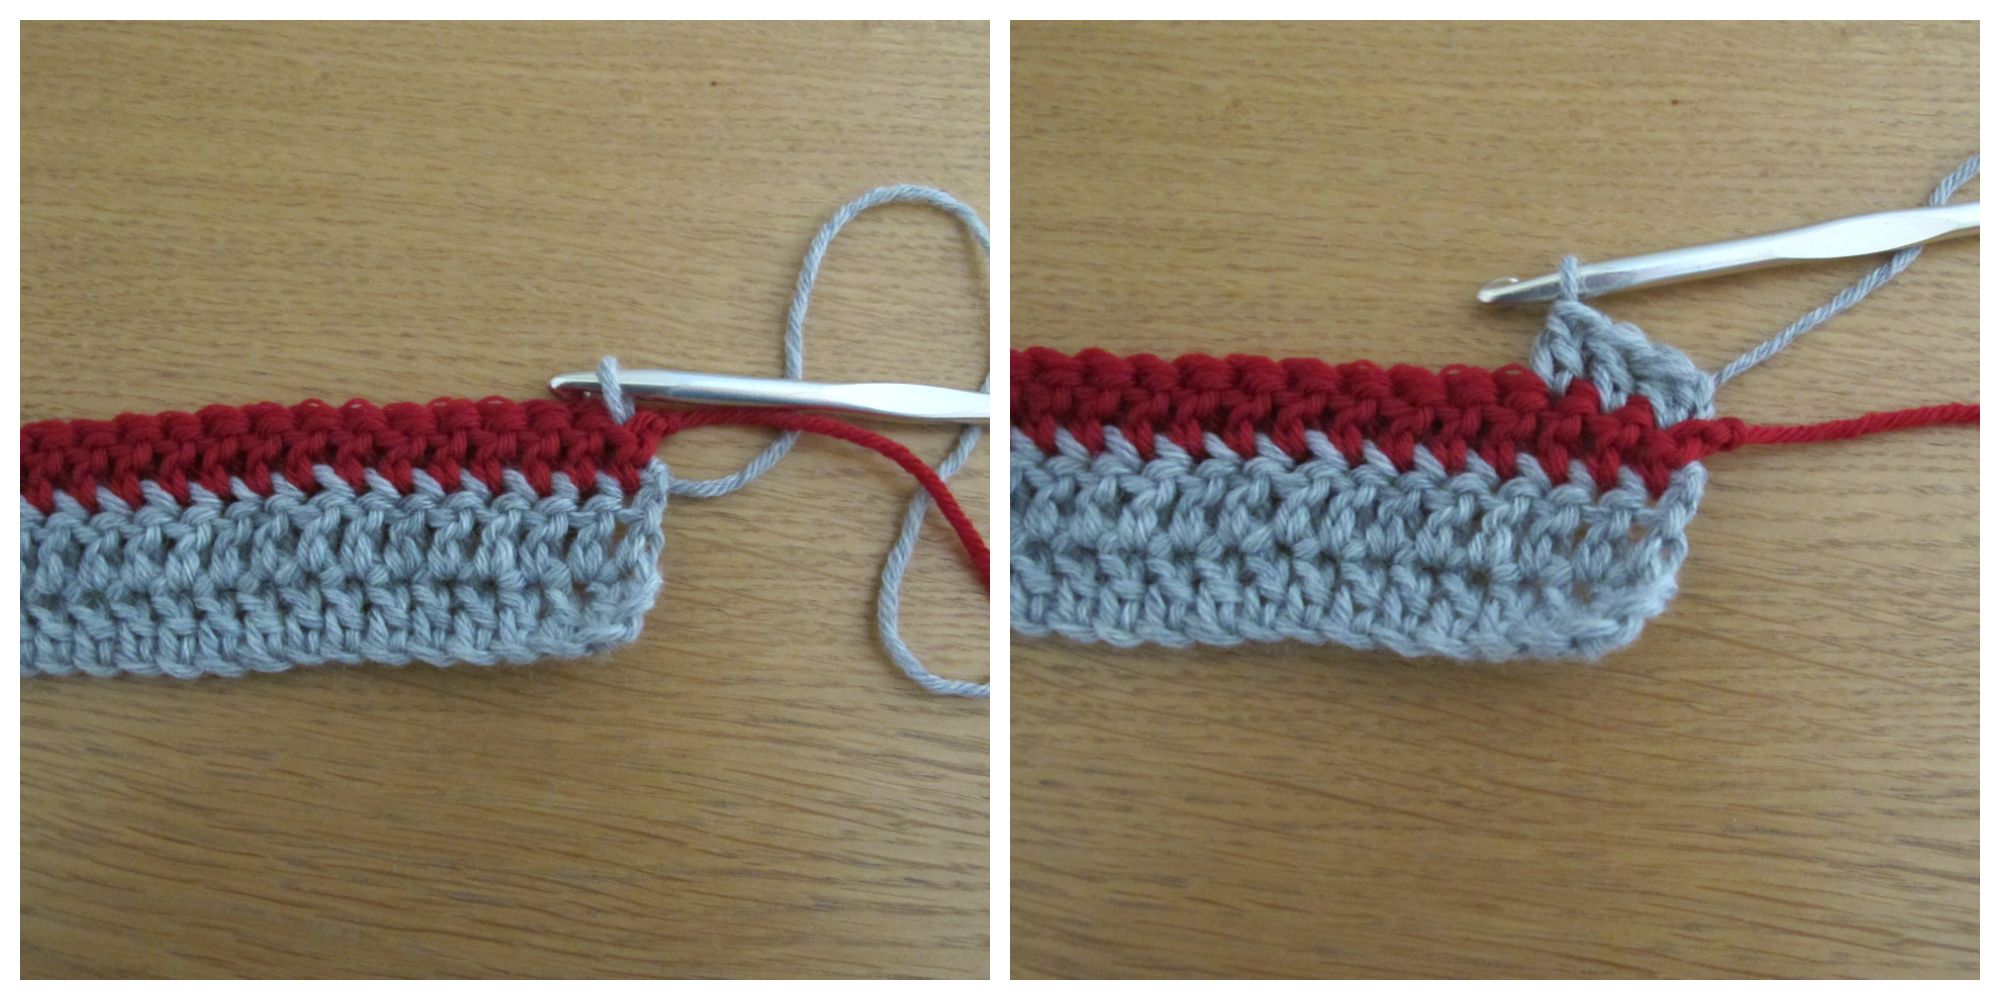
Without turning the work, I go back to the beginning of the row and start again with the CC.
Now the CC row is finished, and the remaining CC loop is also secured by a locking stitch marker.
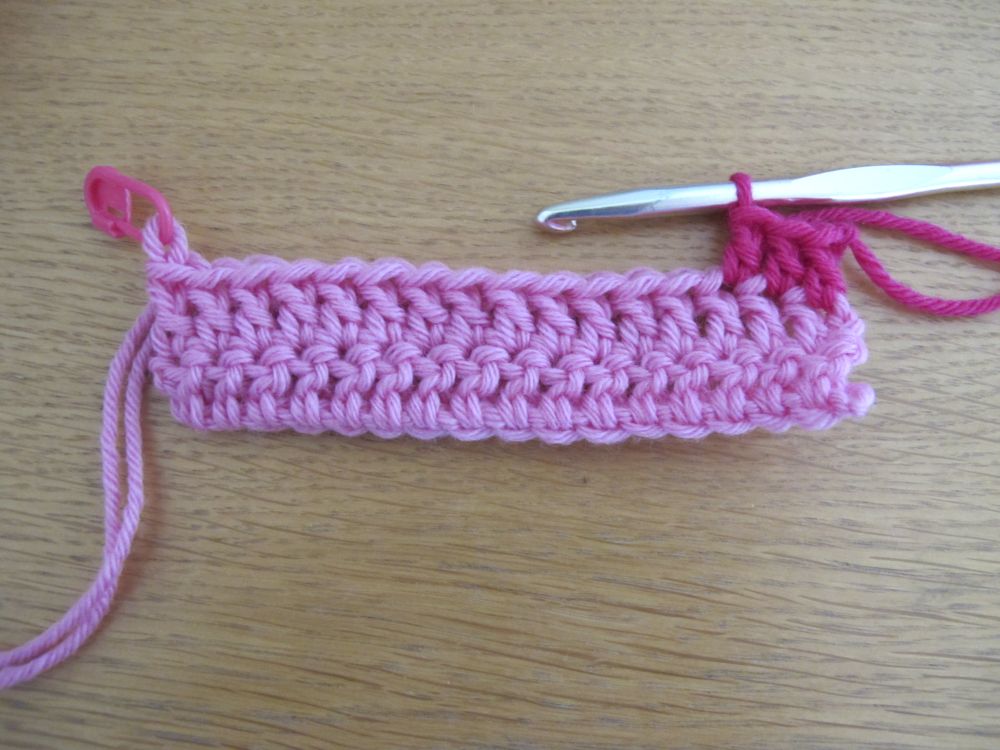
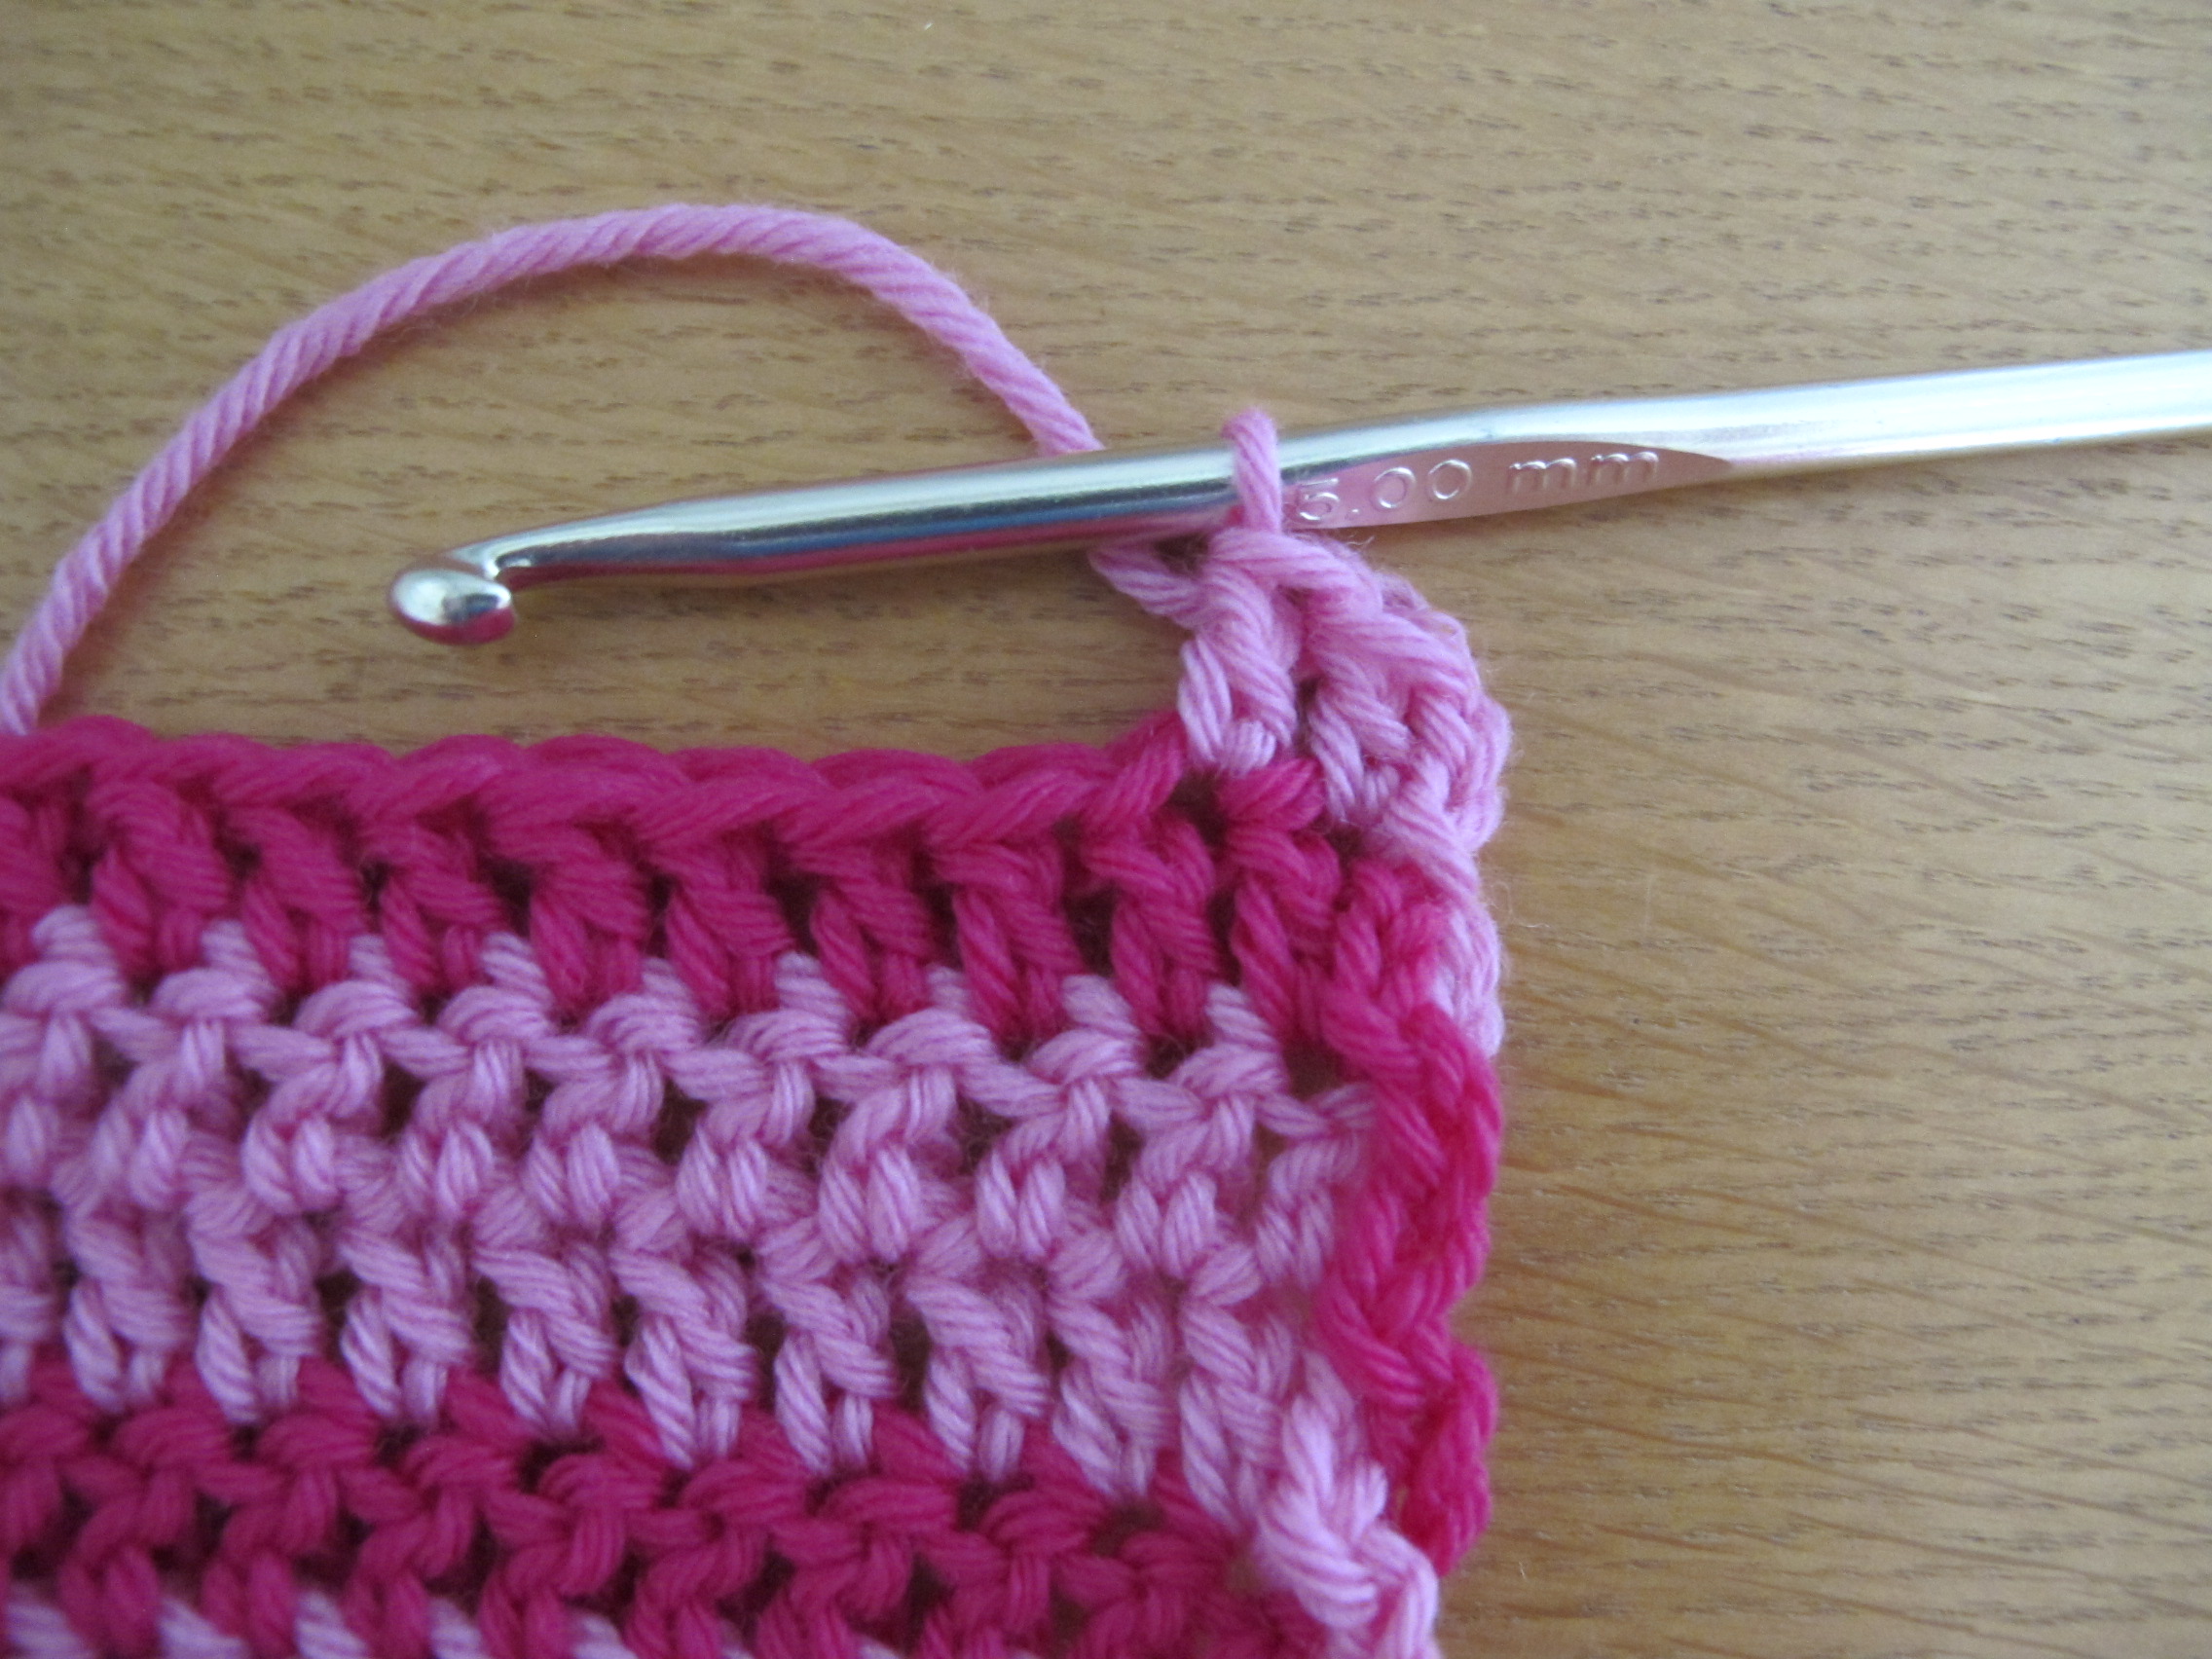
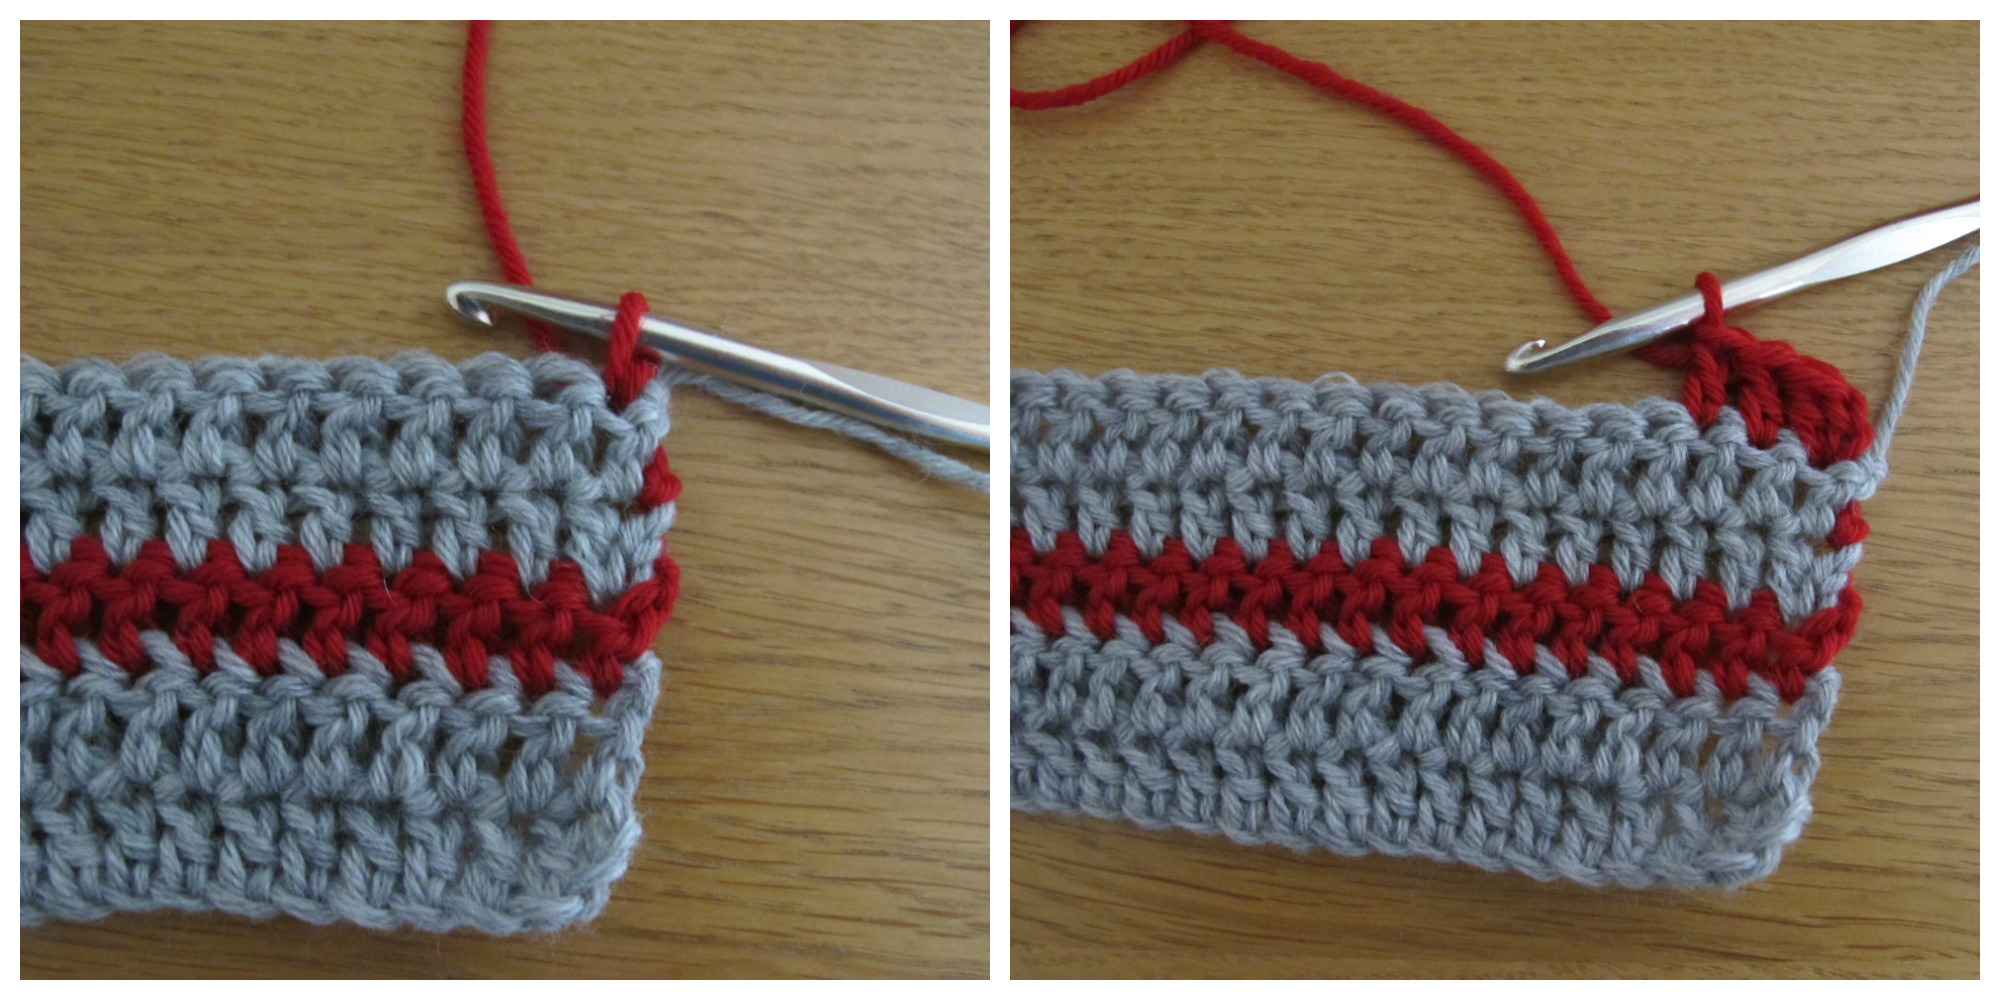
I turn and put back the MC loop on my hook. I chain 2 to compensate for the height of the CC row, and attach the yarn with a slip stitch in the first CC stitch. It’s time to work two more MC rows.

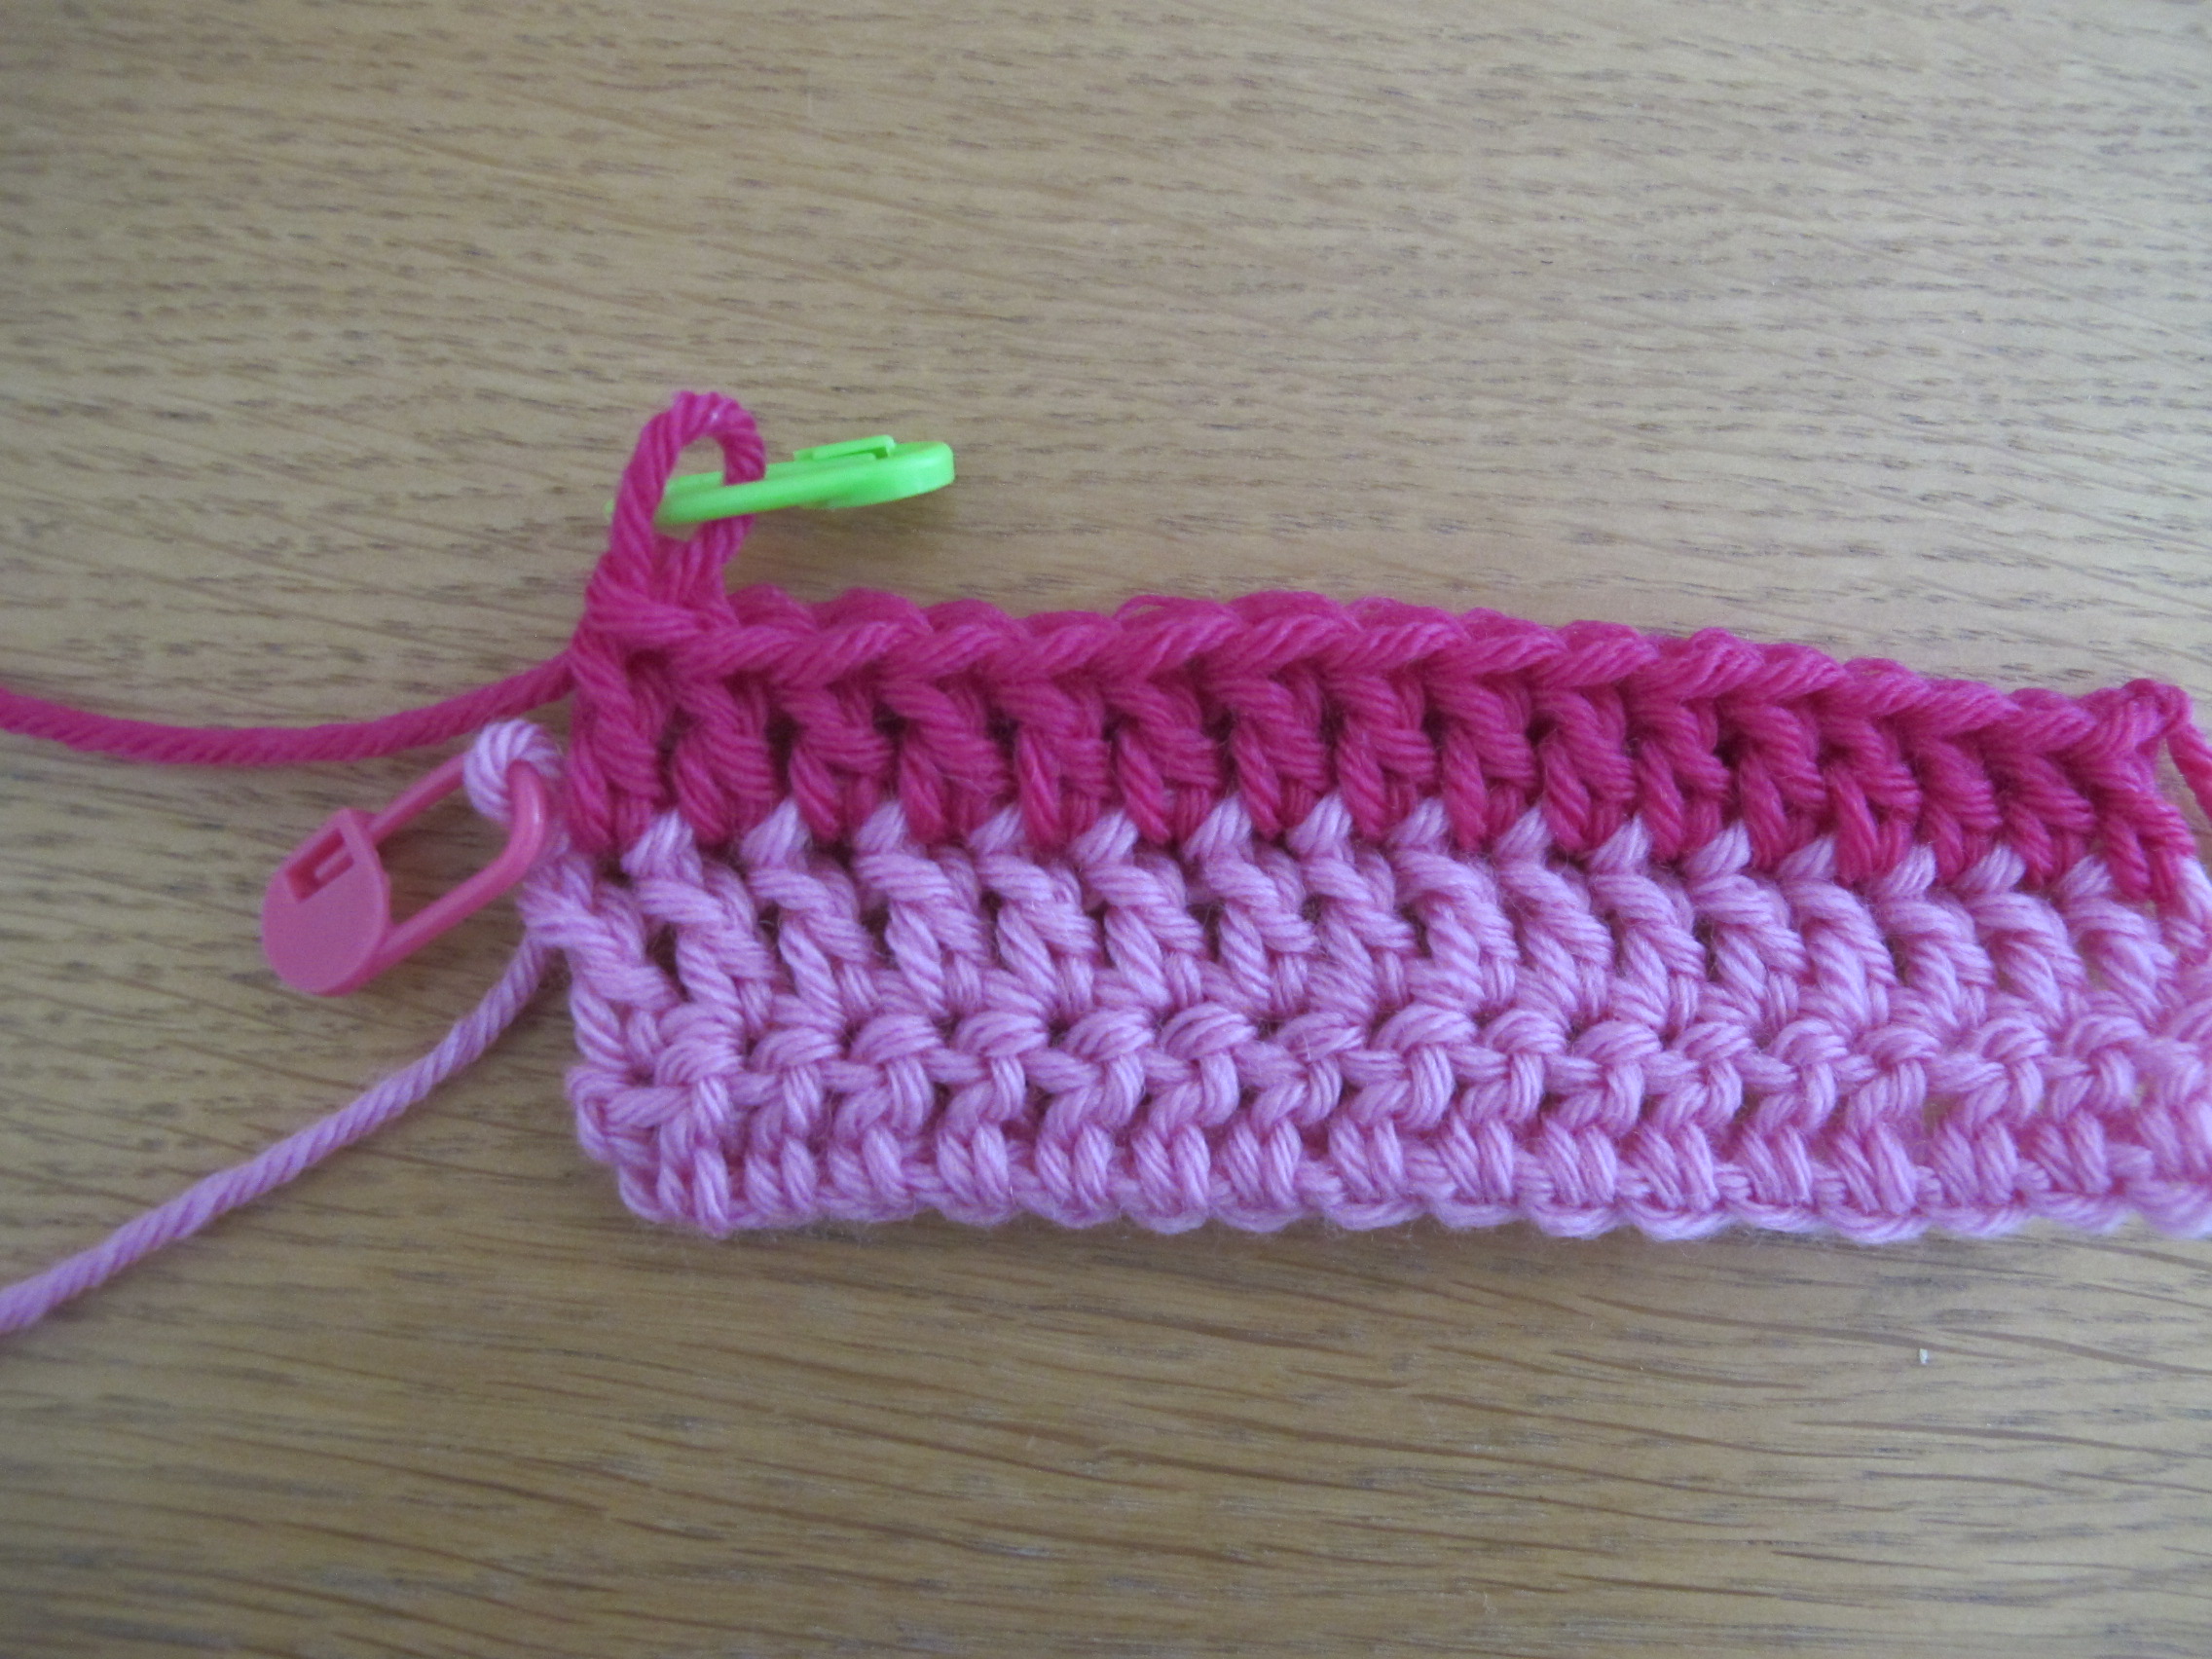
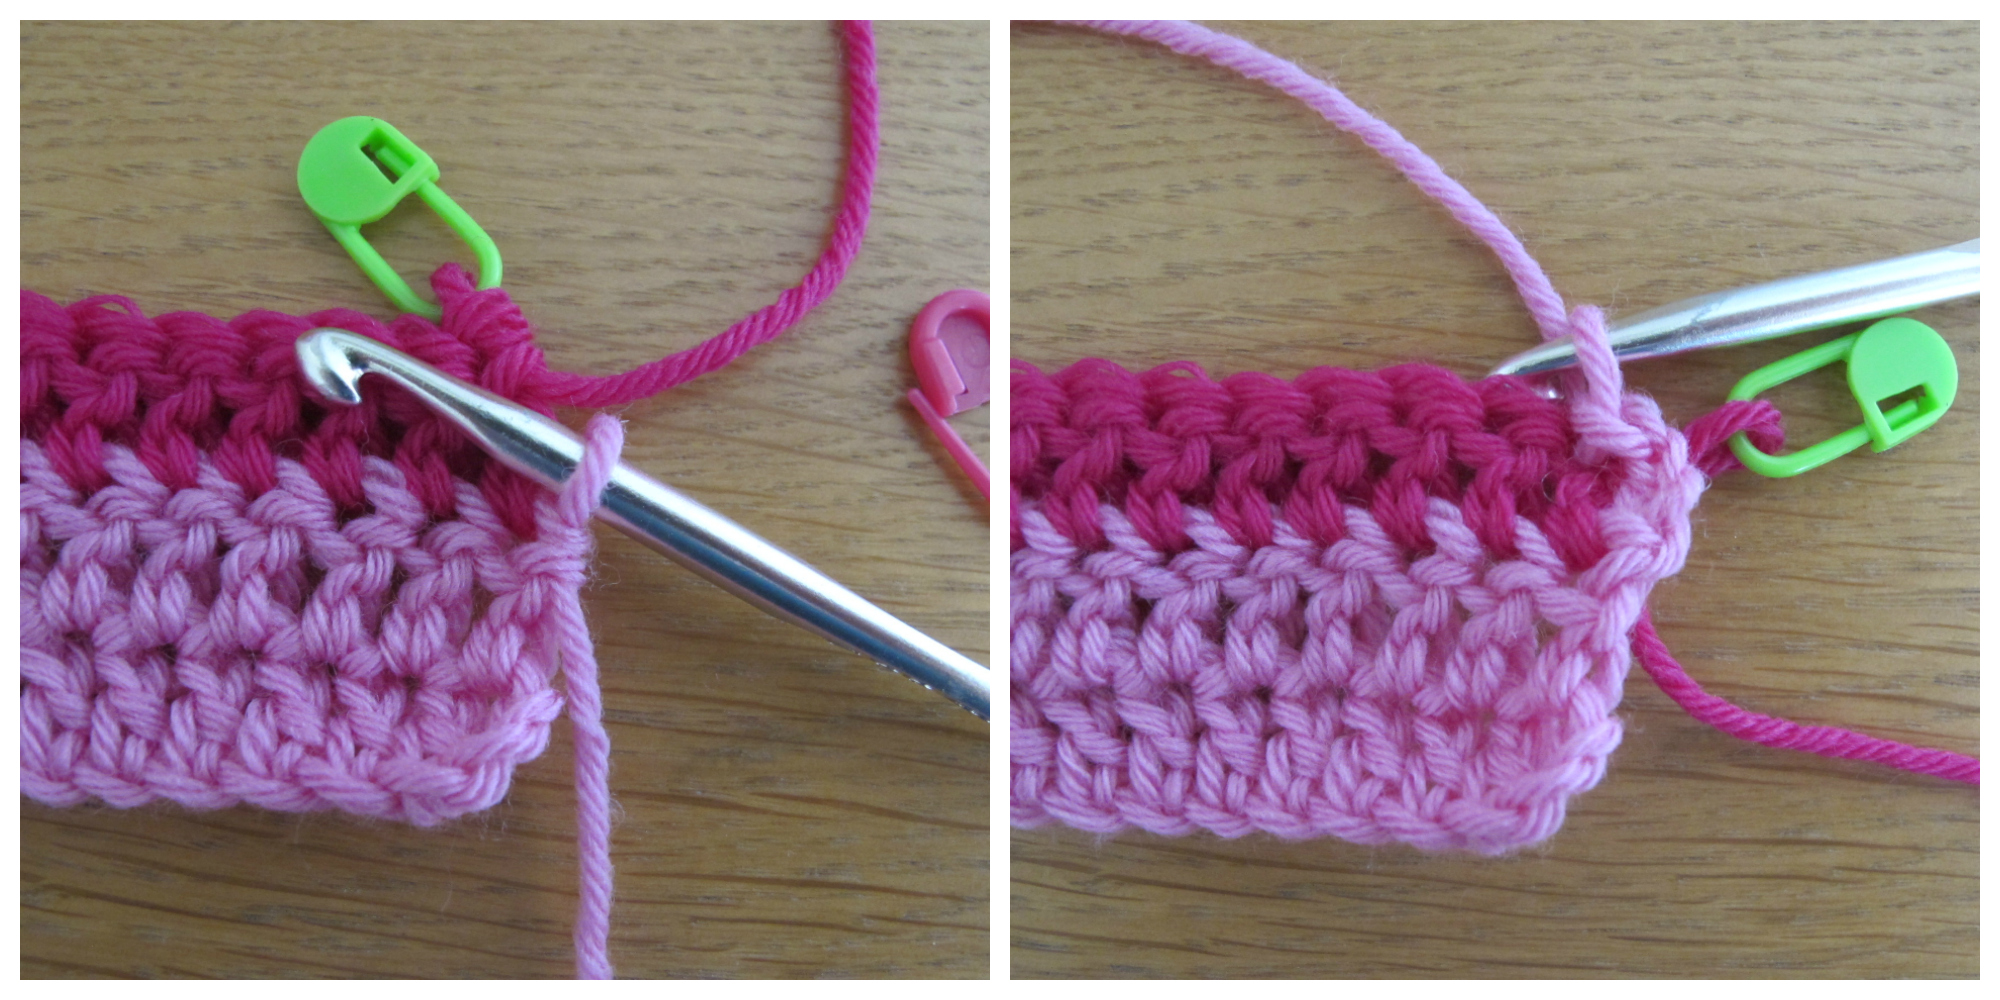
After finishing the two rows, I turn and put the CC loop back on the hook. I now need to compensate for the height of two rows so I will work *ch 2, 1 sl st in first st in row above* twice.
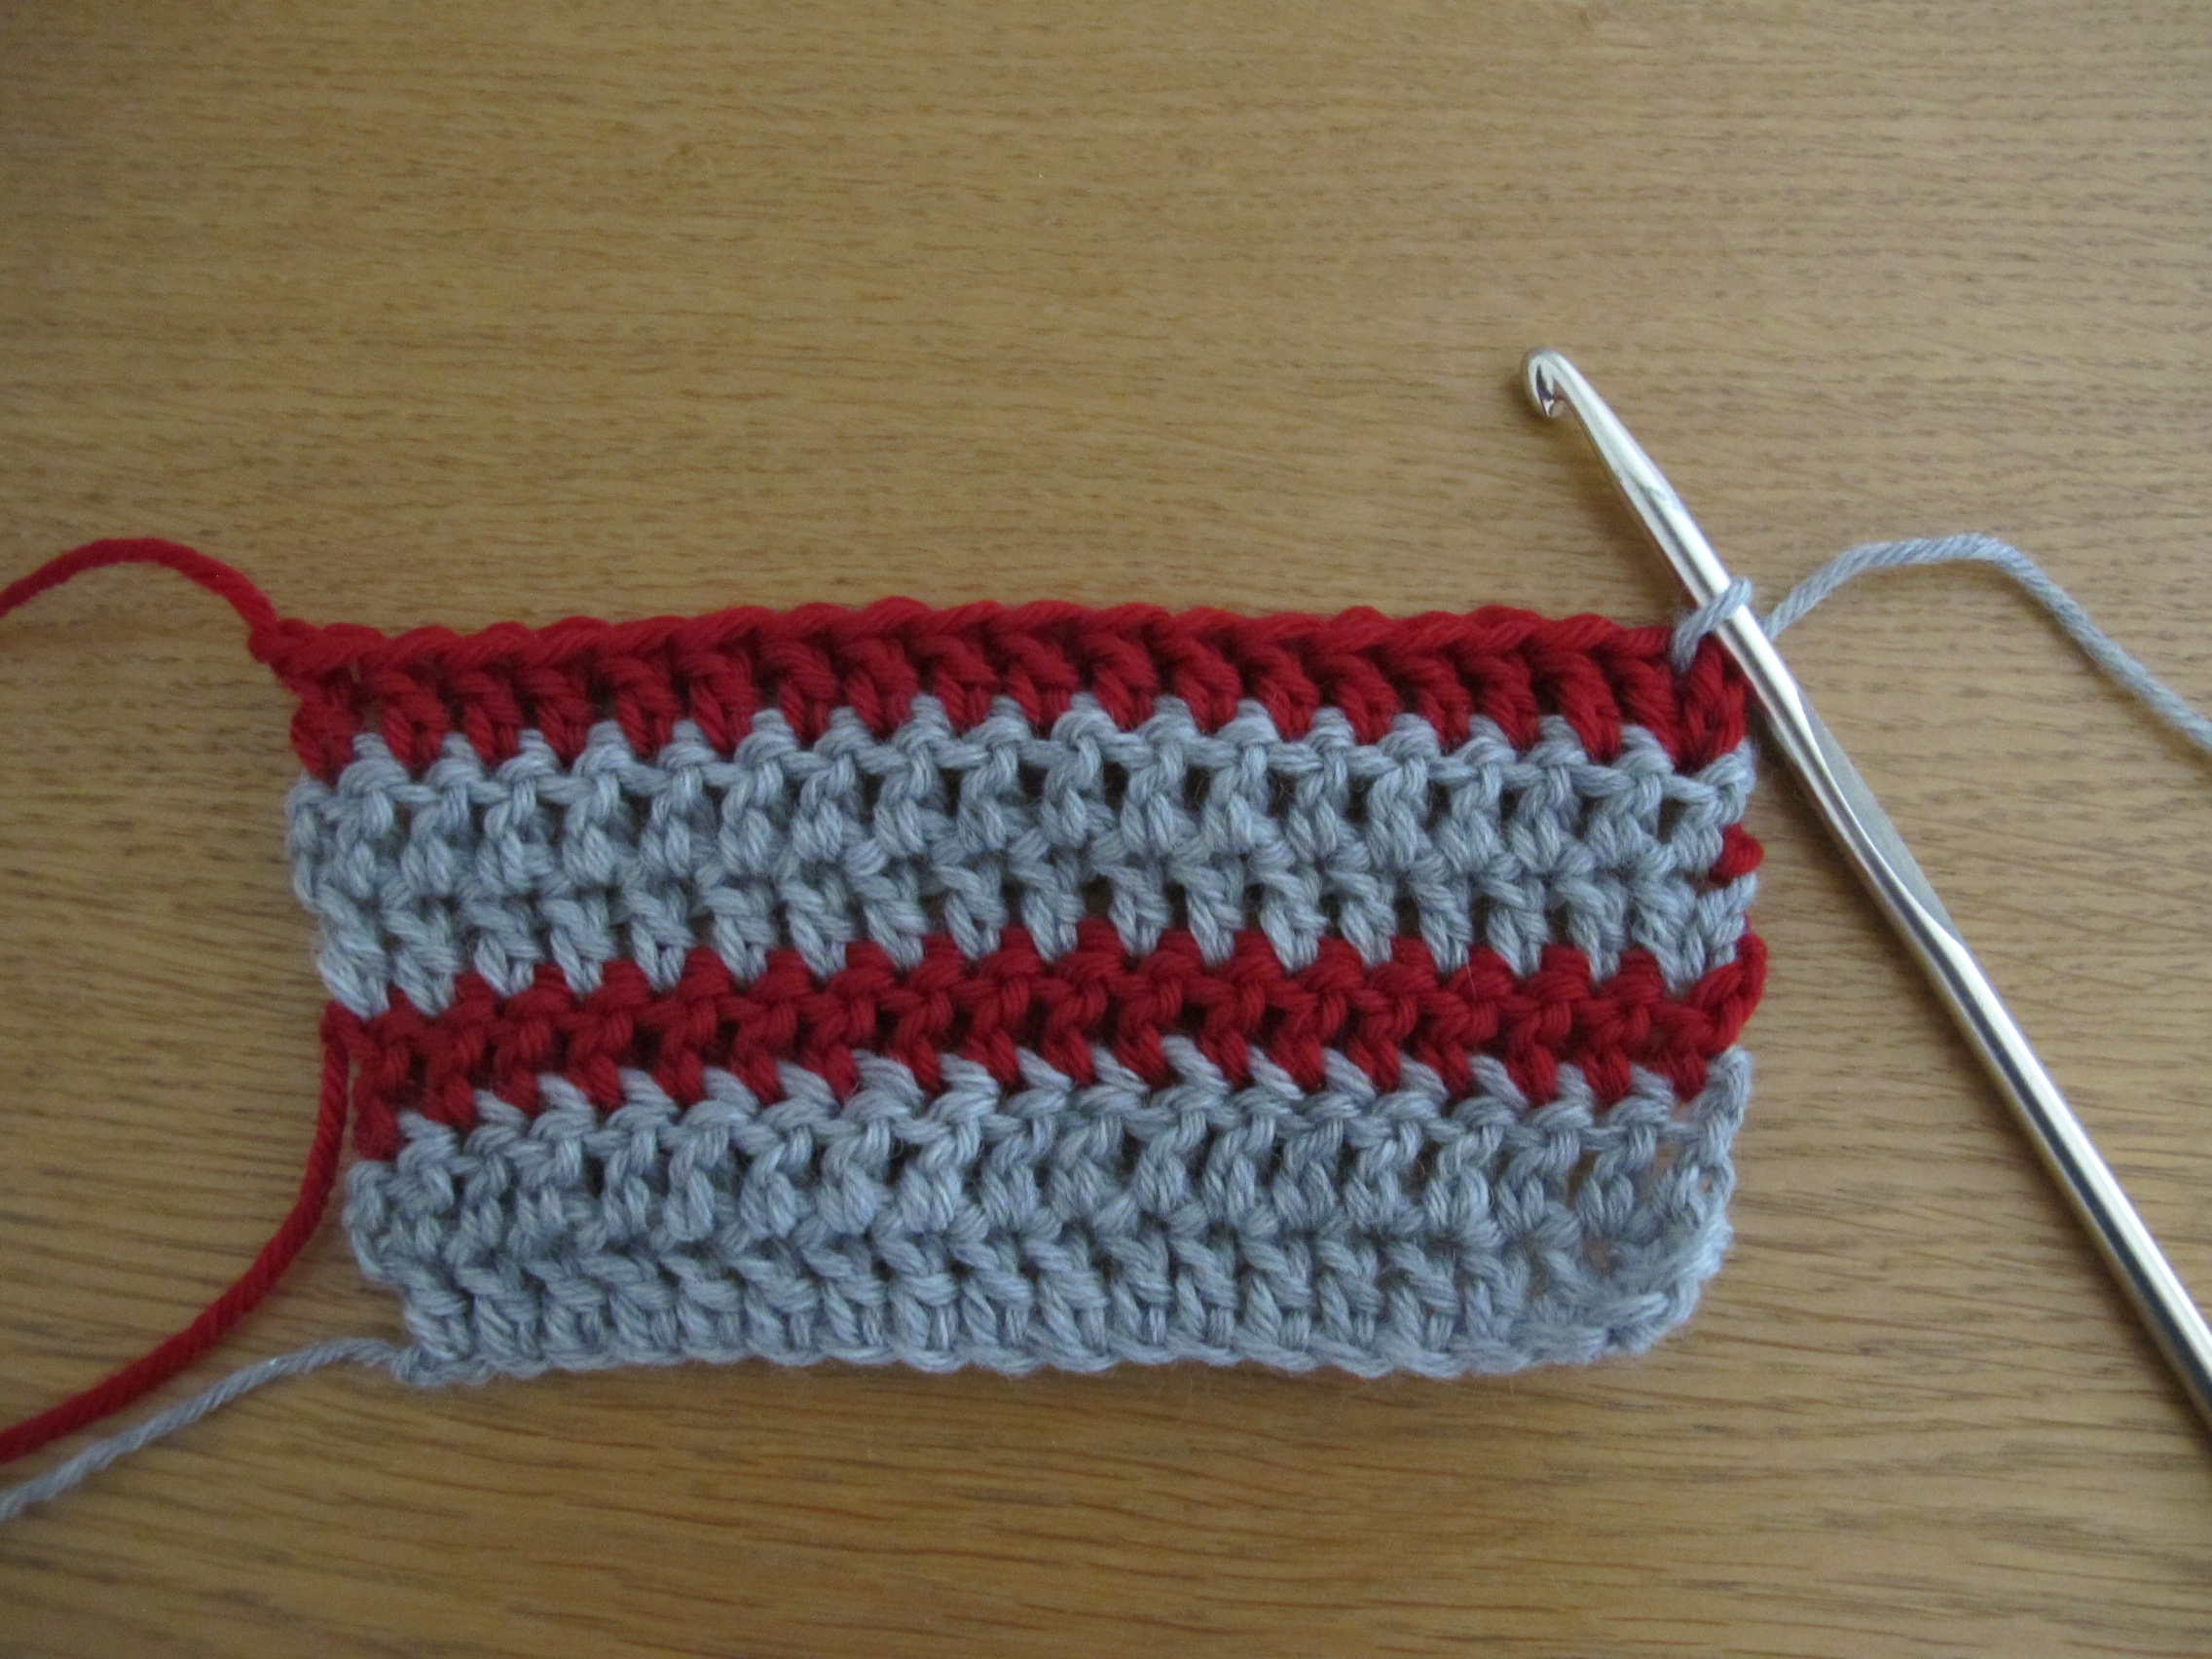
When my single CC row is finished and the loop has been secured, I go back and pick up the MC loop, just as I did after the first CC stripe. The sequence starts over again.
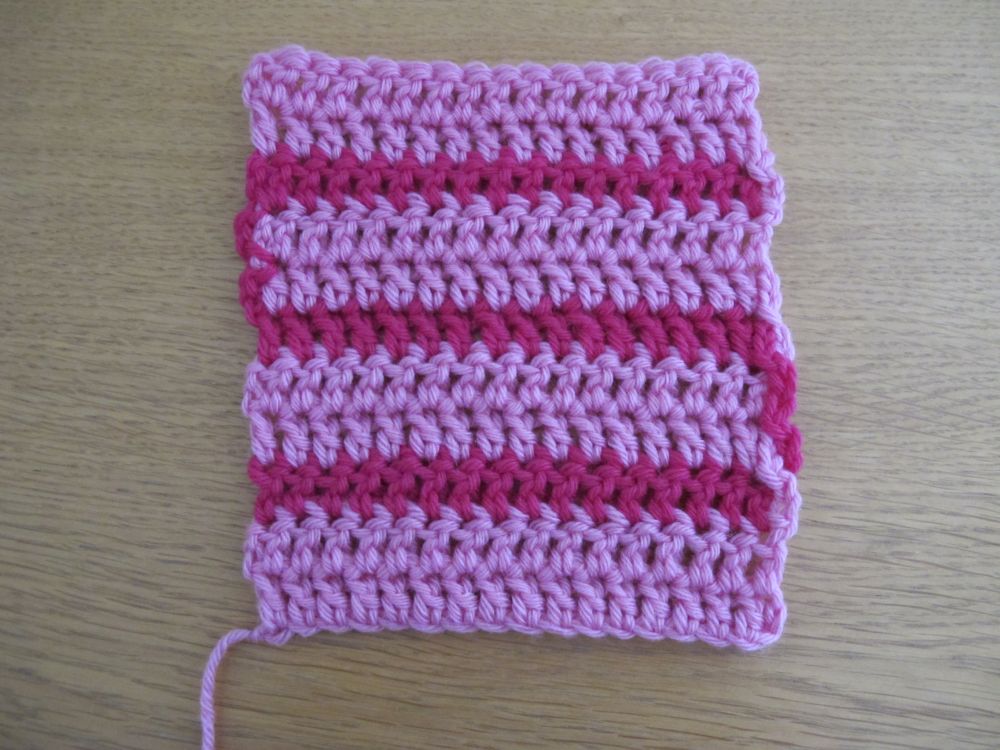
The drawback of this technique: the chains at the selvedge create extra bulk (more or less visible depending on the yarn used).
The advantage of this technique: the work is almost as easy to unravel as a solid-coloured piece – to be used for experimental work or when you aren’t sure you have completely understood the stitch pattern.
2. Anna’s next-to-invisible method
Anna is a Swedish crocheter and very interested in specific crochet techniques. Following a 2013 newsletter in which I described the « classic » method above, she got in touch with me to explain how she carried the yarn when working stripes over an odd number of rows. It’s a very clever technique!

After my first two MC rows, I enlarge the loop on the hook…
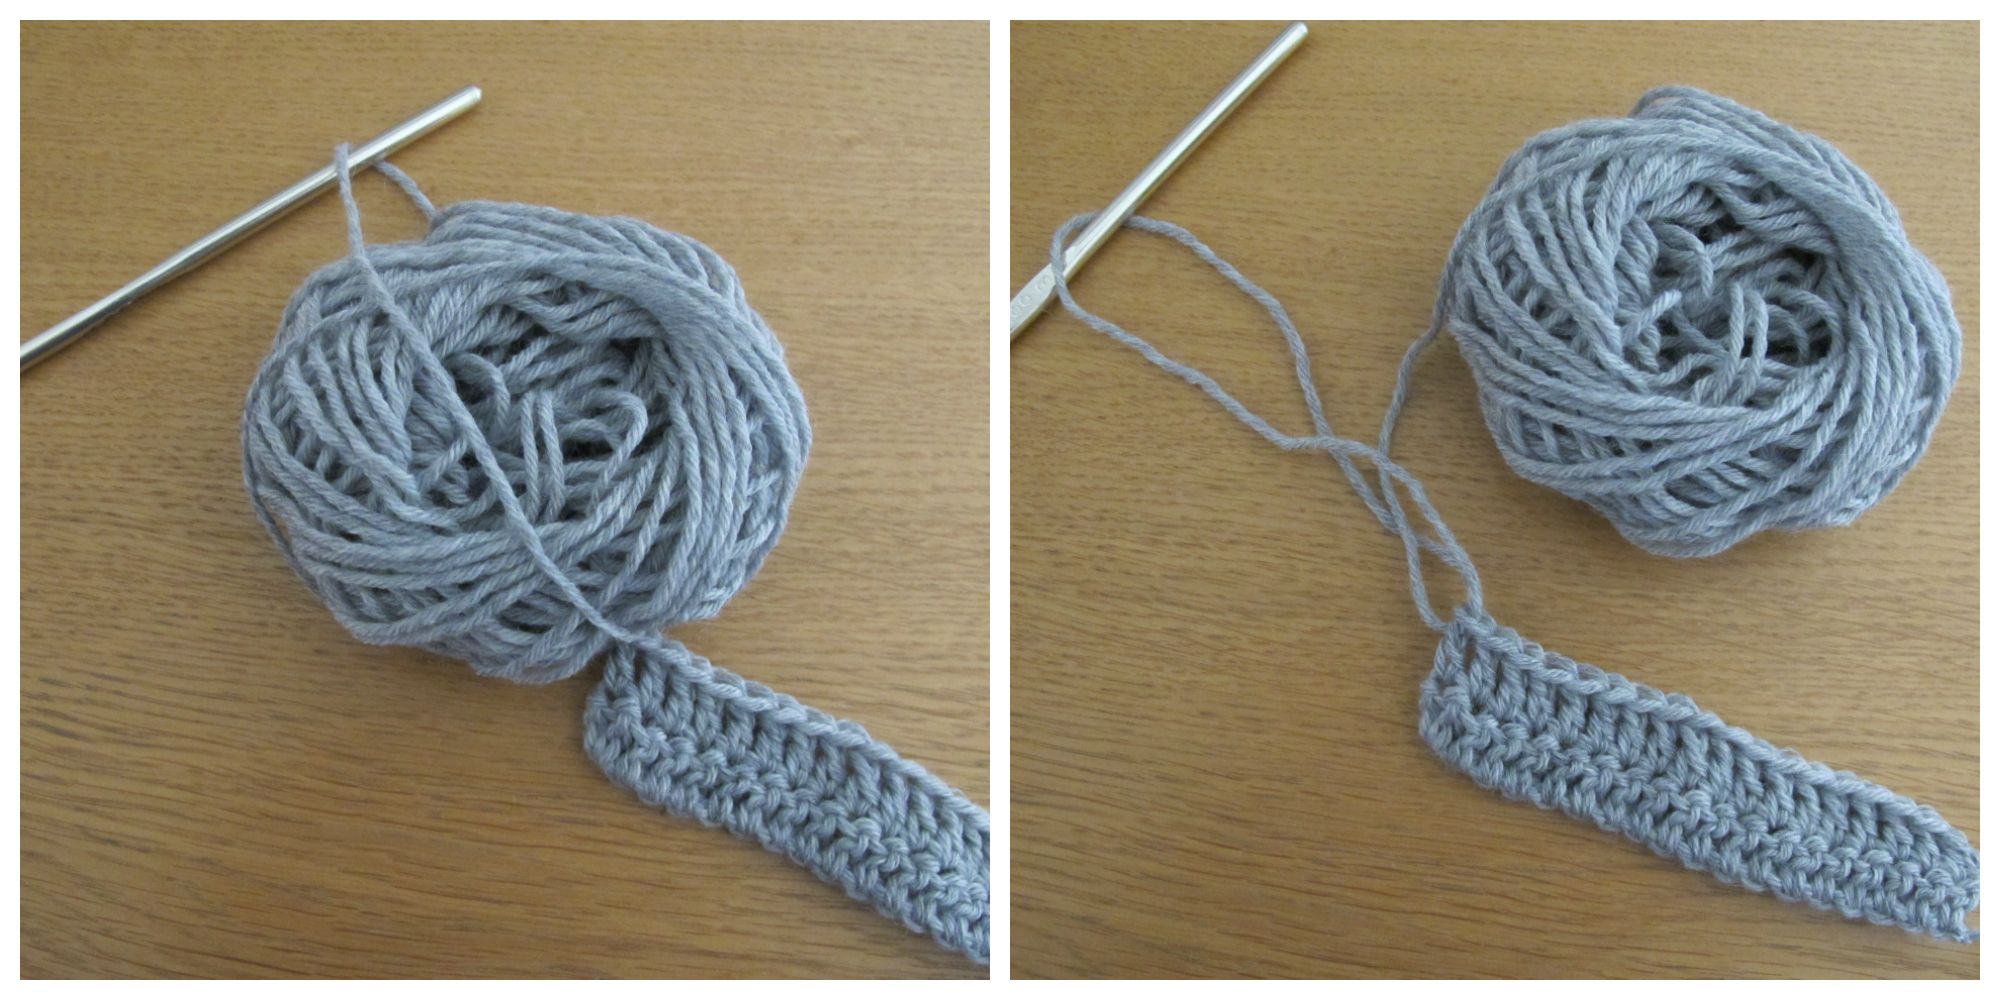
… so that I can pass my entire ball of yarn through it.

I pull on the yarn to tighten up the loop.
Voilà !

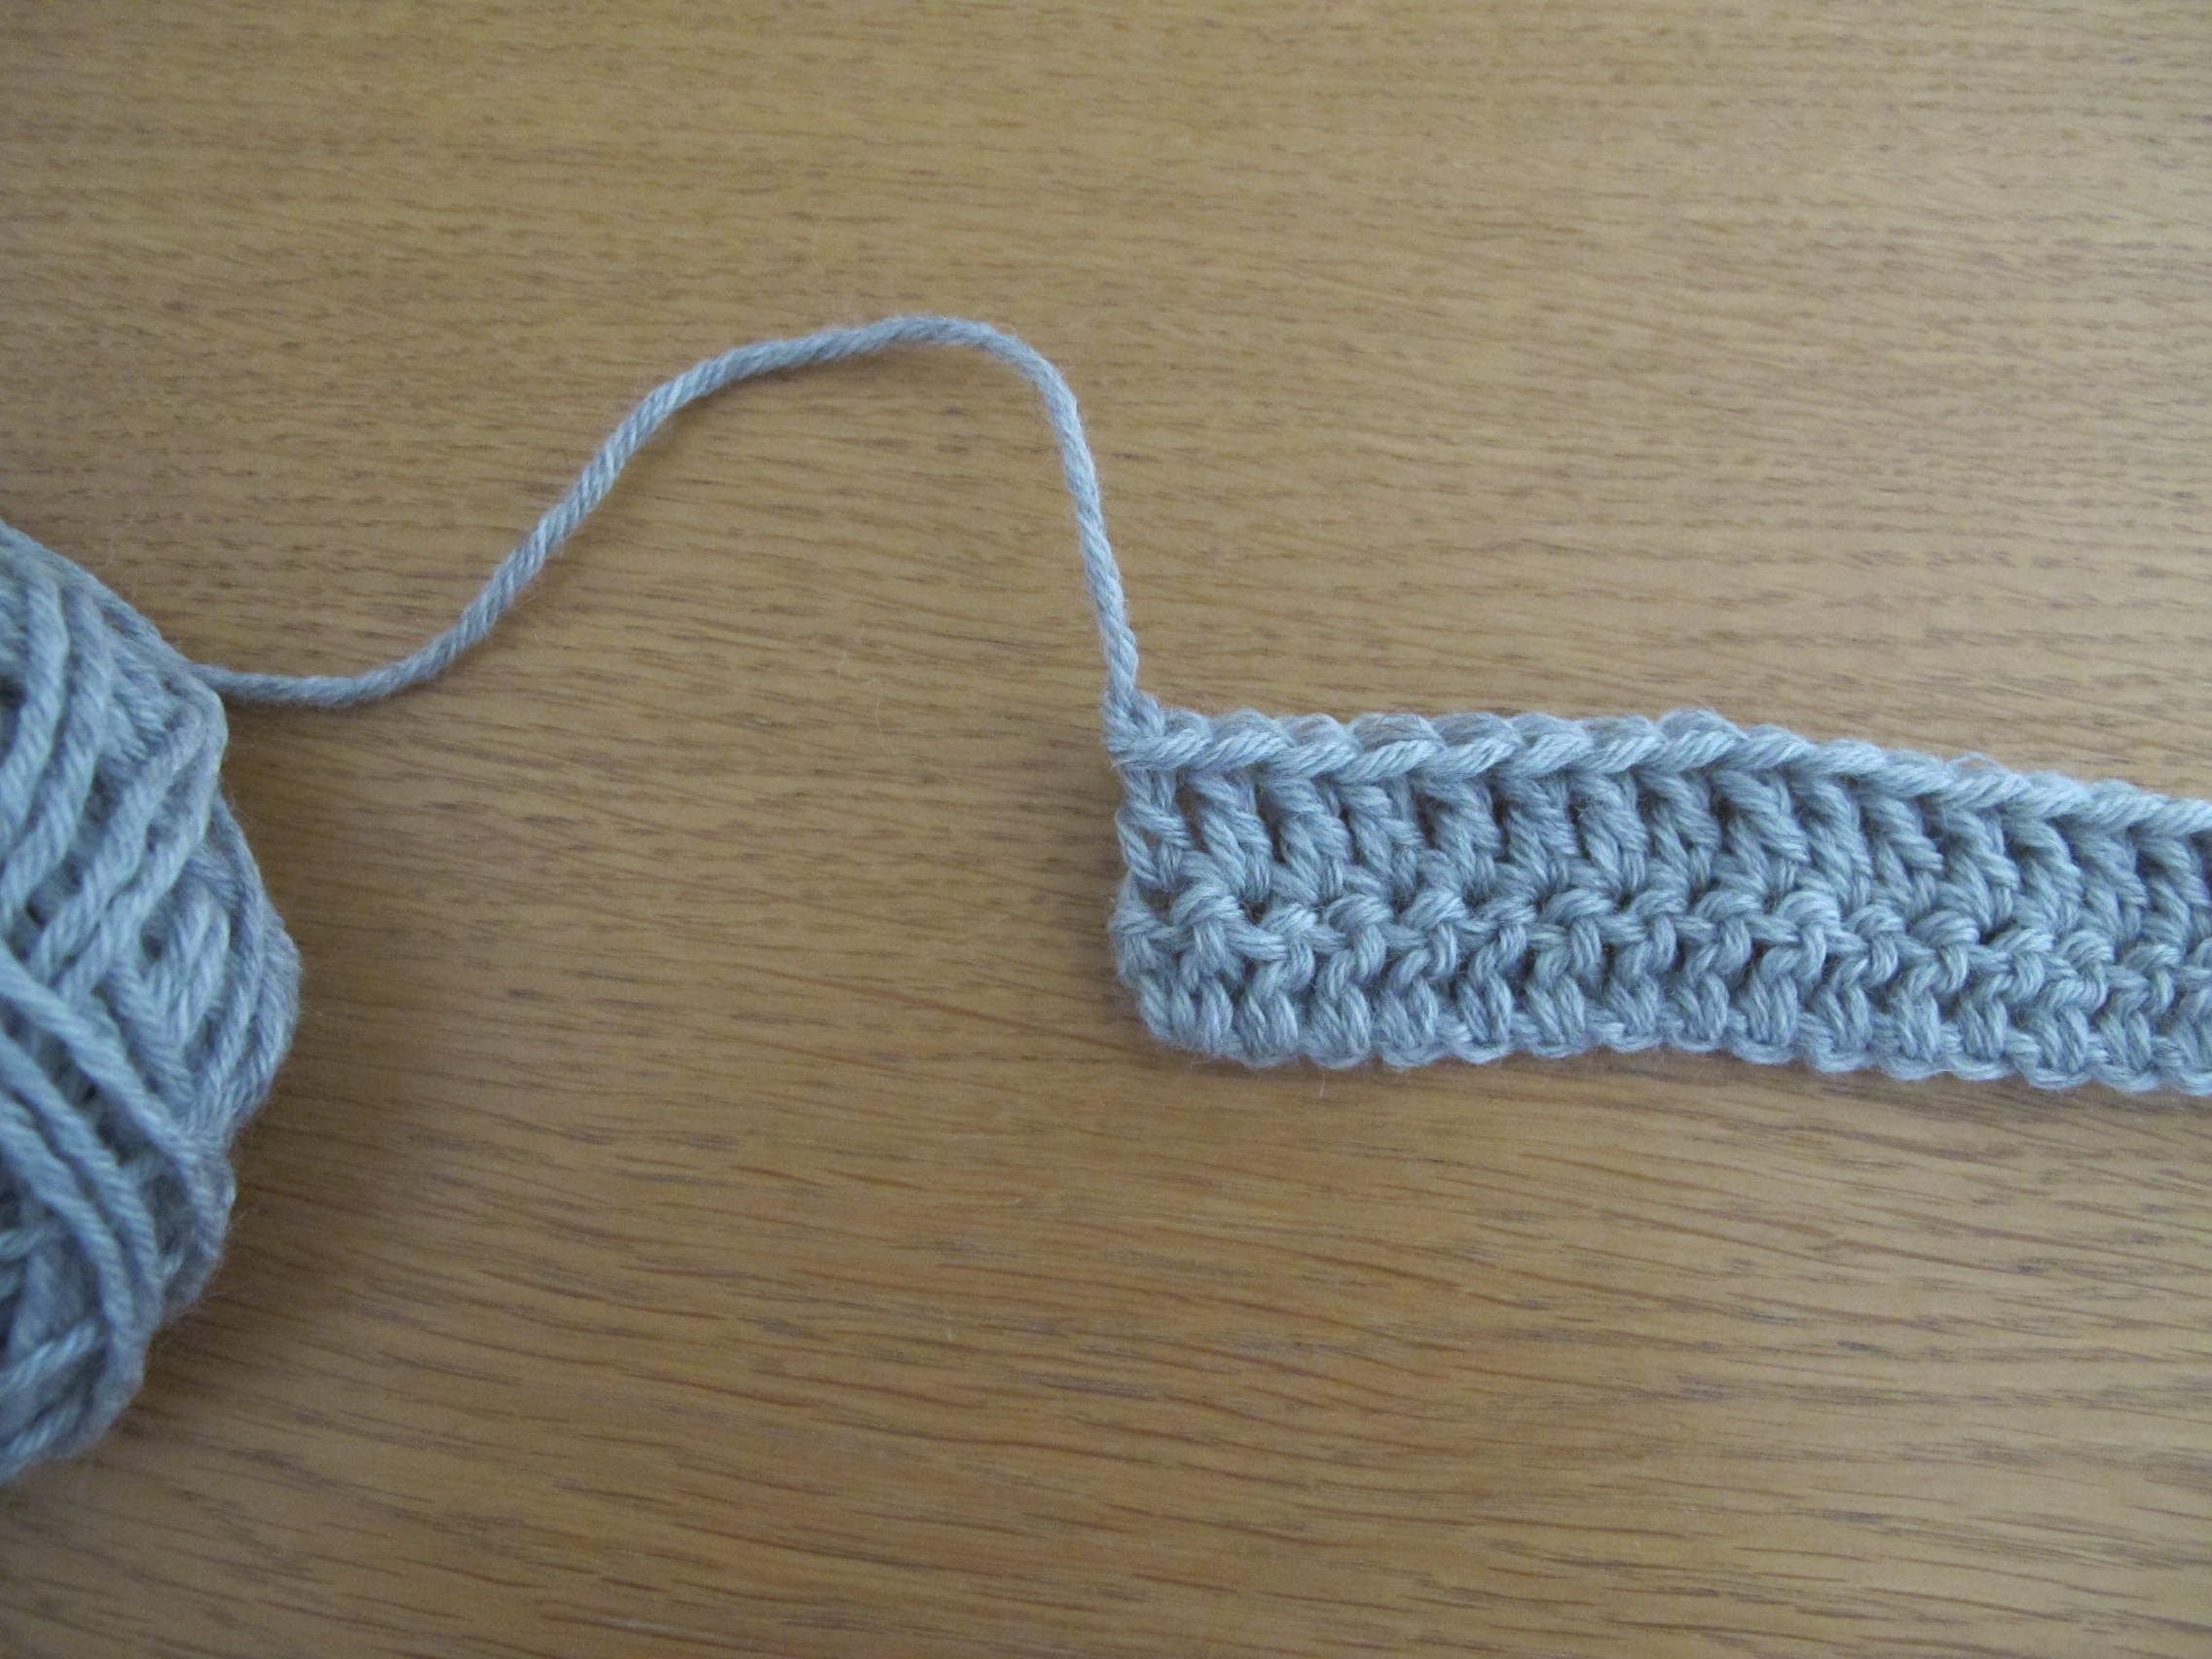
Without turning, I start again with the CC at the beginning of the row.
And I secure the CC yarn in exactly the same way. Both colours are now at the left selvedge.
I turn, I insert my hook in the first stitch in the previous row, and I pull up the MC yarn. I’m ready to start my next two MC rows.

When I need my CC yarn again, it is two rows below. Heres how I carry it up as discreetly as possible:

Insert the hook in the first stitch in the next row, and pull up a CC loop. Enlarge the loop and pass the CC ball through it.

Tighten the loop. One row left to go
Insert the hook in the first stitch in the next row and pull up a loop. I’m ready to start the new CC stripe.
When the stripe is finished, I go back to the beginning of the row without turning and pull up an MC loop. And now you know how to continue!

The advantage of this technique: the yarns carried along the selvedge are very discreet and easy to hide in a small border.
Drawback: if you want to rip out your work, you will need to patiently undo all the knots that are created when you pass the ball through the loop at each colour change. It’s best to be sure where you’re going!
So, these are my ideas on carrying the yarn along the selvedge when working flat. Do you have other thoughts? Which is your preferred method? Please feel free to comment below!
The swatches in this tutorial were worked with
my DK weight merino yarn
and a 5 mm (US H-8) hook.
See you soon!
