Newsletter February 2013: Assembling motifs (2)News:EclatDuSoleil has designed a new, magnificent crocheted shawl: Over the Clouds.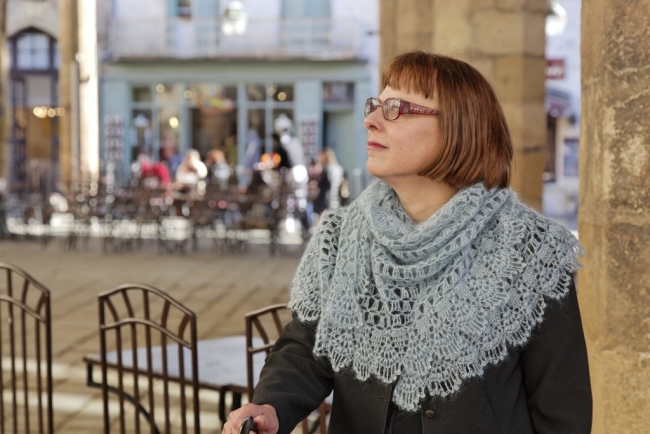 This soft, warm and lightweight shawl is worked in a laceweight mohair blend. The center is worked in a stitch pattern using trebles, and the border with bobbles seems to spring right out of the 1920s Art Deco movement.More information in the shop.For the knitters, I welcome the hat designer Laurence Bertolle to my shop. Her first published pattern is Solange.
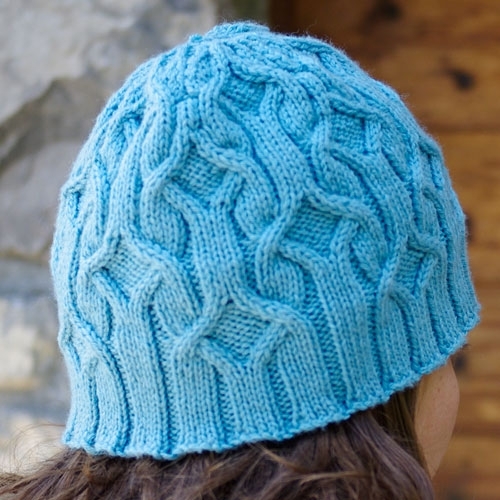 The pattern for this beautifully cabled hat has been written with the help of several test knitters.More information in the shop.There are also two new yarns in the shop.DK weight alpaca:
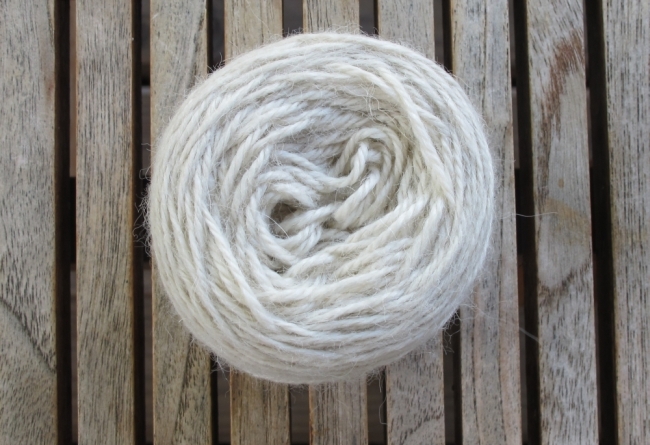 It’s the same fiber as in my fingering weight and laceweight alpacas, only spun a little thicker.Linea:
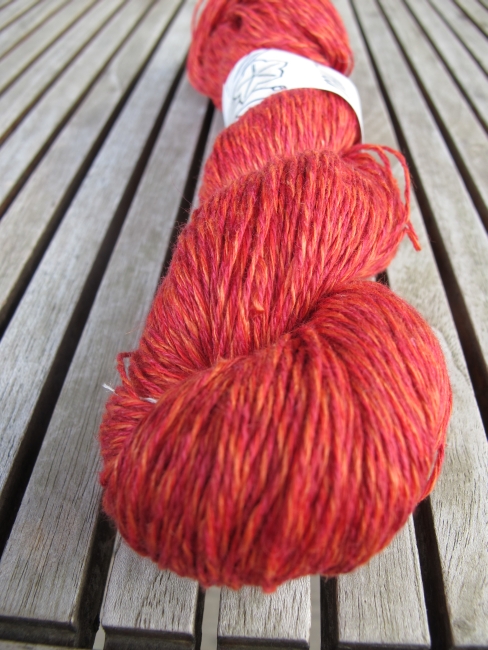 This is a yarn spun in Sweden from 3 plies linen and 1 ply cotton. The colours are beautifully nuanced.More information about both yarns in the shop. Assembling motifs (2)The last time I discussed a technique for attaching motifs in the newsletter was in February 2011. I showed how I assemble motifs with a last round in solid stitches using yarn and a blunt-ended needle, after all the motifs have been finished. The other day, I discovered a new (to me) way to attach this kind of motif – and this time it’s a method that allows you to stitch the motifs together as you go, using only your crochet hook.I found this method on French crocheter Barjolaine‘s blog, and she in her turn had discovered it via French blogger Lucylaine.Honestly, when I watched Lucylaine’s video, I couldn’t believe that I had never, ever thought of this way of doing it – so easy, straightforward and almost intuitive. But I had never had this idea, and I’m forever thankful to Lucie for showing me how!These are the steps:
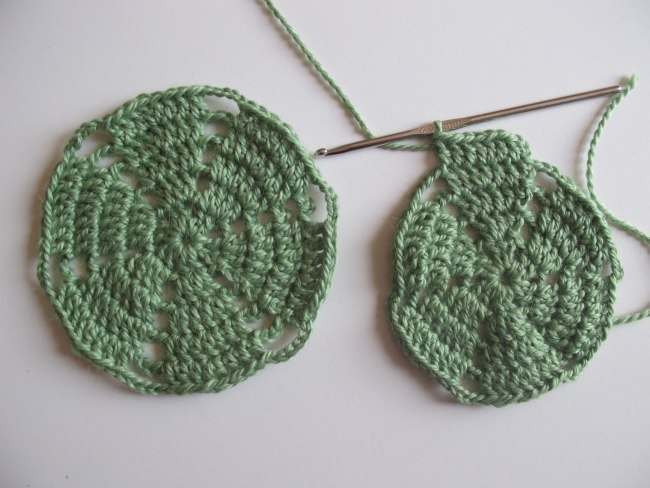 The first motif is complete. I’m going to work the last round of the motif I want to attach. The two motifs need to connect along the 8 dc’s.
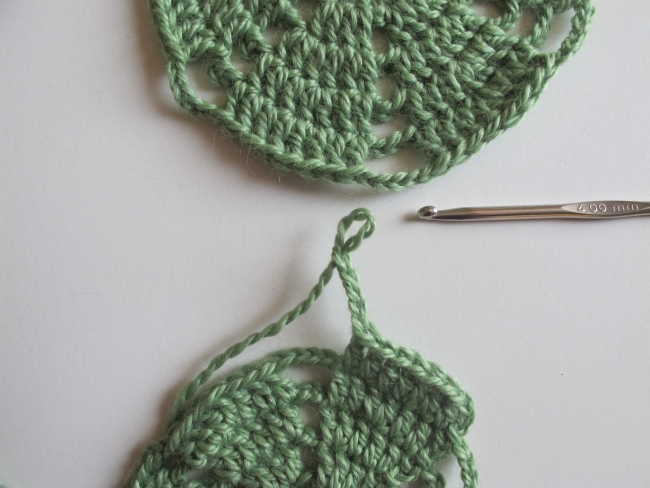 Before working the first dc, I elongate the loop on my hook a little, so that it won’t unravel, then remove my hook.
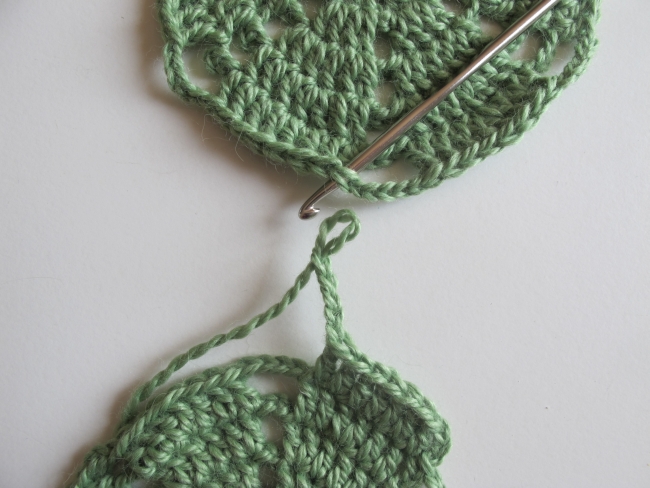 I insert my hook in the corresponding dc in the first motif, front to back…
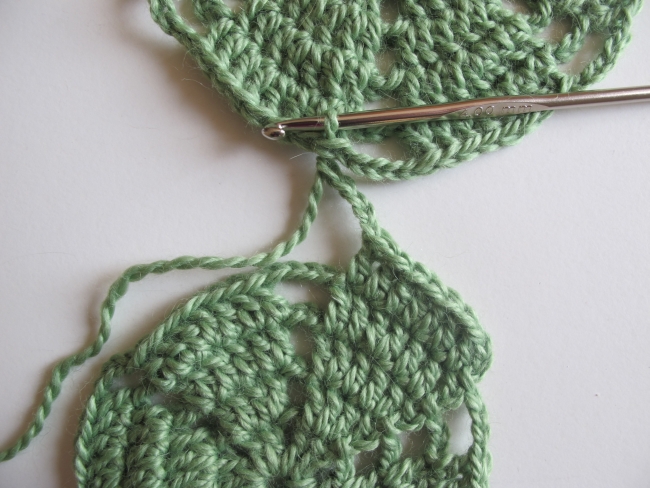 … and I pull through the loop left free on the second motif.
  I adjust the loop back to normal size, and work the dc as usual.Repeat for each stitch along the edge where the motifs need to attach. Should there be a chain space somewhere along the way, simply replace the chain in the second motif with a sl st worked into the chain space.
 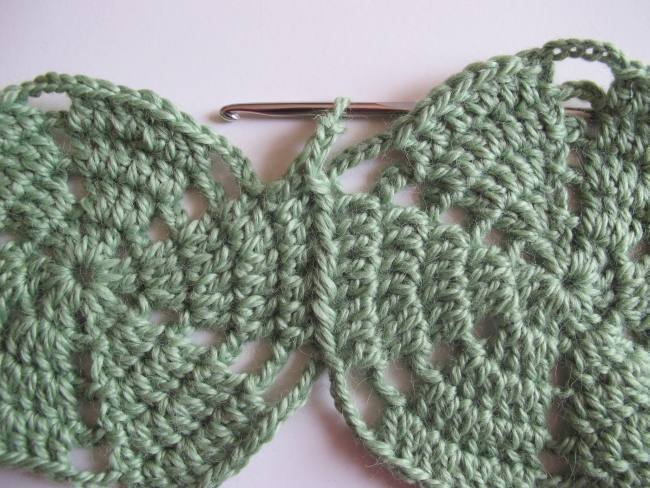 This is how the join looks worked exactly according to Lucie’s instructions. The « seam » at the join comes from the tops of dc’s in both motifs overlapping.I wanted to see if I could push this seam to the back of the motifs by varying this technique. It worked!
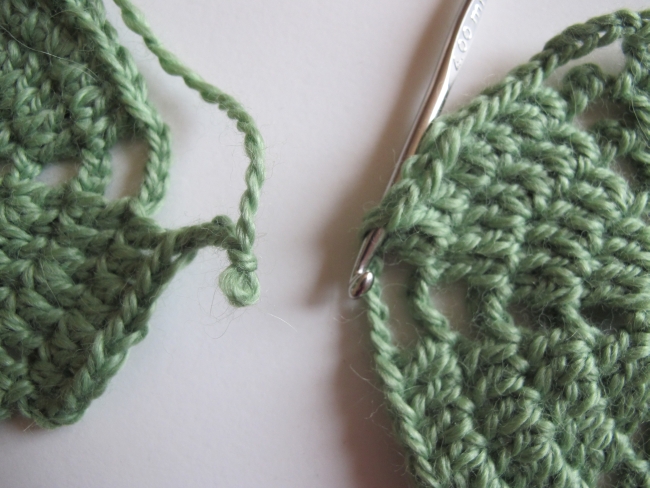 Insert your hook from back to front in the first motif.
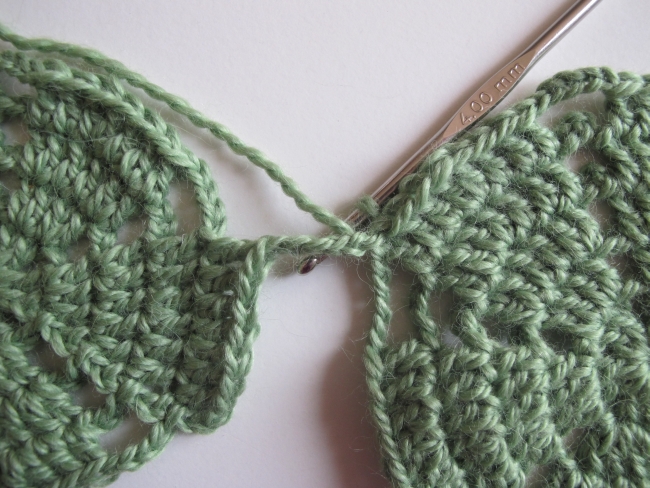 Continue as previously.
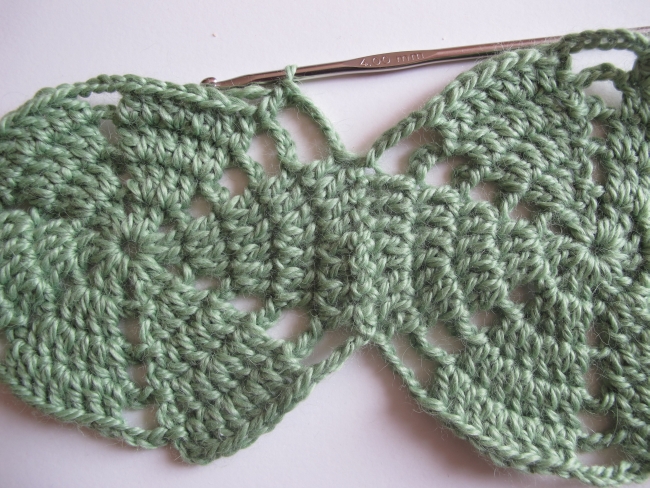 This is how the finished join looks. The « seam » is now at the back of the work. This way of working the join is slightly less intuitive than Lucie’s. Which one you choose is entirely a matter of taste. You might want to use the join as a design element, or you might want to make it as inconspicuous as possible. You can watch Lucylaine’s video showing the technique here. Of course, you can use this method only if you know beforehand in what order you want to assemble your motifs. But if you do, it’s so clever!
See you soon!