
New pattern
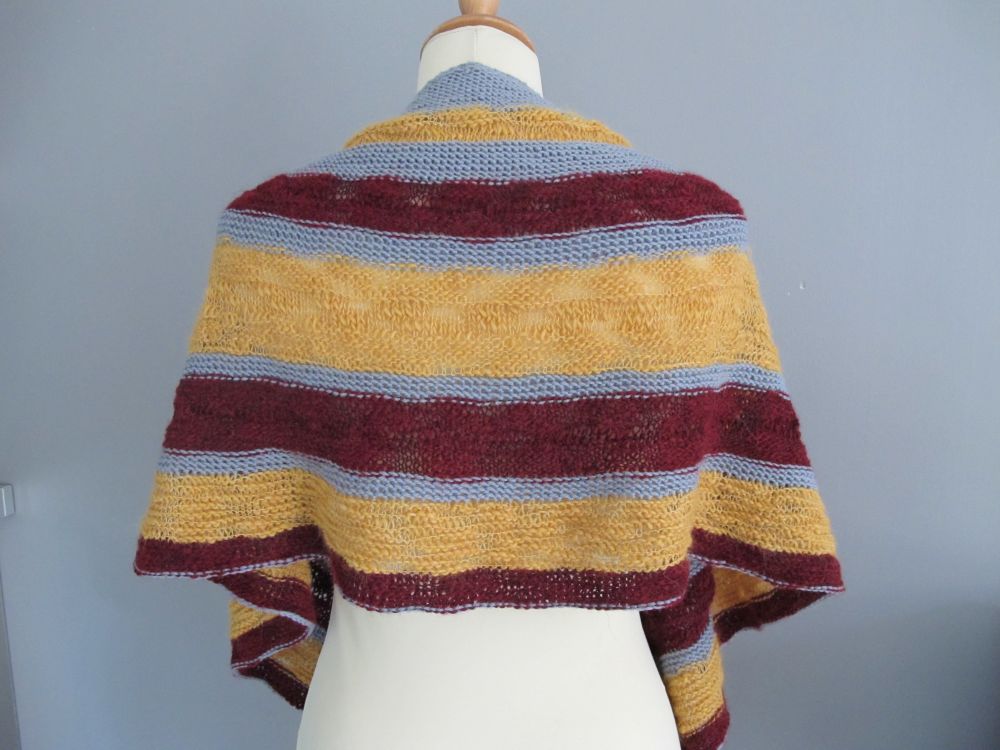
In this shawl, I played around with textures and simple stitches to create a design that can be knitted by beginners, but also provides an interesting playing field for more experienced knitters who want to combine three colours in an easy-to-knit shawl.
You can find the pattern for Sibylla either in my shop or on Ravelry.
A YouTube channel in English!
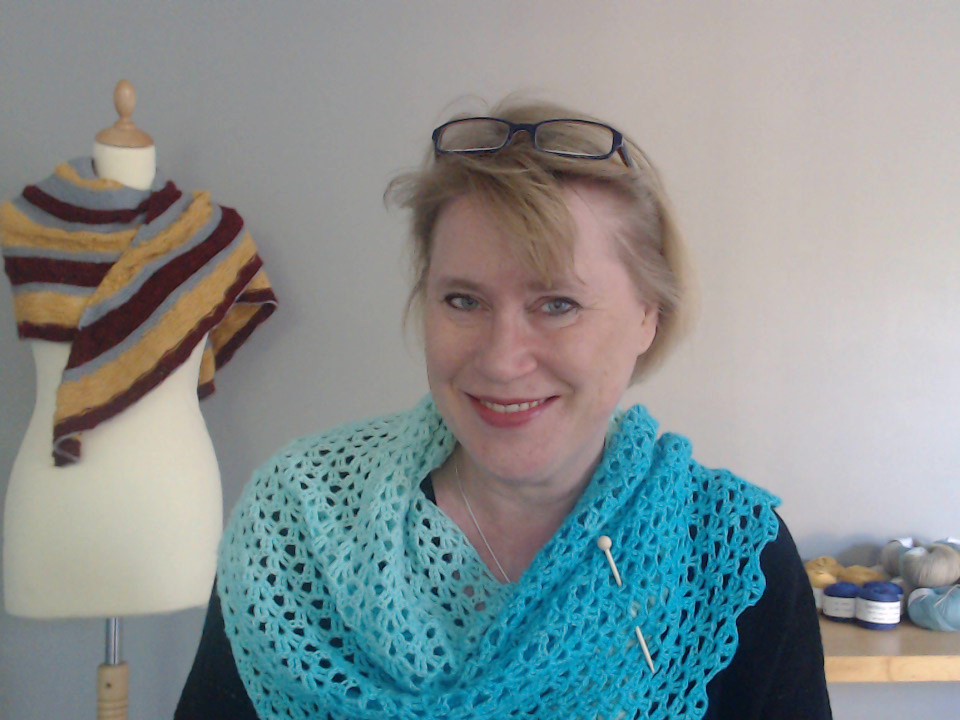
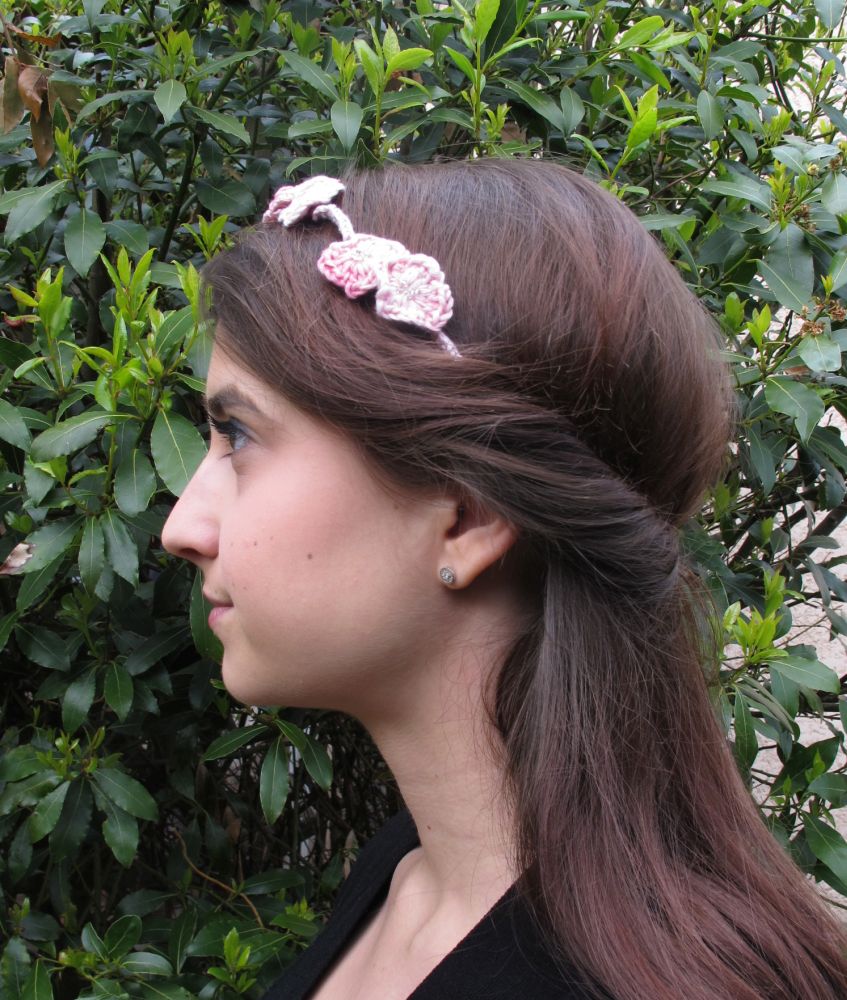
A crocheted flower headband
At least once or twice a year, I get the urge to crochet flowers – to wear as a necklace, as a brooch… and this time in my hair!
You will need:
Some metal wire and cutting pliers
Leftover yarn (I used my organic cotton)
A hook in a size that works with the yarn (I used a 3 mm hook to work a little tighter than I would for a shawl)
Seed beads
Sewing needle and sewing thread (for the beads)
The crown base
Measure your head circumference and cut a piece of wire to this length + 4cm/1.5″. The wire I used is 0.75 mm thick. This is a bit on the thin side (but it was what I had on hand). You can use a thicker wire, as long as it is pliable.
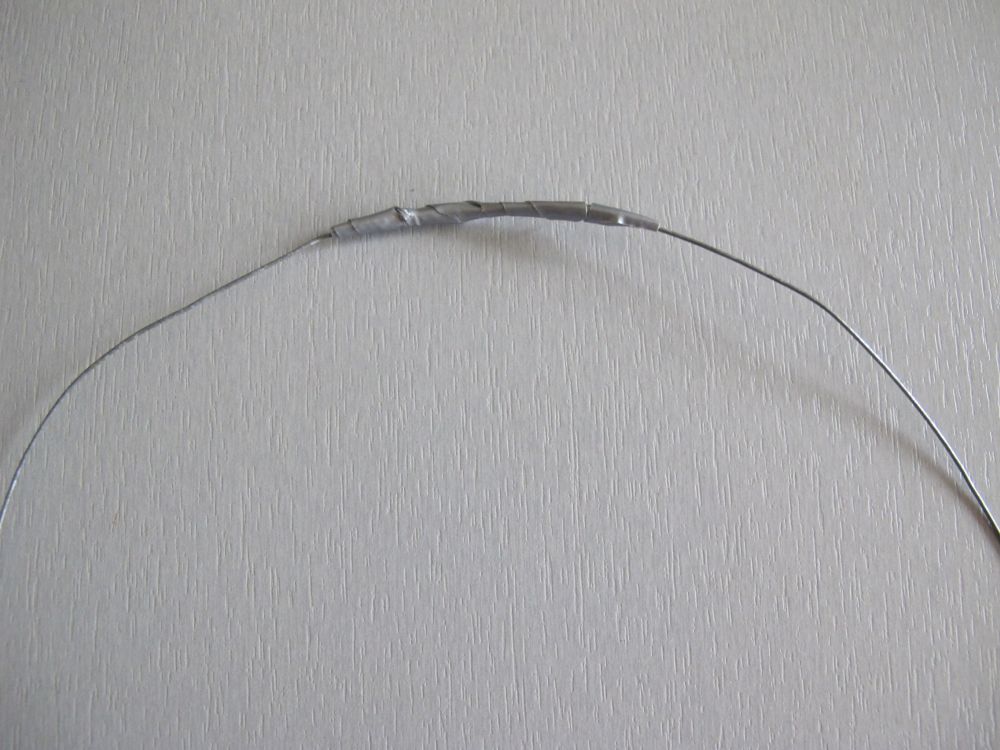
Join the wire in a circle. Let the ends overlap by 4cm/1.5″ and use silver tape (or an equivalent) to fix the ends and cover them well. You don’t want the wire ends to poke your head!
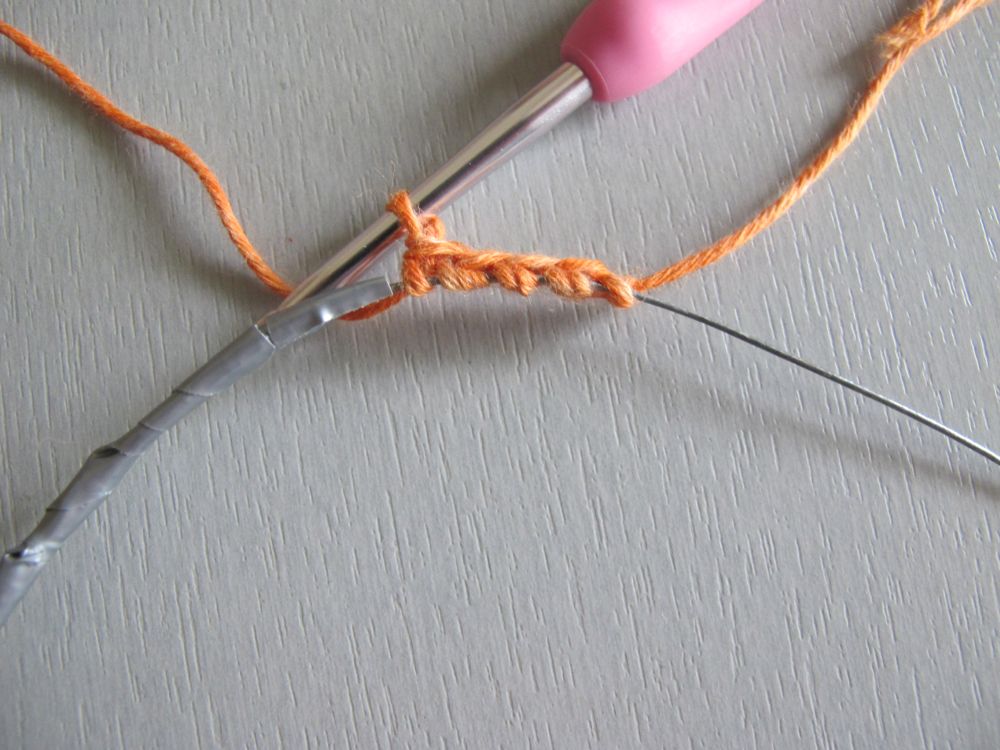
Starting just to the right of the taped part cover the wire by working single crochet stitches around it. Insert your hook under the wire, as you would working into a ring of chain stitches when beginning a circular motif.
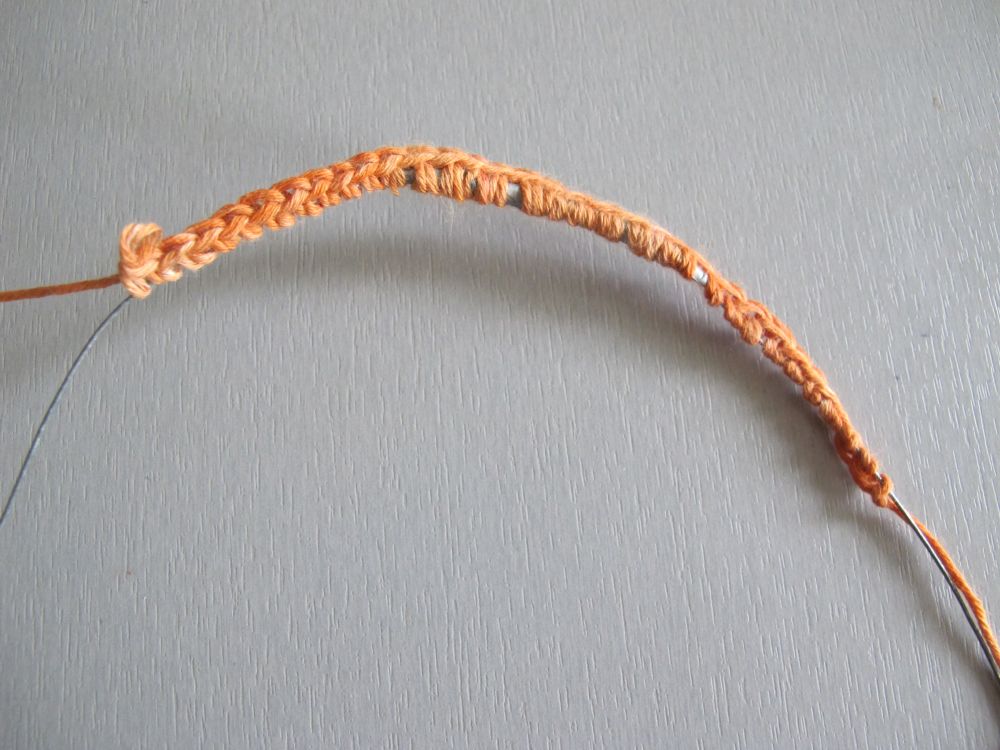
It’s more difficult to cover the taped join since the stitches don’t slide very well on the tape. Don’t worry if it’s not perfect. We will do our best to cover up this part later on.
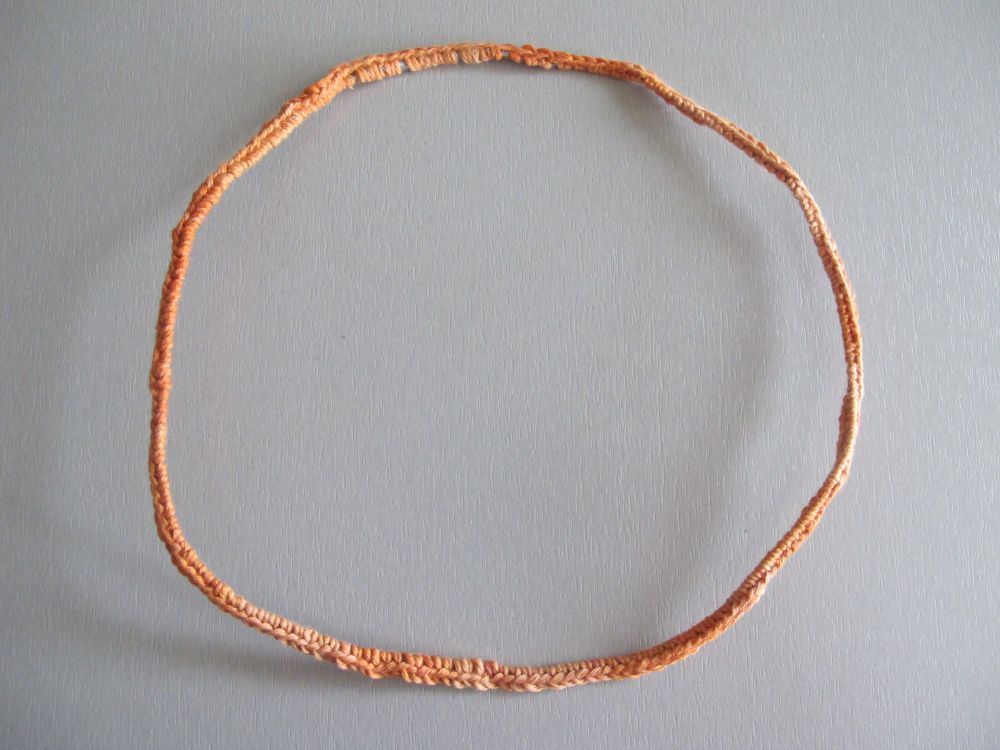
When you have worked all around the wire ring so that it’s well covered but without bunching up the stitches too much, fasten off.
Thread the yarn end on a tapestry needle, and close the round as follows:
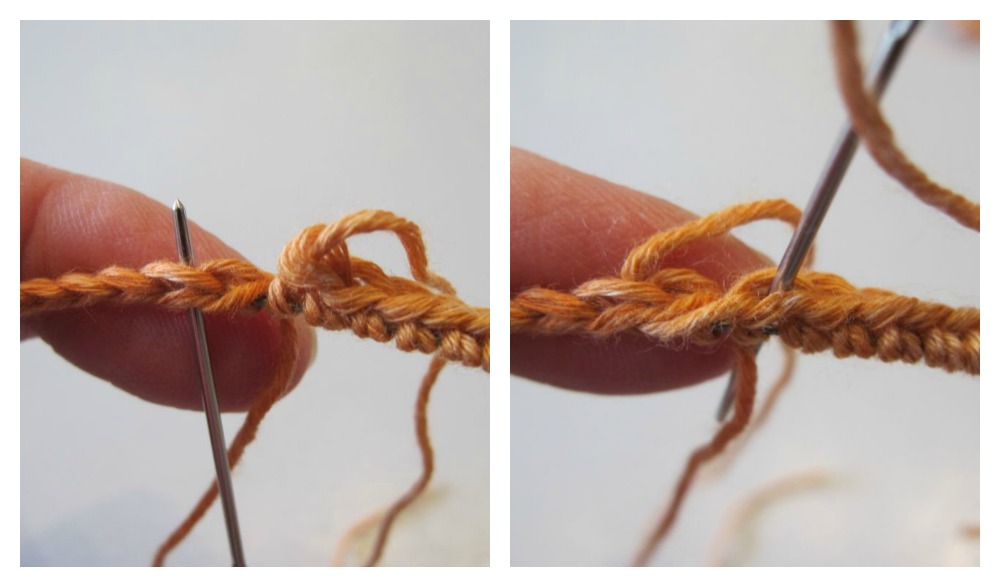 Insert the needle from front to back in the second stitch in the round, and then from top to bottom between the two loops in the last stitch in the round.
What we are trying to do here is to mimic the top of the other stitches, so that the spot where the join is made looks like any other stitch.
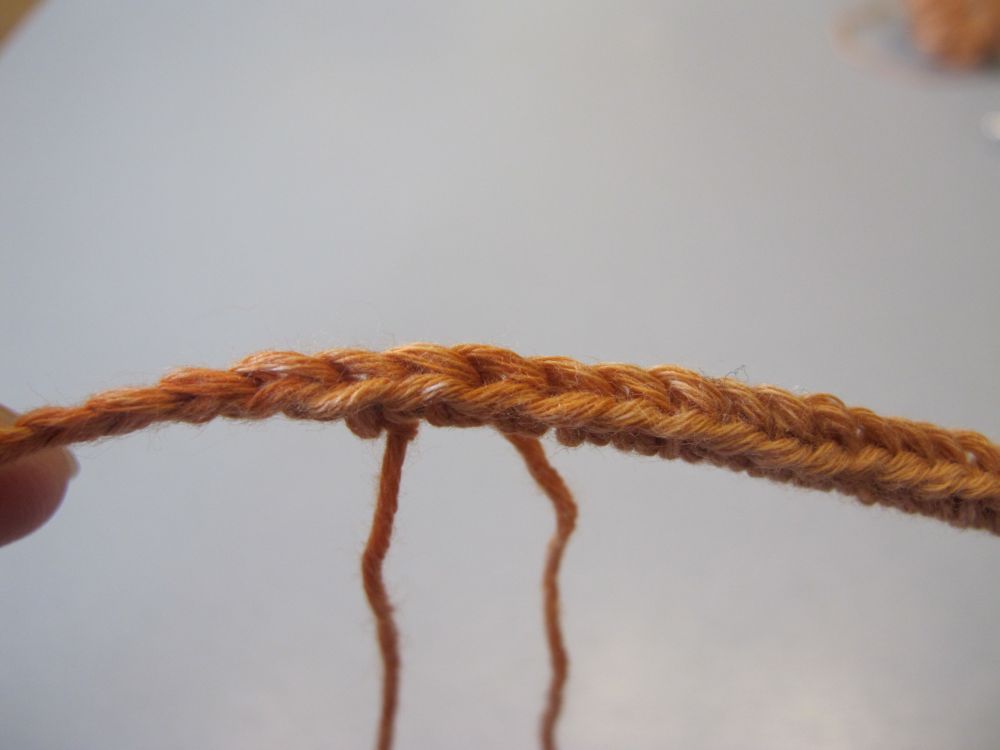
Adjust the tension of the yarn end so that it covers the first stitch in the round.
Weave in both ends.
Flowers
Ch 5, close to a ring with a sl st in the 5th ch from the hook.
Ch 1 (do not count as a st), * 1 sc in the ring, ch 2, 3 dc in the ring, ch 2; repeat from * 3 times more; close the round either with a sl st in the first sc, or with the technique used above. Fasten off, taking care to leave a tail long enough to use for tightening the center of the flower (see below).
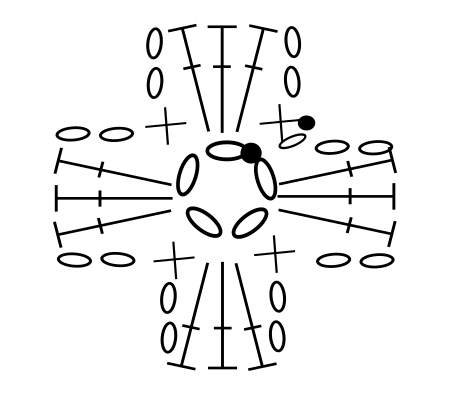
You have made a four-petal flower. Make more, as many as you like!
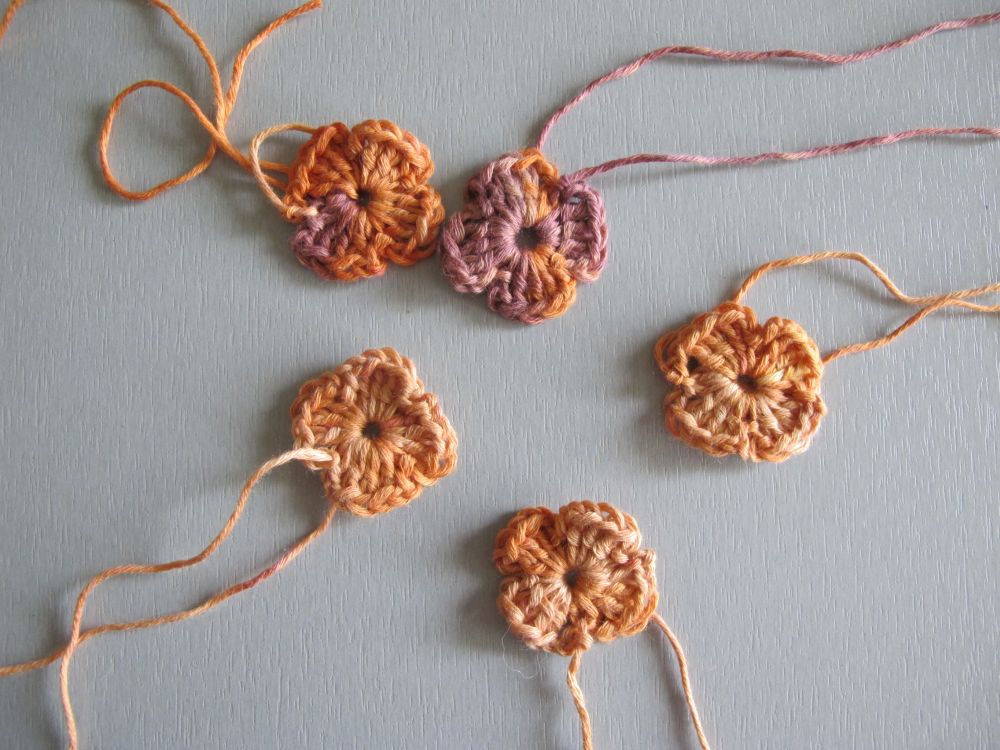
You can, of course, use these flowers as they are, but if you want to add beads at the center of the flowers, I suggest you do it this way:
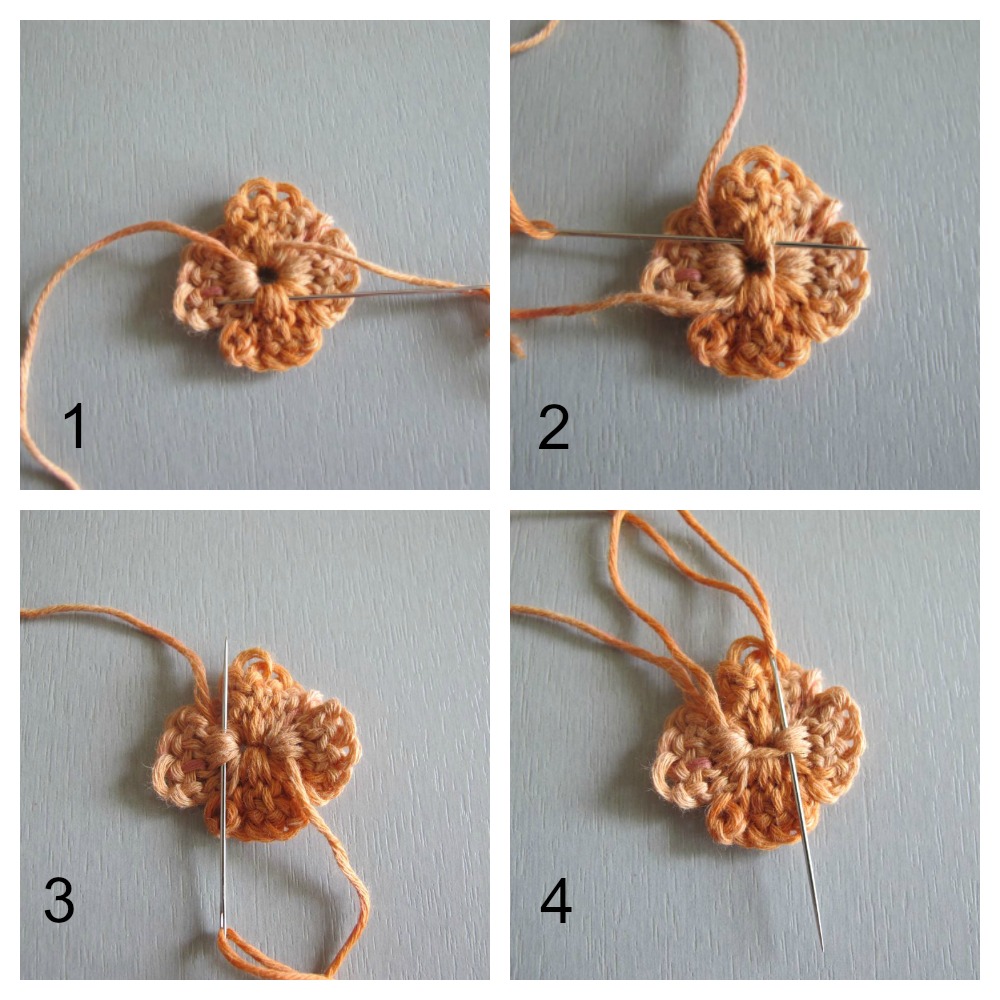
Thread a tapestry needle with the second yarn end (the one left when you have finished the flower) and weave it through the bottom of the stitches in the middle of the flower on the wrong side. Tighten the yarn to close the hole in the center. I crisscrossed these stitches to tighten the center more evenly and effectively.
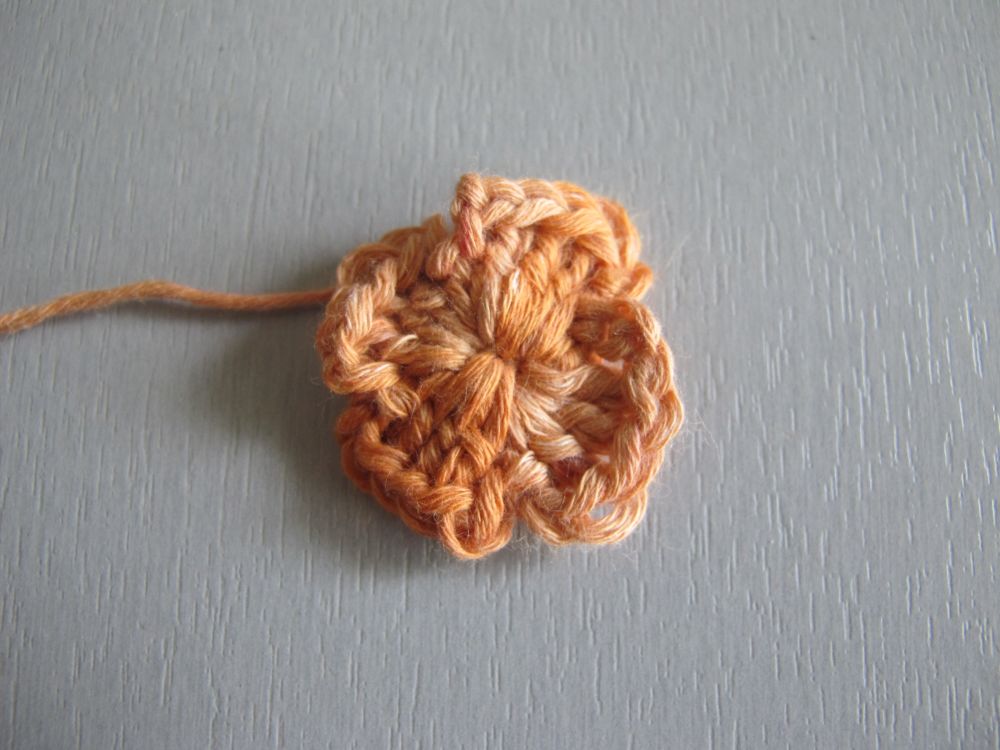
This leaves the center of the flower slightly distorted, but we are going to cover the uneven stitches with beads on the right side of the flower.
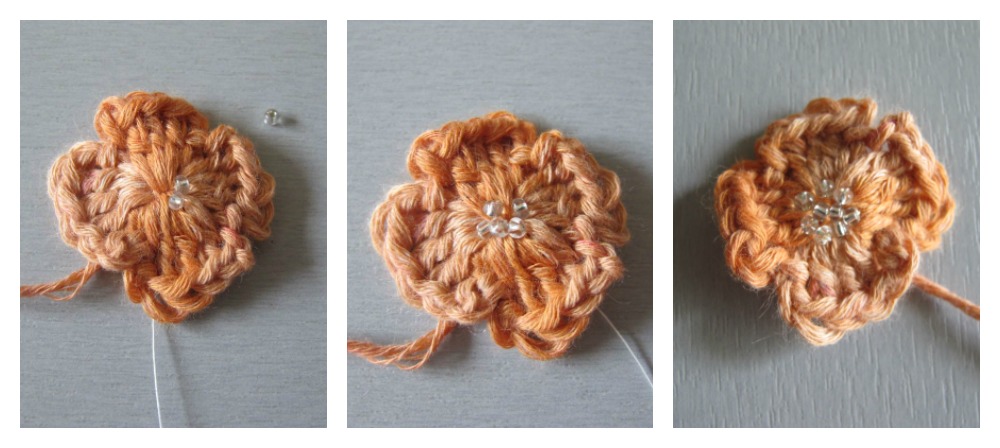
I must admit that I don’t use a specific technique to apply the beads – I just sew seed beads to the center of the flower using sewing thread and a needle fine enough to go through the beads, adding beads until I’m happy with the result.
Please note that the yarn end at the start of the flower hasn’t been woven in yet. We are going to use it to fix each flower to the crown base with a tapestry needle. Make sure to pass the needle through the stitches, not just around the crown.
I suggest that you sew the flowers to the crown base in such a way that they cover any uneven stitches and additional thickness where the wire ends were taped together. If you are not happy with the way you closed the initial round of stitches, use the flowers to cover any mishaps.
Otherways, sew the flowers to the crown in any way that pleases you!

Wear your headband in your hair. You can just place it around your head if your hair is short. If you have longer hair, you can fold your hair, lock by lock, around it. Since it’s made exactly to your head circumference and is completely covered in stitches, you don’t need to cover any part of the headband with your hair if you don’t want to.
I wish you a flowerful month of May!
See you soon!
