Dealing with a loooooong starting chain
I have a project in the works that starts with 451 chains. Handling this long starting chain is really the only difficulty with this design – once the first row is worked the rest is very straightforward (for a quite lovely result, if I may say so myself). The difficulty with a long starting chain is to arrive back at the end of the first row without having chains left over (though that can be dealt with, see below), or worse, stitches left to work but no chains left to work them into. It’s so easy to miscount or to skip a chain. I have a couple of simple strategies to help with this.
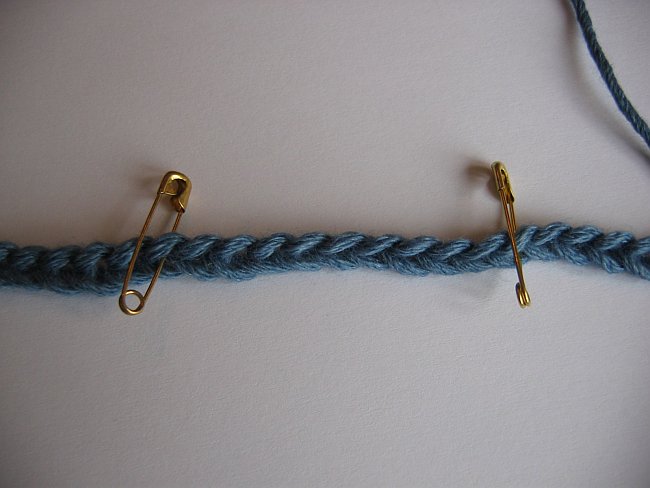
To avoid counting, recounting and counting again, I place a small safety pin in every Xth stitch. Normally, they are spaced farther apart than in this photo, of course.
Up to very recently, I placed my safety pins in every 25th or 50th chain. However, this deals only with the counting. It won’t help you if you accidentally skip a chain or work two stitches in the same one when you work back into the starting chain.
Now, I base the number X on the number of stitches in the pattern repeat. If I’m going to work a stitch pattern over a multiple of 6 stitches, I can place a safety pin in every 30th stitch, for example. This means that you should be at the same place in your stitch repeat every time you reach the safety pin. If you’re not, something’s off – but it will be much easier to know where, since it must be somewhere between the previous safety pin and this one. You will not need to rip out hundreds of stitches, only 30 at the most. A simple trick, but it certainly has made my life easier.
If you hate safety pins, or if you don’t really know how many chains you will need, there is still hope.
One of my friends always works a chain about the length she thinks she wants to have, then works back until she can’t work another complete repeat.
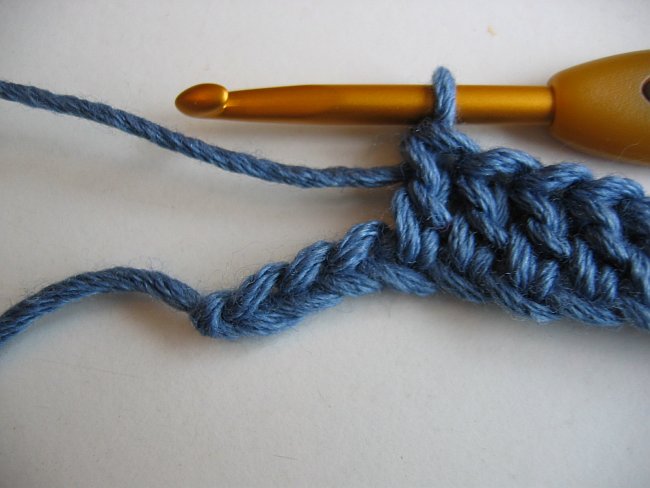
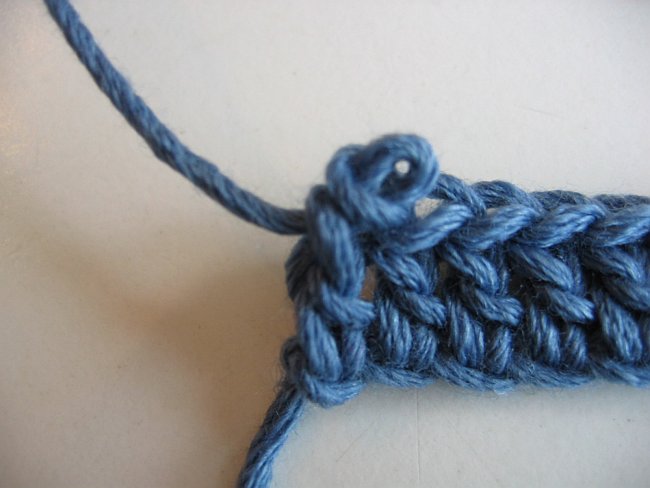
Very annoying, these three little leftover chains, don’t you think? Well, you can get rid of them.
You just have to unpick the slip knot that started the chain at the red arrow in the picture below.
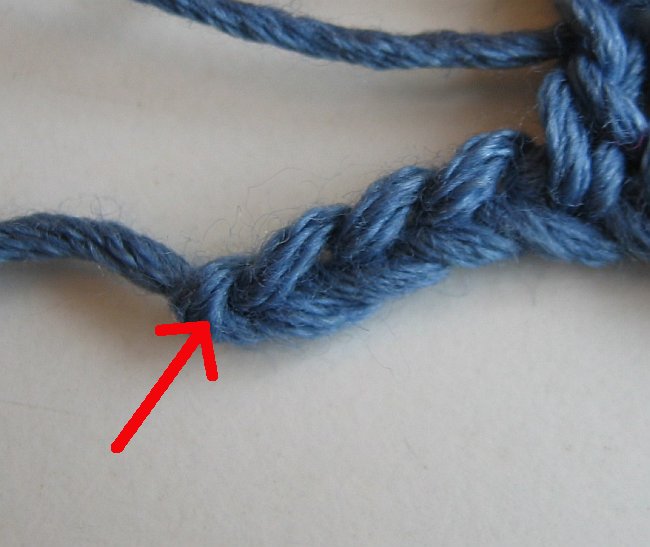
This will be much easier if you haven’t pulled too hard on the knot in the first place. Once the knot is loosened, you can unpick the chains one by one.
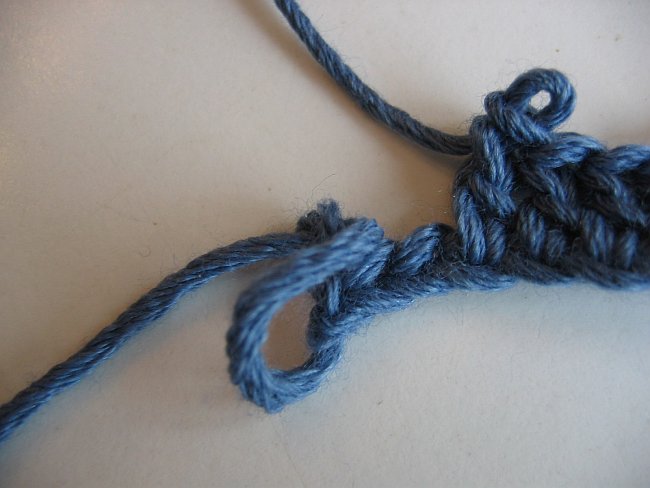
Since you’re unpicking in « reverse mode », every chain is locked upon itself. You will need a little time and care, and I wouldn’t recommend this method for a large number of chains – I personally wouldn’t have enough patience.
Once the chains are unpicked, you tighten up the new first chain simply by pulling on the yarn tail. As you can see, the result is very neat.
So really, there is no reason to be daunted by that wonderful project with a loooooooooooooong starting chain!
See you soon!