
In the shop
A summer shawl that will follow you all year long – my new design Siebold is available in the shop and on Ravelry.
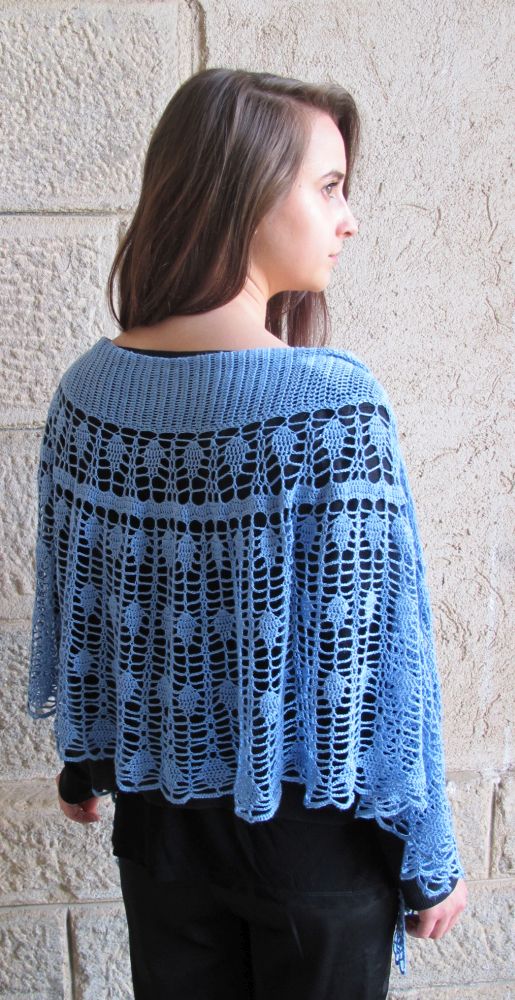
Siebold is a large crescent-shaped shawl in which leaves unfold from top to bottom. I made the shawl in the photo in laceweight bamboo with a 3 mm hook.
Coming up
Summer vacation! I will be out of the office from July 21st to August 22nd. During this time I will read and answer emails a little less frequently than usual. Physical products ordered during this time period will ship after August 22nd.
Pattern downloads work all summer long!
Stitch patterns with post stitches (1)
Let’s continue our exploration of post stitches!
First, I need to complete the information in last month’s newsletter by showing the symbols for post stitches used in charts. As previously, I’m going to use post dc’s in my examples.
There are two types of post dc’s: front post double crochet (FPdc) and back post double crochet (BPdc).
This is the symbol for the FPdc:
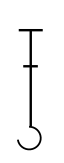
As you can see, it’s a dc symbol with a hook at the bottom.
Here is the symbol for BPdc:
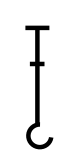
It looks much the same, but the hook at the bottom is turned in the opposite way.
You might also note that I have drawn the BPdc using a thicker line.
The orientation of the hook at the bottom of the symbol is rather standardized, but there is not always a difference in the thickness of the line used in the two symbols. I use it since I think this is a way to make post stitch charts (a little) clearer.
Now, let’s get on to the stitch patterns!
This month, I want to show you a few simple stitch patterns that use only post stitches (except for the set-up row and the selvedge stitches).
On the topic of selvedge stitches, most stitch dictionaries use a classic dc for stitch patterns worked in post dc’s. When the stitch pattern is entirely made with post stitches, I am not convinced that this is a good idea.
When rows of post dc’s overlap, each row adds less height to the work than a row of classic dc’s. So I suggest using hdc’s as selvedge stitches – let me know if it works for you!
Stitch pattern 1 – Post dc « ribbing »
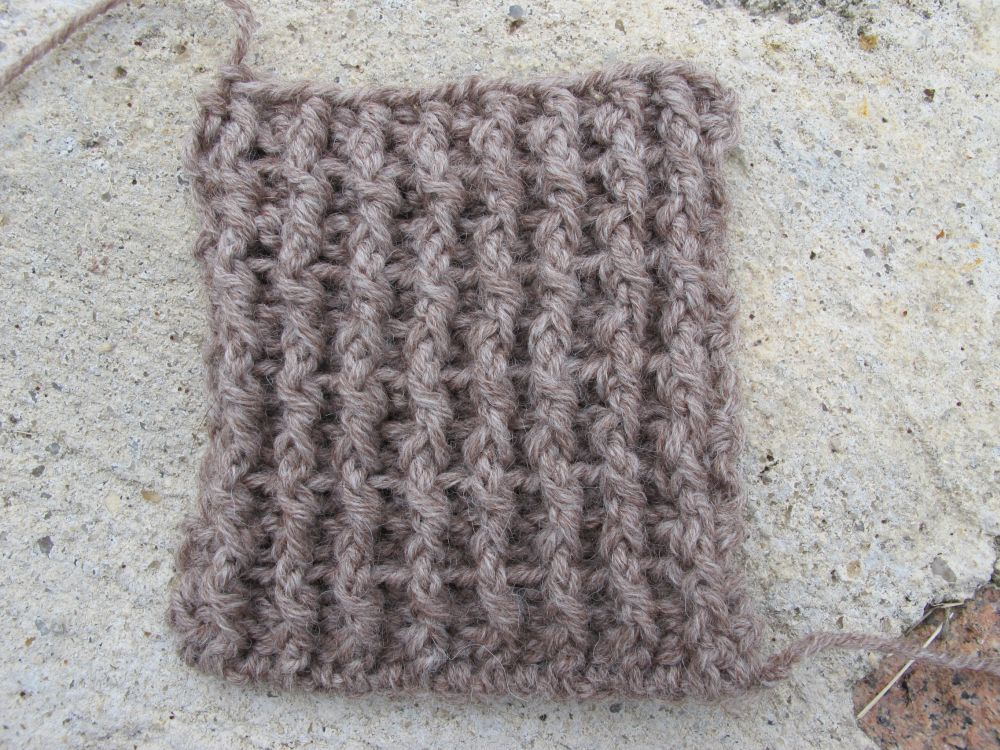
For this first stitch pattern, we are going to work the chart step by step to understand how to read it.
Chain 17 + 2 = 19.
Row 0 (= set-up row, WS): 1 dc in 3rd ch from the hook, 1 dc in each ch to end of row – there are 17 dc.
Row 1: Ch 1 (do not count as a st), 1 hdc in first st (= selvedge st), repeat (1 FPdc in next st, 1 BPdc in next st) to last 2 sts, 1 FPdc in next st, 1 hdc in last st (=selvedge st).
Here is the chart for these first rows:
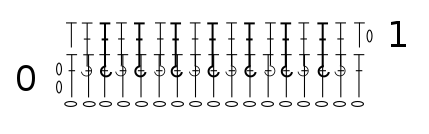
Row 0/the set-up row is a WS row – that’s why it starts on the left.
Row 1 is worked and shown exactly as written.
To understand how the next row is charted, you need to understand the specific characteristics of post stitches. For these stitches, there is a very clear difference between how they look on the front of the work and on the back of the work. Knitters may compare this to knit and purl stitches.
Usually, in a crochet chart, distinguishing the right side and the wrong side of the work isn’t important. The stitch is represented in the same way on right side and wrong side rows.
However, when it comes to post stitches, it is important to know what side of the stitch will show up on the right side of the work. As discussed last month, if you want a post dc worked on a WS row to look like an FPdc (a vertical column) on the RS, you must work a BPdc.
This means that when drawing the chart, there are two options.
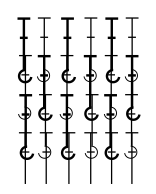
1) Each row is drawn as it should be worked. In our stitch pattern, this means that on row 2 (WS) there will be a BPdc above each FPdc. On row 3, the stitches are reversed again. This small example gives you an idea of how the chart would look:
I find this to be unclear and confusing.
2) The second option is to draw the chart to show the stitch pattern seen from the RS of the work. This means that the crocheter must know to invert the stitches on WS rows. However, the chart will show the finished stitch pattern more clearly, and it is easier to check for mistakes by comparing your work to the chart.
I’ve chosen the second option, which means that row 2 will be written and charted as follows:
Row 2: Ch 1 (do not count as a st), 1 hdc in first st, repeat (1 BPdc in next st, 1 FPdc in next st) to last 2 sts, 1 BPdc in next st, 1 hdc in last st.
 Another way to write row 2 would be to « work BPdc in BPdc and FPdc in FPdc » – referring to how the stitches look, and not how they were made on the previous row. This is clearly reflected in the chart.
Repeat rows 1 and 2 to desired height.
Stitch pattern 2: Basketweave
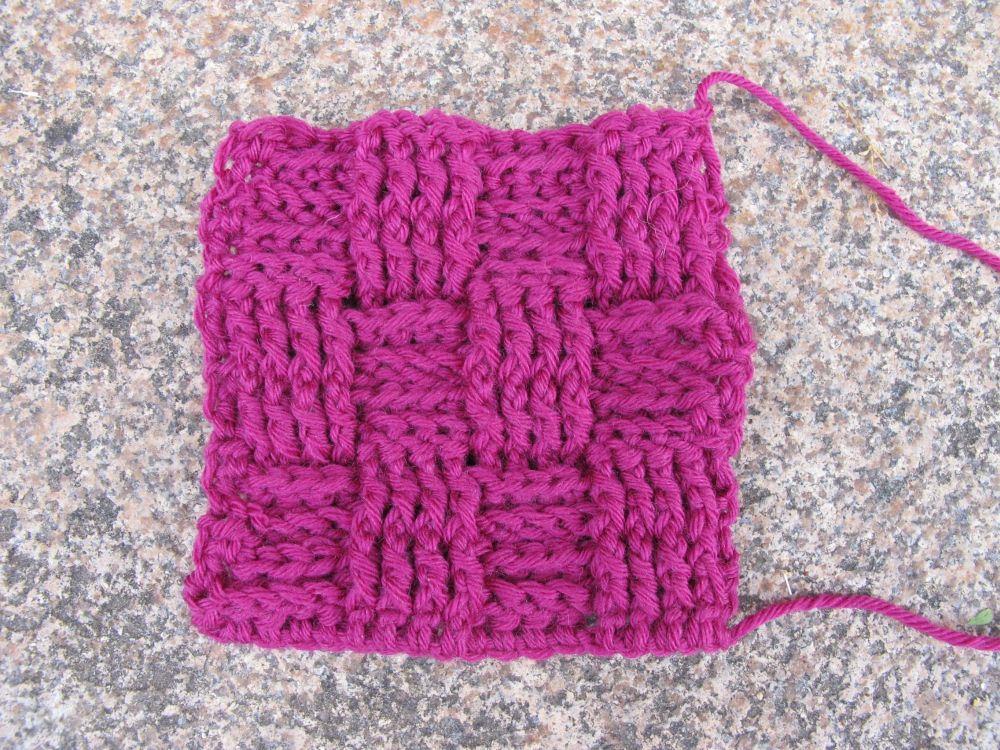
In the version shown here, each « square » in the basketweave includes 4 post dc’s and 4 rows.
 Ch 18 + 2 = 20.
Row 0 (= set-up row, WS): 1 dc in 3rd ch from the hook, 1 dc in each ch to end of row – there are 18 dc.
Row 1: Ch 1 (do not count as a st), 1 hdc in first st, repeat (1 FPdc in each of next 4 sts, 1 BPdc in each of next 4 sts) twice, 1 hdc in last st.
Rows 2 – 4: As row 1.
Row 5: Ch 1 (do not count as a st), 1 hdc in first st, repeat (1 BPdc in each of next 4 sts, 1 FPdc in each of next 4 sts) twice, 1 hdc in last st.
Rows 6 – 8: As row 5
Repeat rows 1 – 8 to desired height.
Stitch pattern 3: Post ripple
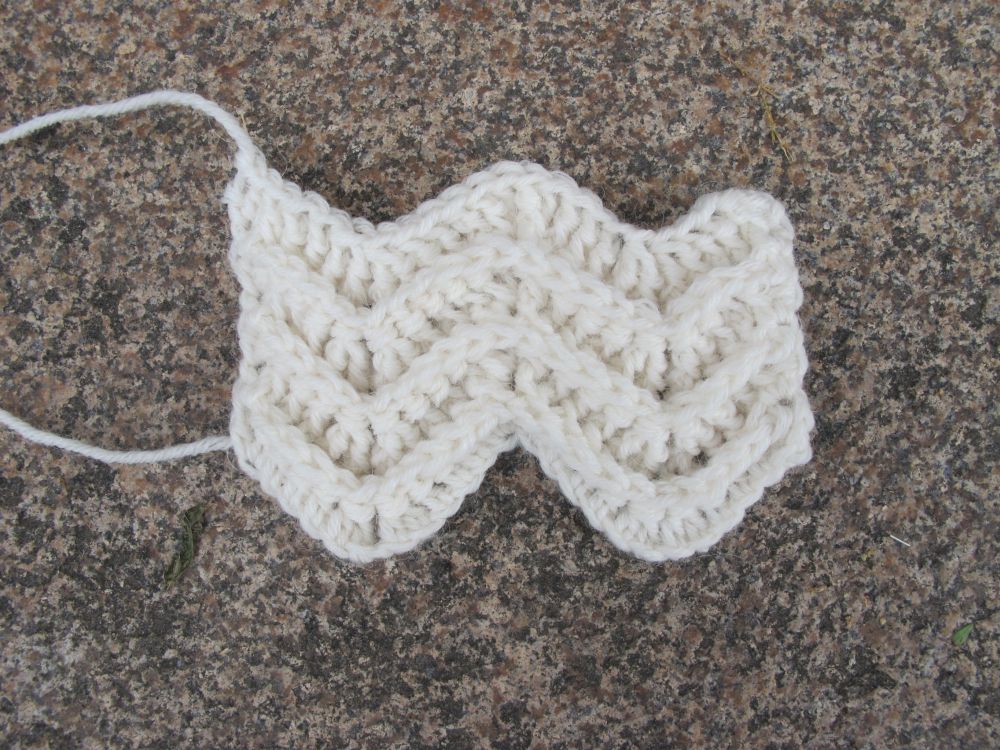
The third stitch pattern is a ripple pattern using only FPdc. Please note that the chart is drawn according to the principles stated previously – the stitches shown as BPdc are FPdc crocheted on the opposite side of the work.
In this stitch pattern, I put row 0 (= the set-up row) on the RS of the work. I used dc’s as selvedge stitches, to make it easier to see where to insert your hook on the following row, but if you prefer you might very well use hdc’s instead of the first and last 2 dc’s, starting on row 1.
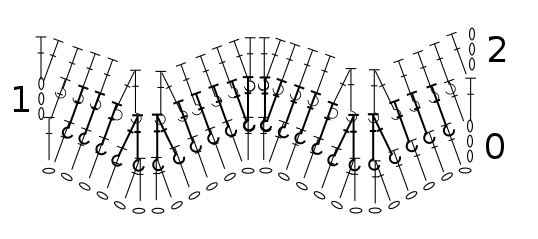
Ch 24 + 3 = 27.
Row 0 (= set-up row, RS): 1 dc in 4th ch from hook, * 1 dc in each of next 3 ch, repeat (dc2tog in next 2 ch) twice, 1 dc in each of next 3 ch, repeat (2 dc in next ch) twice; repeat once from * ending with 2 dc in last ch – there are 24 sts, counting the 3 ch at the beginning of the row as 1 dc.
Row 1 (WS): Ch 3 (count as a dc), 1 dc in first st, * 1 FPdc in each of next 3 sts, repeat (FPdc2tog in next 2 sts) twice, 1 FPdc in each of next 3 sts, repeat (2 FPdc in next st) twice; repeat once from * ending with 2 dc in last st.
Repeat row 1 to desired height.
I hope to have given you some ideas about how to experiment with stitch patterns entirely made of post stitches. If you know or invent others, please feel free to discuss in the comments below.
These stitch patterns are reversible, squishy and very thick since you add texture to both sides of the work on every row.
Next time, we will start exploring post stitches on a background of classic crochet – crochet cables!
See you soon!
