Newsletter February 2012: Turning without a chainNews:I know many of you have been waiting for it – the pattern for Guirlande, a gorgeous little shawlette designed by EclatDuSoleil is now available. Designed to show off a beautiful border found in a vintage booklet, Guirlande is worked in a fingering weight yarn. The twofold border, where each motif evolves at its own rhythm, makes this an interesting project for a slightly more experienced crocheter.More information in the shop.Olivia Ferrand has created a beautiful accessories e-book: The Roaring Twenties.
 This pattern collection includes a selection of Olivia’s whimsical designs with a vintage touch: knitted and crocheted hats, a stunning necklace and a pretty little collar.More information in the shop.Turning without a chainMore than two years ago, I discussed turning chains in this newsletter. I still teach my students not to substitute 3 ch for the first dc in a row, but to use 2 ch instead and work a normal dc in the first stitch. This is a practical and easily applied method, and I generally teach it in the beginners’ course.However, recently my talented friend Nathalie Mainsant showed me a swatch she had worked without any turning chains at all. I was, of course, fascinated by this possibility to skip the turning chain altogether and obtain an almost perfectly straight edge (I say almost, because nothing in crochet is ever « perfectly straight » – crochet stitches are slightly asymmetrical by nature).Nathalie sent me the link to a YouTube video and I started to experiment.I am still at the learning and experimenting stage, but I don’t want to wait any longer before sharing this technique with you. YouTube video or not, it doesn’t seem particularly well known. This is how I do it:
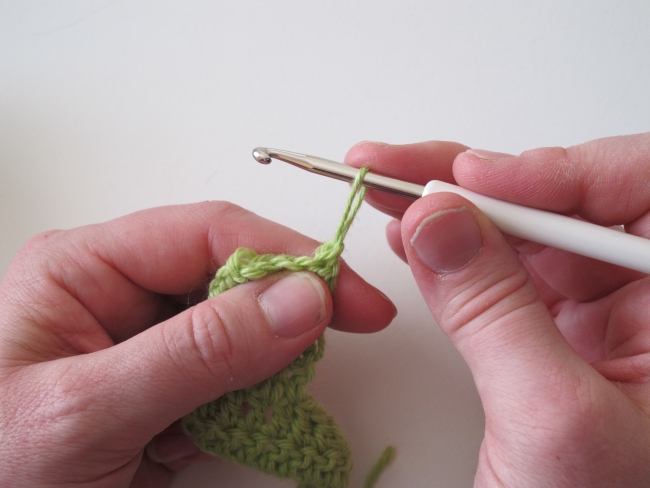 At the beginning of the row, after turning your work, pull up a loop approximately the height of a dc (or slightly taller). Note that my middle finger is clamped down on the loop, fixing it against the hook. This grip needs to be maintained throughout the stitch.
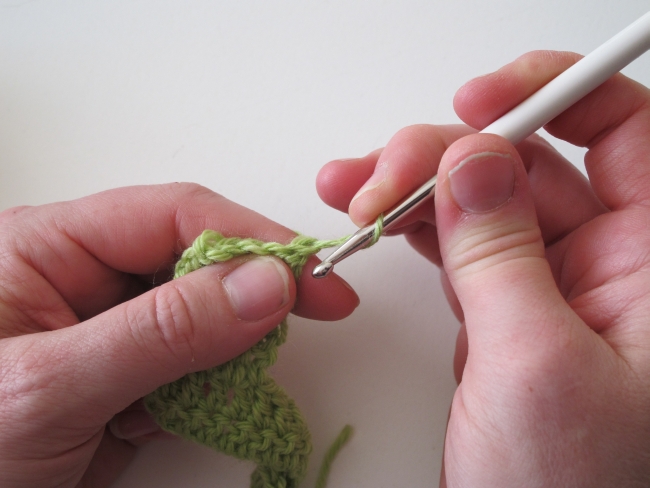 Yarn over using the loop as your yarn. The hook tip will go towards you, then under the loop and up.
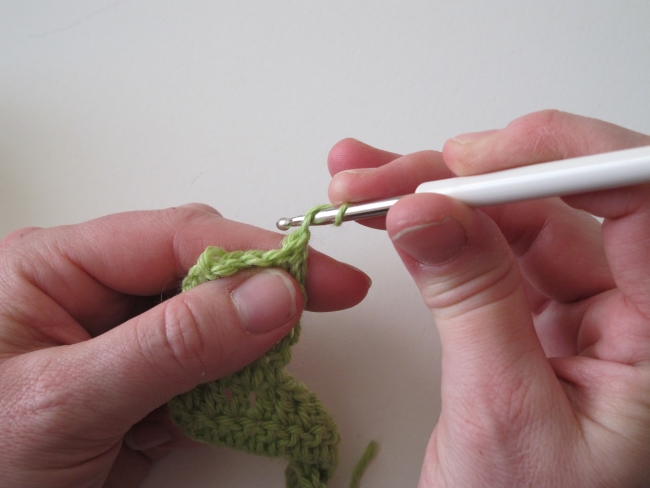
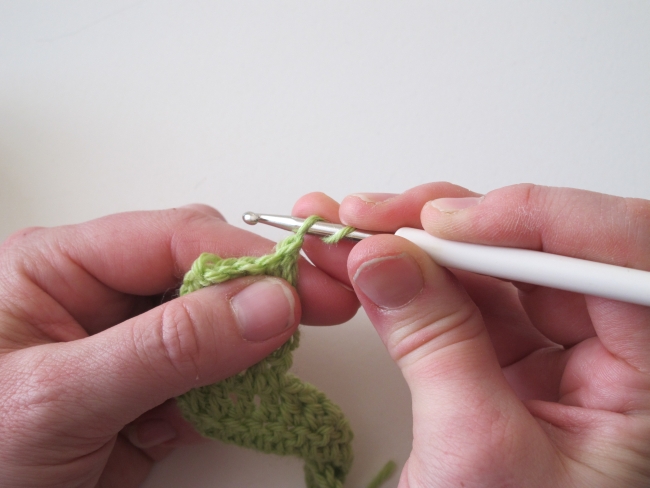 The yarnover (i.e., the loop) is on the hook, and I’m using my ring finger to hold it in place too. This is to avoid letting the first loop on the hook get too tight, which would make it difficult to work into it on the next row.
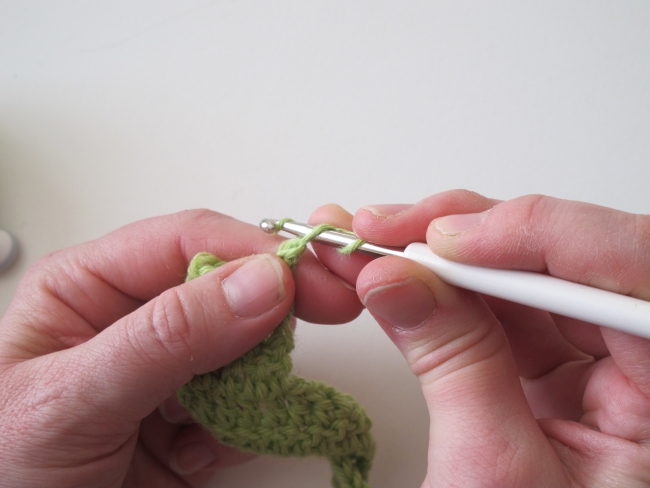 Yarn over, using the yarn this time…
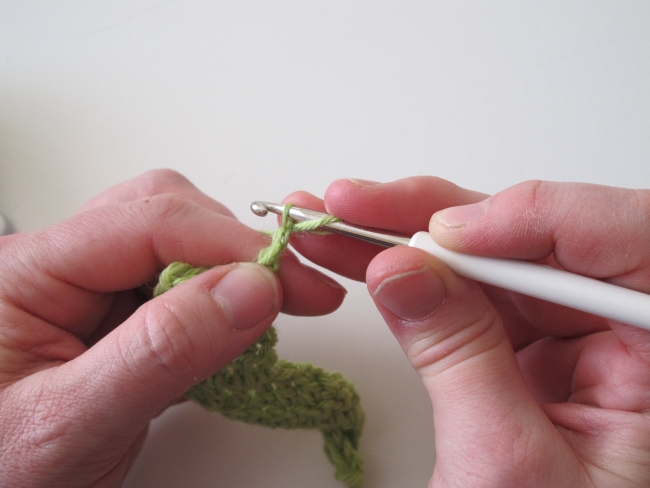 … and pull through one loop on the hook, the one held by the ring finger. You have two loops on the hook.
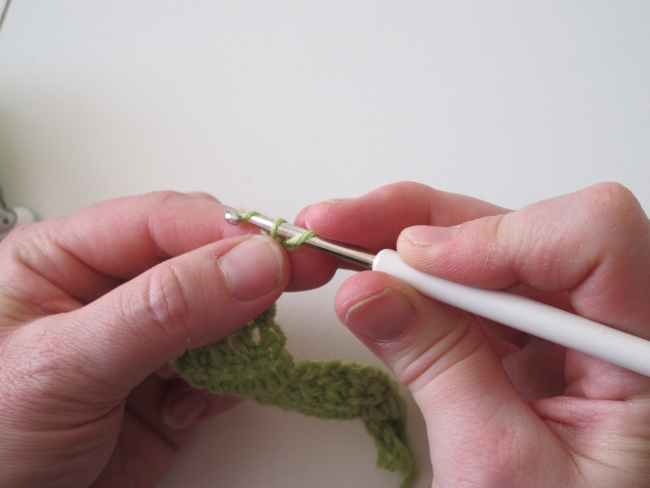 Yarn over again and pull through the remaining two loops on the hook.
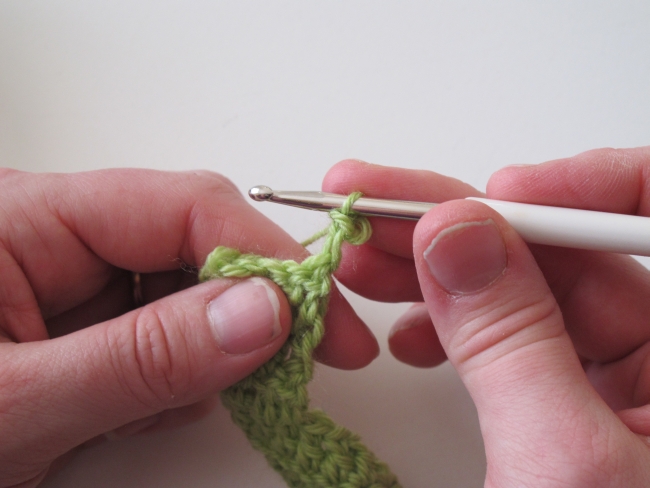 The stitch is complete. My stitch isn’t perfect, but I’m convinced it will get better with practice. The top loop of the stitch looks very loose, but that’s intentional.
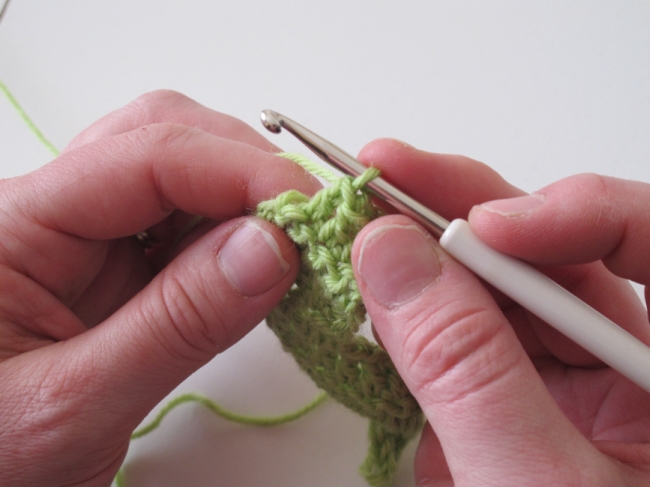 When you arrive at the end of the row, the top of the first stitch in the previous row looks a bit large and sloppy.
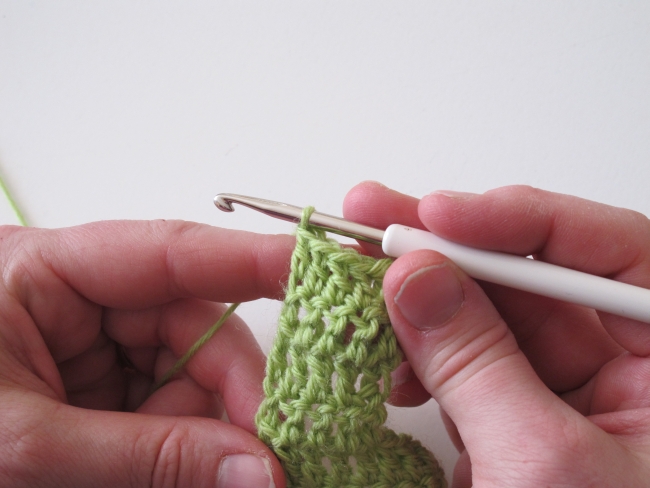 However, once you have worked a dc in it, it looks much neater.
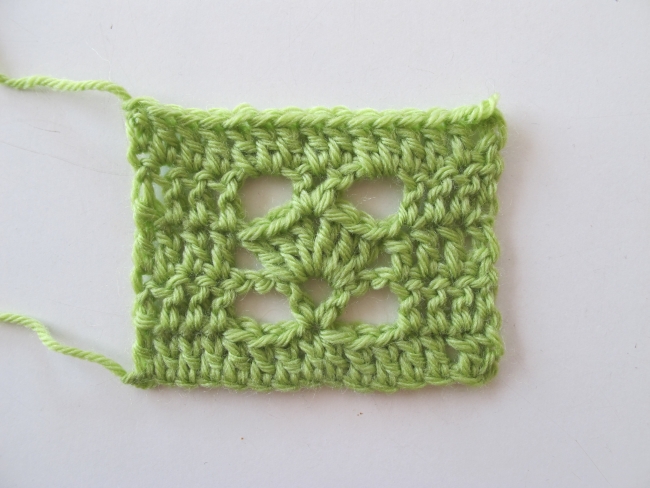 Here is a small swatch worked in this technique. Look at those pretty, straight edges!This is the original YouTube video Nathalie directed me to:http://youtu.be/3LxYpo-tyi8The author of the video (TXCr1cket) has further developed the technique using a bent paper clip:http://youtu.be/I-eQdMYktysI didn’t really like the idea of using the paper clip in my crochet, but you might find that it suits you. In the method I describe above, holding the second loop on the hook with your ring finger is another way to solve the problem of the tight stitch top.If you try this method, or any variation of it, to start your rows without a turning chain, I’d be very happy to hear about your experience!See you soon!
