
The adjustable loop:
This month, I want to talk about a simple and very useful way to start crocheting in the round: the adjustable loop.
To many of you, this may be old news. However, when I learned to crochet, I had no idea that there was another way to start a motif in the round than working a short chain and joining with a slip stitch to a ring. I was sometimes annoyed by the little hole in the center of my work (especially when making hats and bags) and simply didn’t know there was a way to avoid it.
So for those who are in the same situation, and for those who need a little reminder on how to do this, here is how I work the adjustable loop!
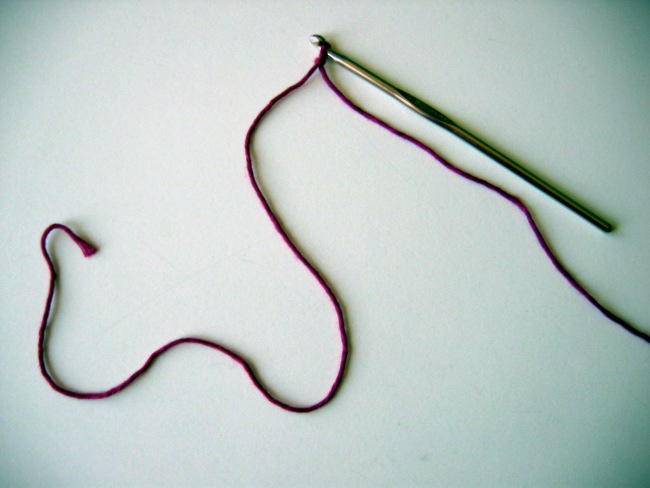
Start as usual by making a slip knot – but make sure to leave a slightly longer tail end than you would normally need.
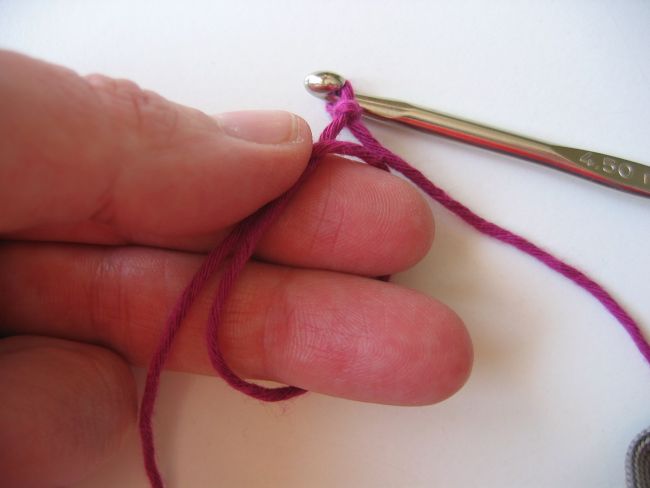
Put the tail over your index and middle finger.

Pass the tail around these fingers, to form a loop.

Hold the two strands in the loop firmly with your thumb (this is where it can get a bit fiddly before you get used to the technique) and start crocheting over both strands.
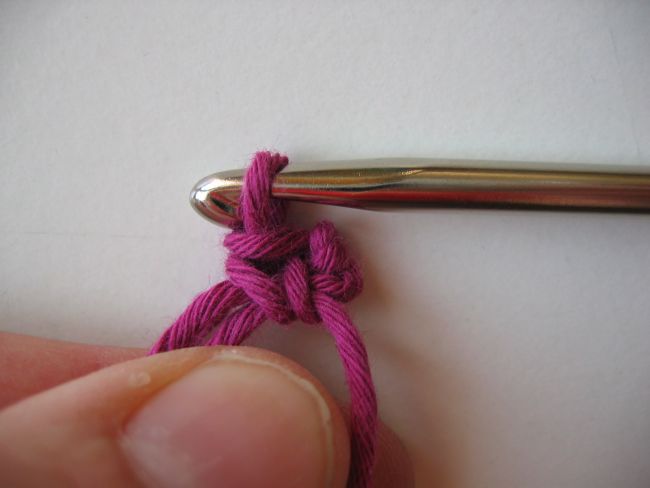
First stitch made.
Continue working the desired number of stitches – here, a total of 6 single crochet.

Now, pull on the tail end to tighten up the loop.
Here, the hole in the middle is closed, and you can’t comfortably tighten more:

To form your circle, you will now need to close the round with a slip stitch in the first stitch.
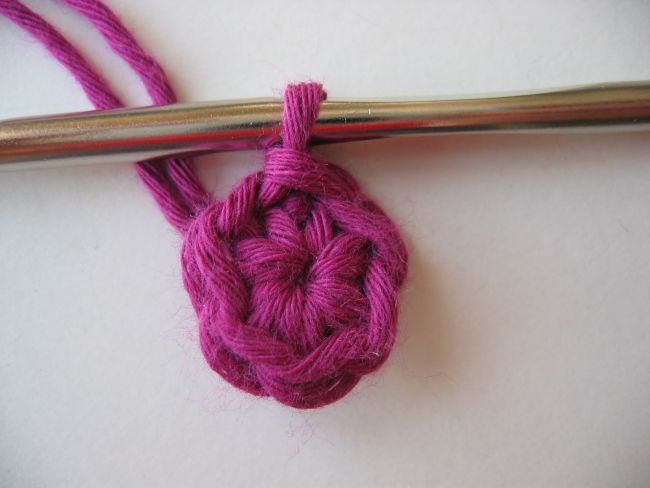
This technique is also perfectly applicable to taller stitches, such as double crochets. I have seen instructions to chain two or three stitches before working the first dc. I personally don’t – I think it complicates my crocheting life without good reason.

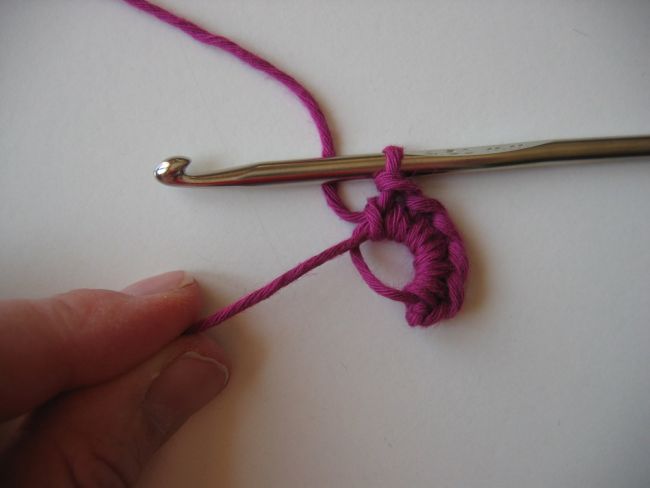
Above you can see the first double crochet worked in the loop. To the right of the stitch, you can spot the slip knot and the strand of yarn going down from there. It is the tail end, which you will use to tighten up the loop. This means you will have to be a little careful when you tighten the loop, so as not to distort the first stitch too much.
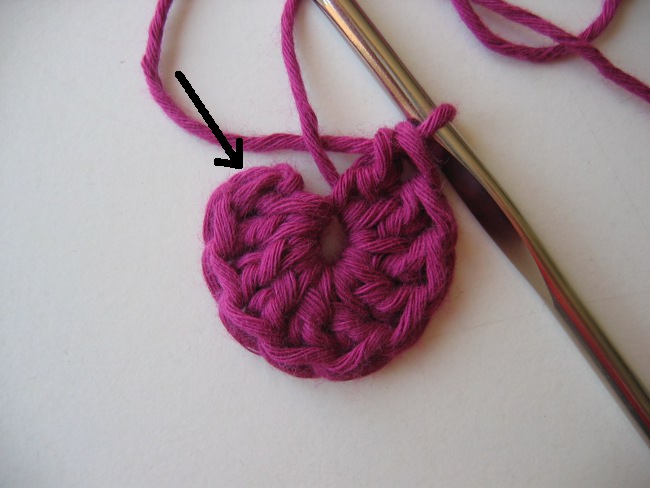
Can you see how the first stitch (at the arrow) is slightly distorted, due to the pulling on the tail? It’s best to stop right here and close the round with a slip stitch in this stitch, in order to stabilize it.
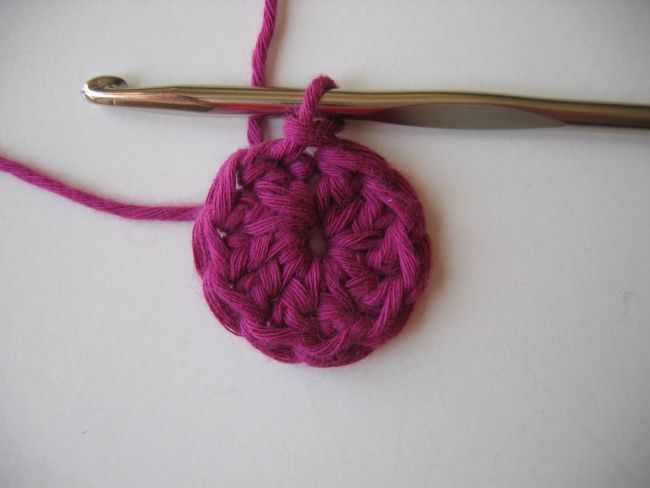
Here is your double crochet circle. If required, you could continue pulling on the tail. However, it doesn’t look necessary. There is still a tiny hole in the middle, but that is hard to avoid when there are more than six stitches in the first round. Also, by insisting too much when tightening the tail, it is possible to make the center too small – which will lead to puckering.
So try this technique the next time you are starting a project in the round!
Your computer wallpaper for July is available here.
See you soon!