

Voici la deuxième étape de La Colo du Tricot 2015. Si vous venez sur cette page après le 31 août 2015, la colo est finie, mais vous pouvez toujours profiter du tutoriel !
This is the second step in the 2015 Knitting Summer Camp. If you reach this page after August 31st 2015, summer camp is over, but the tutorial is of course still here for you!
Il vous faut une paire d’aiguilles à tricoter classiques.
You will need a pair of ordinary knitting needles.
On va intégrer des bordures en tricotin dans un échantillon. Les bordures vont se former petit à petit tout au long du travail (il ne s’agit donc pas d’une bordure appliquée après coup). Chaque bordure « mange » 3 mailles – pour travailler confortablement, je recommande de monter au moins 16 mailles pour votre échantillon. Je vous propose de tricoter votre échantillon en point mousse – vous testerez d’autres points quand vous aurez compris le fonctionnement.
We are going to work i-cord borders in a swatch. These borders are worked at the same time as the project (it is not an applied i-cord, added after the fact). Each border will « eat » 3 stitches – in order to work comfortably, I recommend working a swatch of at least 16 stitches. I recommend working the first swatch in garter stitch – you can try other stitch patterns when you have understood how it works.
1 : Une bordure tricotin en début du rang
1: An i-cord border at the beginning of the row
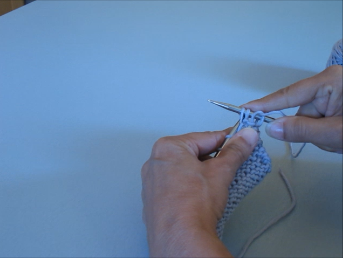
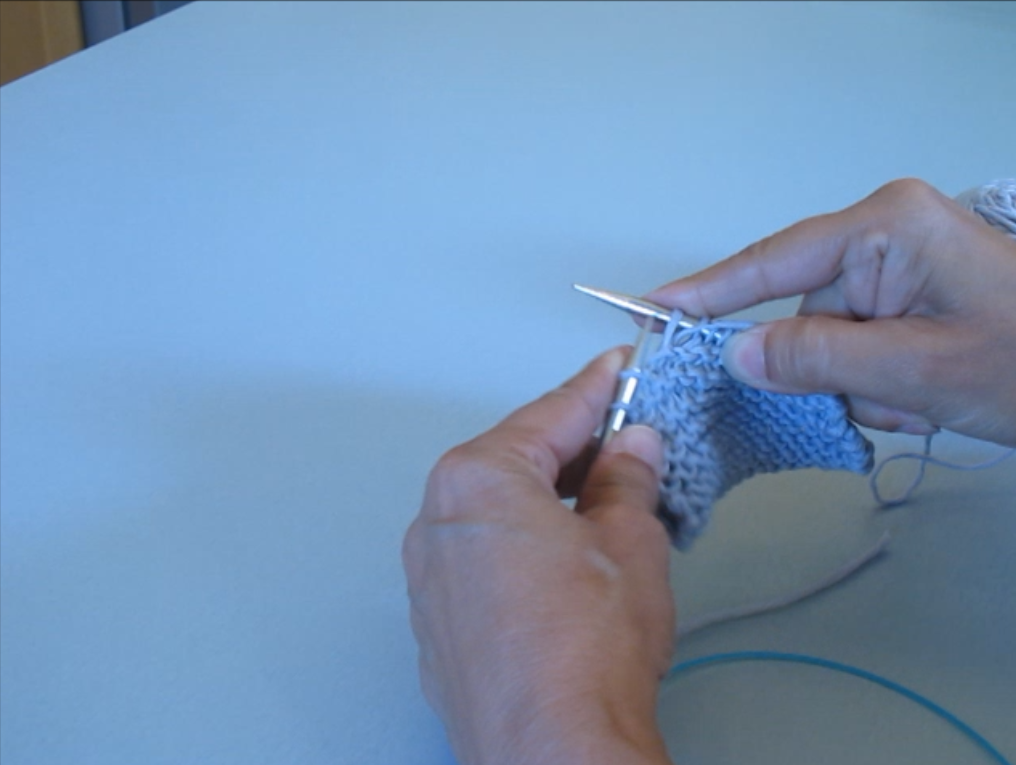
Avec le fil vers vous, glissez les 3 premières mailles comme pour les tricoter à l’envers.
Slip 3 stitches purlwise with the yarn in front.
Passez le fil entre les aiguilles, de l’avant vers l’arrière.
Bring the yarn between the needles, from front to back.
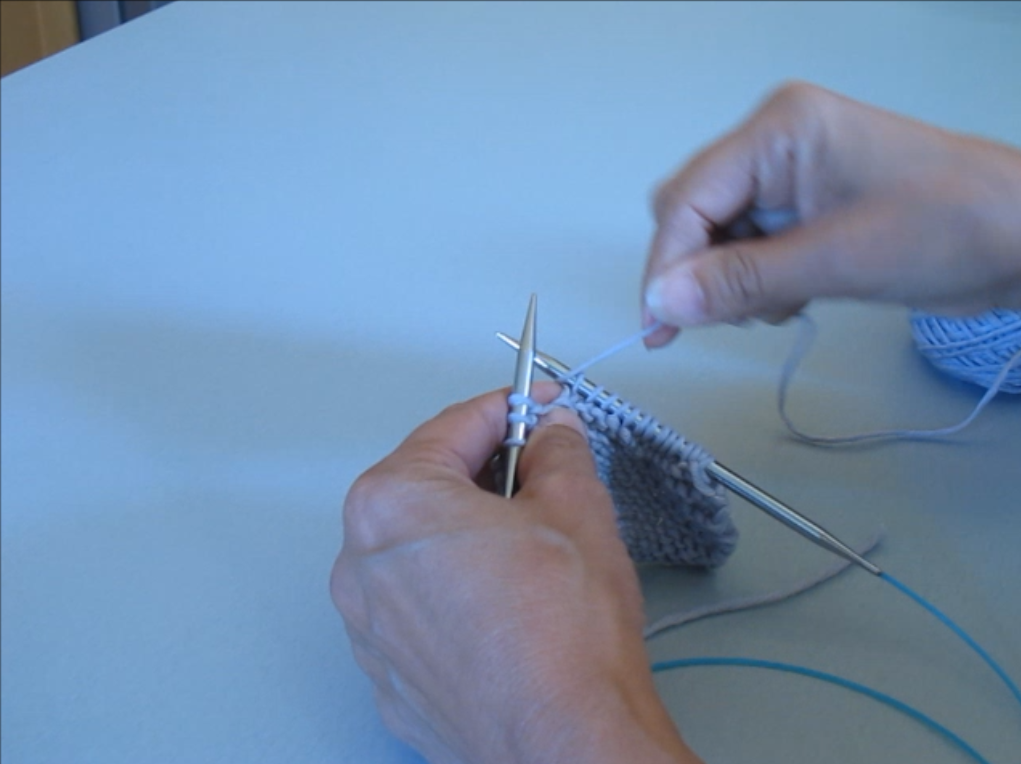
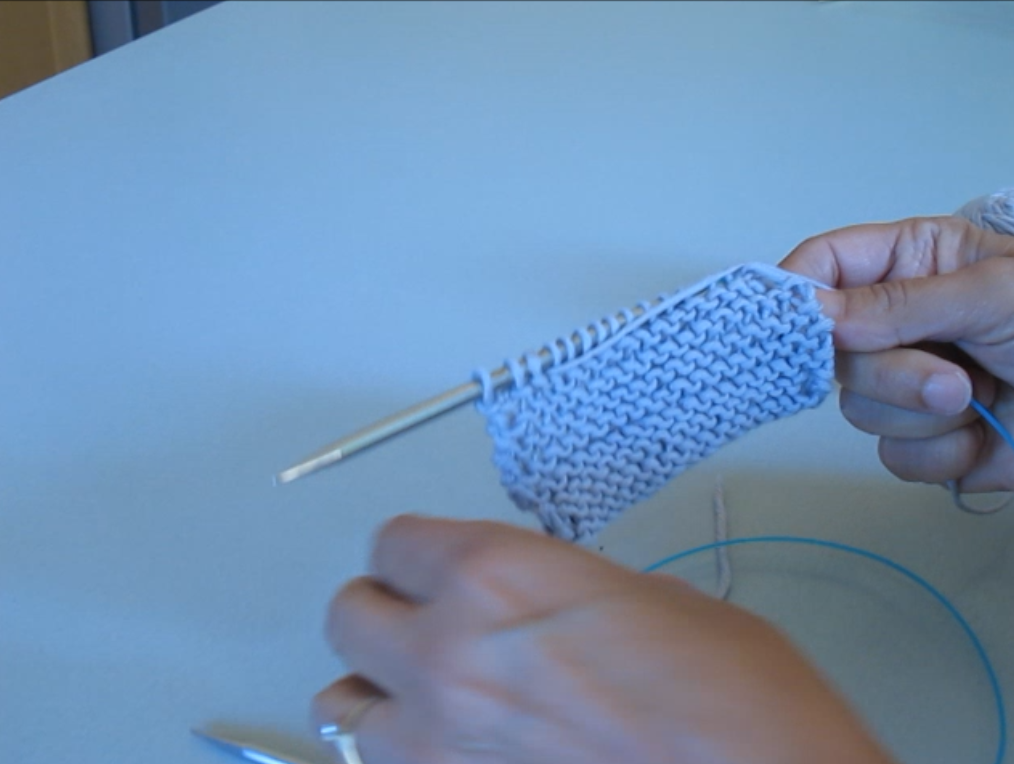
Continuez à tricoter le rang normalement. Au départ, le fil pendait au début du rang. Vous l’avez ramené entre les aiguilles du devant vers l’arrière. Quand vous tricotez la quatrième maille du rang, le fil va tirer les 3 mailles glissées vers l’avant et les replier sur elles-mêmes. Cela crée un petit « rouleau », qui formera au bout de quelques rangs un joli tricotin le long du bord du travail.
Continue working the row as usual. At the start, the yarn hang from the beginning of the row. You pulled it between the needles from front to back. When you work the 4th stitch in the row, the yarn will pull the 3 slipped stitches to the front and back on themselves. This creates a little « roll », which shapes itself to a pretty i-cord along the edge after a few rows.
Si vous répétez cette opération au début de chaque rang, en terminant le rang normalement, vous obtiendrez des tricotins le long des deux bords.
If you repeat this at the beginning of each row, finishing the row as usual, you will obtain an i-cord border along both edges.
2 : Une bordure tricotin à la fin du rang
2: An i-cord border at the end of the row
On peut aussi créer le tricotin à la fin du rang.
You can also create the i-cord edging at the end of the row.
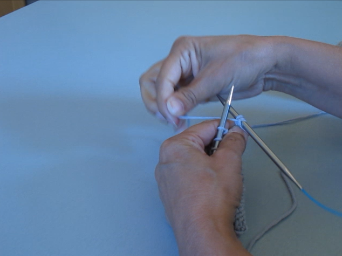
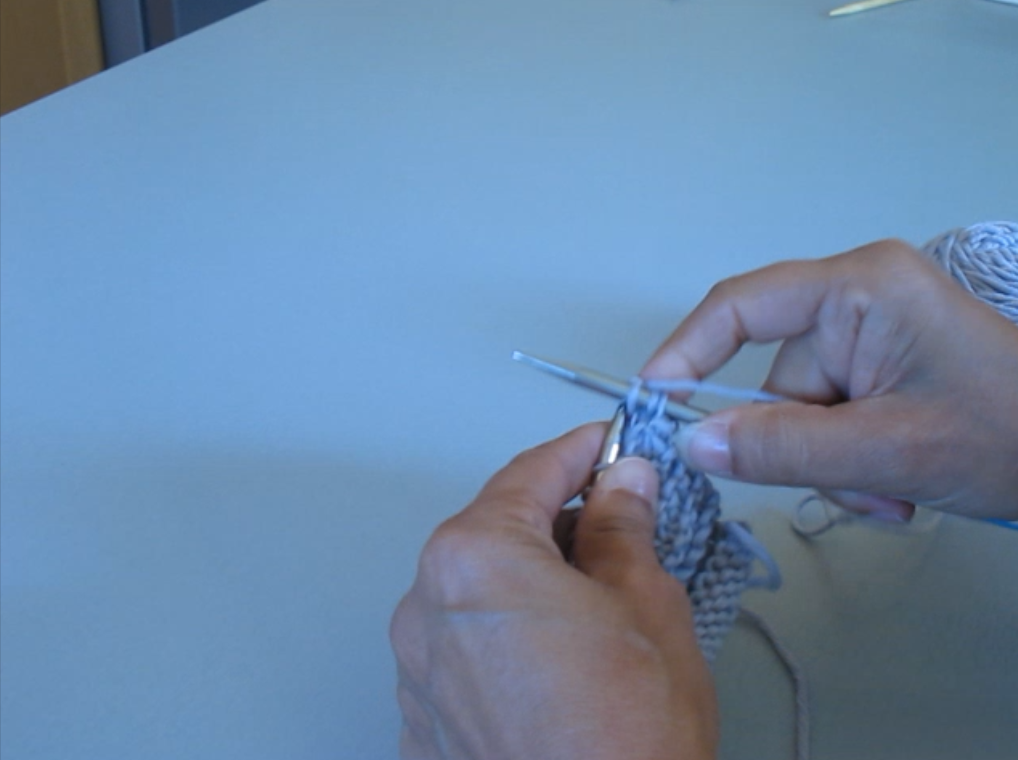
Tricotez jusqu’à ce qu’il reste 3 mailles à la fin du rang. Si vous tricotez à l’endroit, le fil sera sur l’arrière du travail. Ramenez-le vers vous entre les aiguilles. (Si vous tricotez à l’envers, vous laissez simplement le fil sur le devant, vers vous.)
Work until 3 stitches remain at the end of the row. If you are knitting, the yarn will be in back. Bring it forward, towards you, between the needles. (If you are purling, simply leave the yarn in front.)
Glissez les 3 dernières mailles comme pour les tricoter à l’envers.
Slip the last 3 stitches purlwise.

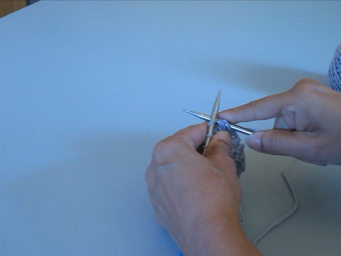
Tournez. Le fil ne pend pas du bout du rang, mais à 3 mailles du bord sur l’arrière du travail.
Turn. The yarn doesn’t hang from the end of the row, but on the back at 3 stitches from the edge.
Commencez à tricoter le rang normalement. Le fil va passer derrière le travail vers la première maille du rang, qu’il repliera sur l’arrière. Un « rouleau » va se former. C’est exactement la même chose qui se passe lors de la réalisation d’un tricotin/i-cord simple. Au début, cela ne ressemble à rien, mais après quelques rangs vous verrez la jolie bordure arrondie se former.
Start working the row as usual. The yarn will run behind the back towards the first stitch in the row, and pull it backwards to form a « roll ». It’s exactly the same thing as when you make a simple i-cord. To start with, it doesn’t look very nice, but after a few rows you will see the pretty rounded border take shape.
Comme dans le premier cas, en répétant l’opération à la fin de chaque rang, vous obtiendrez des bordures en tricotin aux deux bords.
As in the first case, if you repeat this at the end of every row, you will get i-cord borders on both edges.
Et pour les images qui bougent, c’est sur YouTube !
And for moving pictures, it’s on YouTube!
Si vous trouvez les photos de ce tutoriel un peu moyennes, c’est parce qu’elles sont extraites de la vidéo. Merci pour votre compréhension.
If you find the photos in this tutorial a little lacking in quality, it’s because they are extracted from the video. Thank you for understanding
et cela rend si bien…c si beau…mais faut que je trouve le temps toujours…lol