
News
My latest pattern is an easy, reversible knitted scarf : Vera!

The pattern is available both on my website and on Ravelry.
And also over on Ravelry, the 2018 gift-along (GAL) is in full swing. I am one of the 349 participating independent designers.
You can take part in the giftalong via the Ravelry forum. There is also an Instagram challenge during the entire event (until Dec 31, 2018) – my posts for the challenge are in English, and I will try to participate as much as I can. Follow me on Instagram.
Weave in your ends as you go
You are absolutely free to dread weaving in ends. Personally, I must admit that I don’t find the task that boring, and sometimes it can almost feel a bit meditative – but I know perfectly well that not everyone shares this feeling!
If you can avoid or simplify this step, why not? Especially when crocheting with many different colours, the number of ends to weave in can be daunting. This is why I want to share my ideas on how to weave them in as you go.
The basic principle:
To weave in an end as you go, you can hide and secure it in new stitches as you work them.

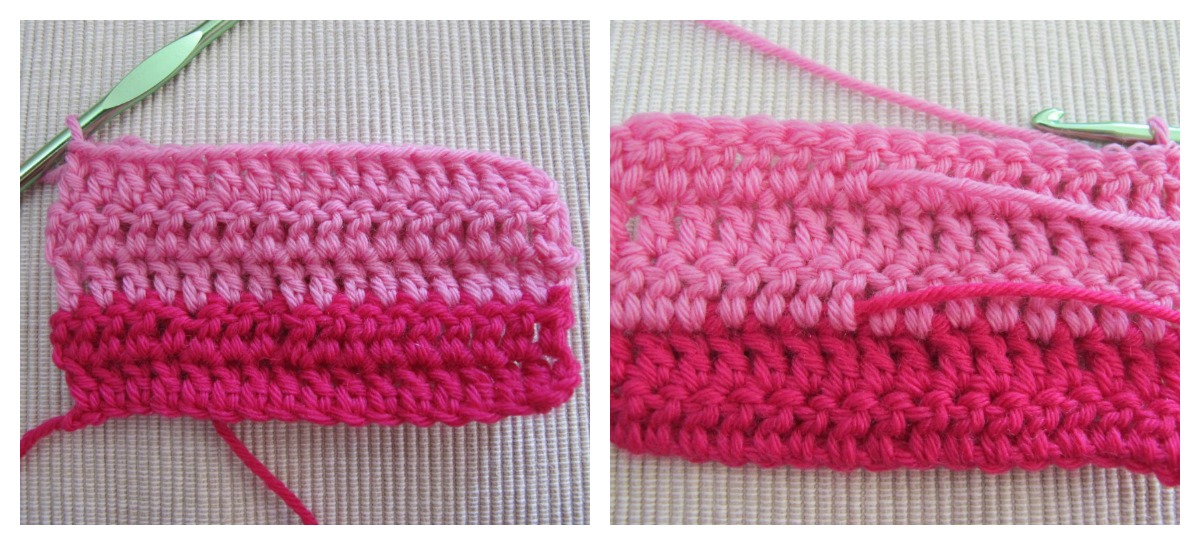
Here I’ve just changed colours from hot pink to light pink. To weave in the light pink end while I’m working the first row in this colour, I place the end on top of the previous row.

To work the stitches in the new row, I insert my hook in the (hot pink) stitch in the previous row AND under the end to be woven in. From there I work my stitch as usual.
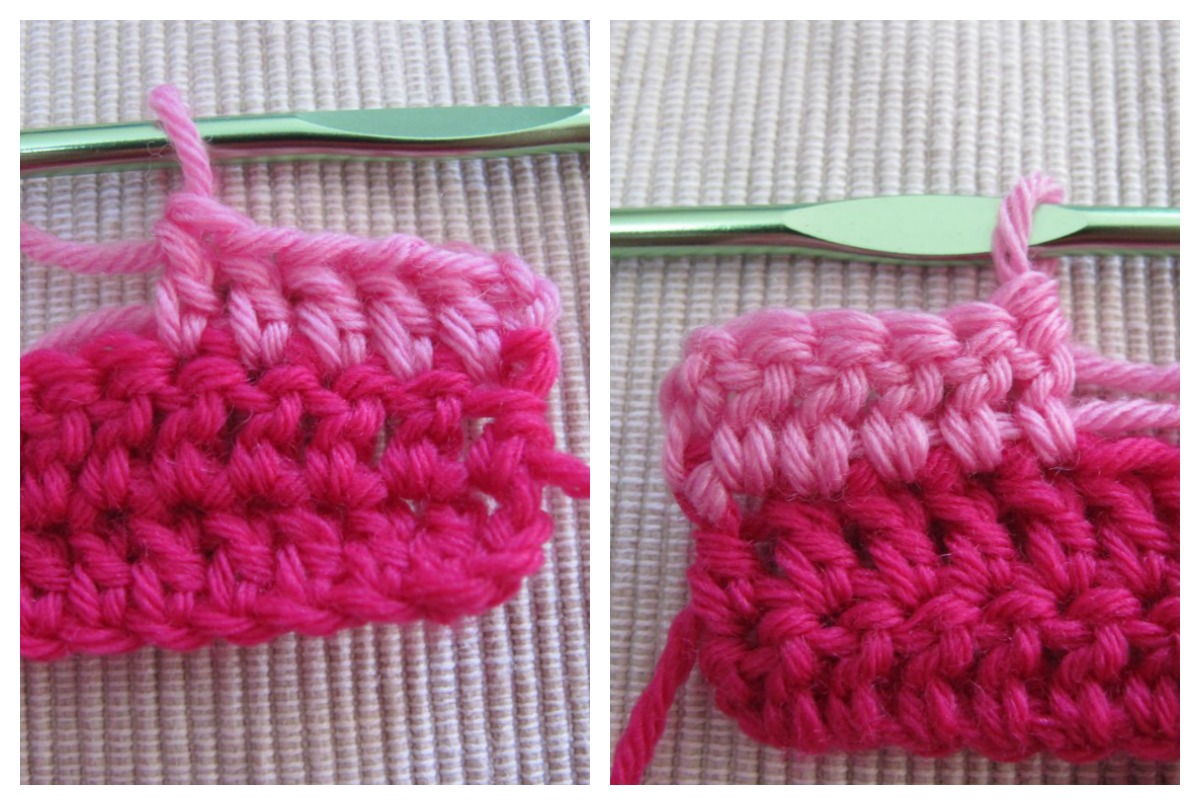
On the front (photo at left), the secured end is invisible. On the back (photo at right) it barely shows. You can play with the placement of the end you are securing (a bit towards the back, a bit towards the front, well centered over the previous row) to see what works best for you. In this flat swatch worked back and forth with a right and a wrong side, I held the yarn a bit towards the back.
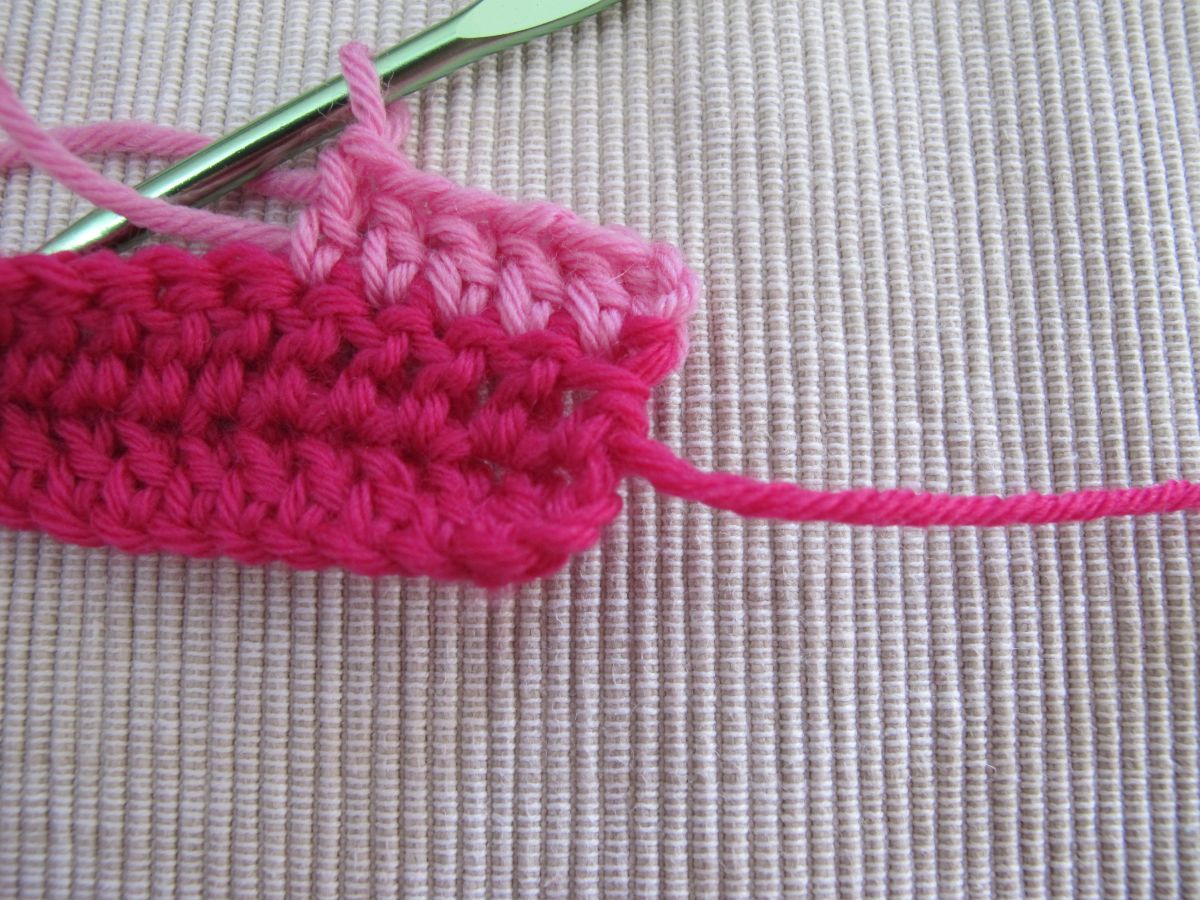
But there is still the hot pink end! To weave it in, I suggest we rewind and go back to the start of the light pink row.
To manage the two ends, I suggest that you start instead with the hot pink one, which you hold along the last row in the same colour. This doesn’t show quite as clearly in the photos, and that’s the reason I didn’t start by showing it this way, but it’s the smarter choice!
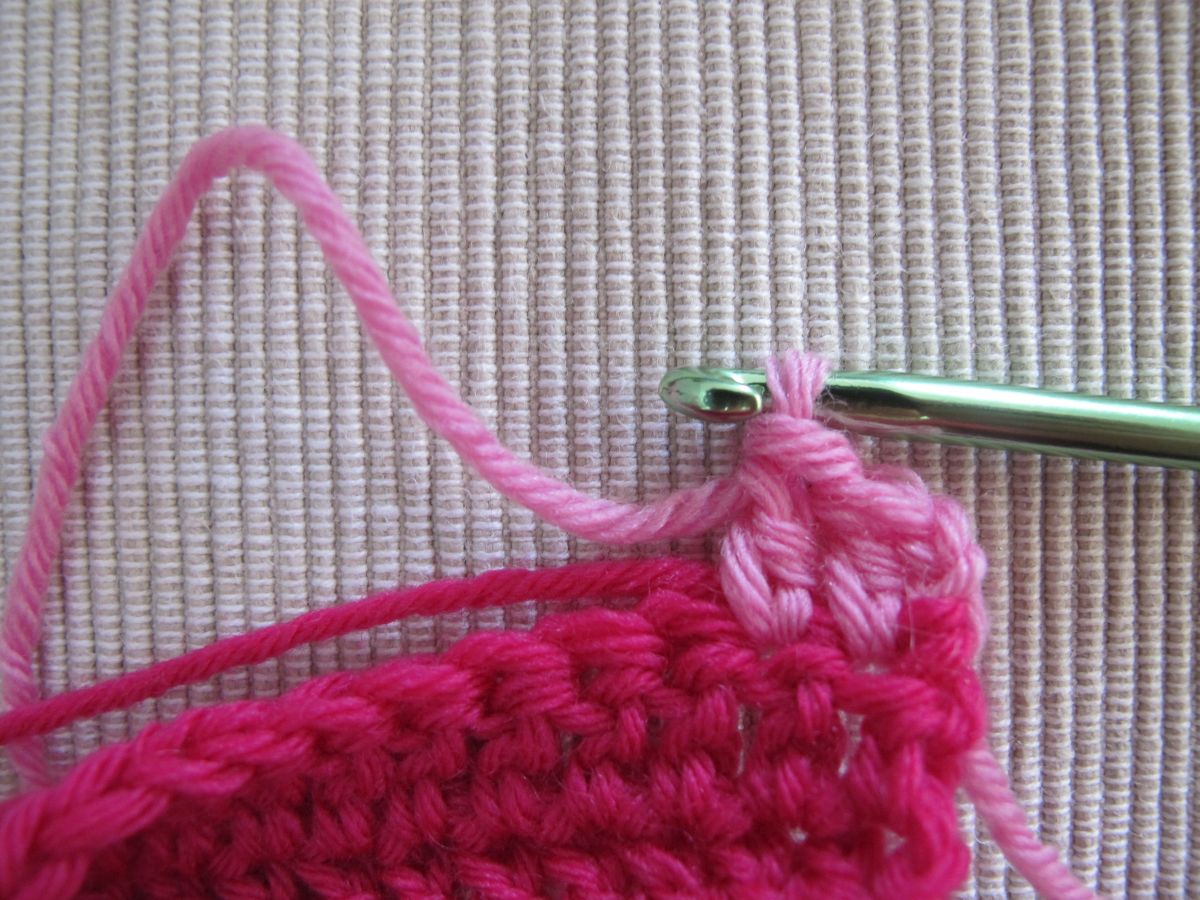
We will carry up the light pink yarn by crossing the yarns at the selvedge (see the newsletter from April 2018 for a detailed tutorial on this technique). When starting the third row in the new colour, hold the end along the previous row, working over it as before.
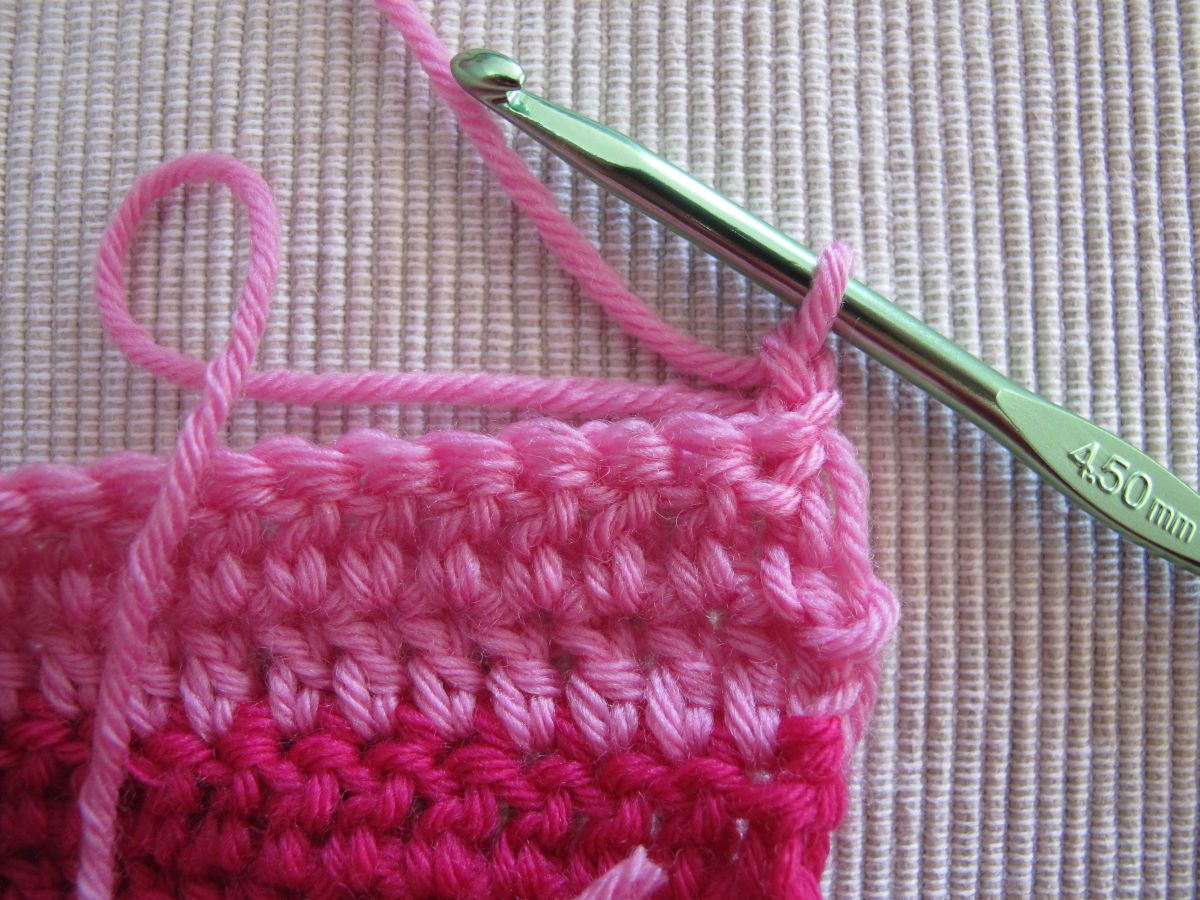
On the front (photo at left), it’s perfect, and on the back (photo at right), it’s not too bad, if I may say so myself. All we need to do now is cut the ends.
To conceal the ends as well as possible, try to weave them in directly on top of a row in the same colour. It’s a good rule to remember also when you change colours in the middle of a row, or when working a tube in the round.
There is one situation in which I do not recommend this way of weaving in your ends – when you work several two-row stripes, changing yarns at the same selvedge every time.
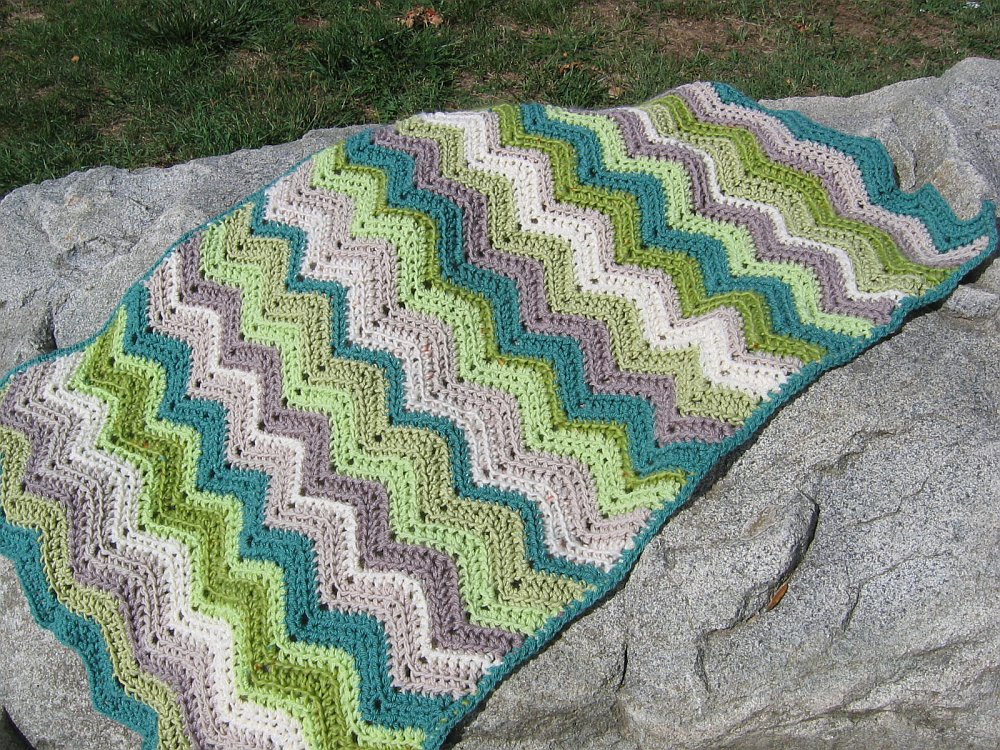
In this baby blanket (crocheted in 2009 – the recipient will soon turn 10…), I refrained from weaving in the ends as I went, since the many colour changes close to one another at the same selvedge distorted the blanket.
When you work over a yarn end, the end will add a little bit of height to the row. If the changes are not too frequent, this will be unnoticeable. But if you see that the selvedge where the changes are made is distorted and becomes taller than the other one, it’s best to choose another solution.
And now, let’s work in the round!

This is the start of a small motif: 6 chains closed to a ring with a slip stitch. We are going to get rid of the starting tail at once.
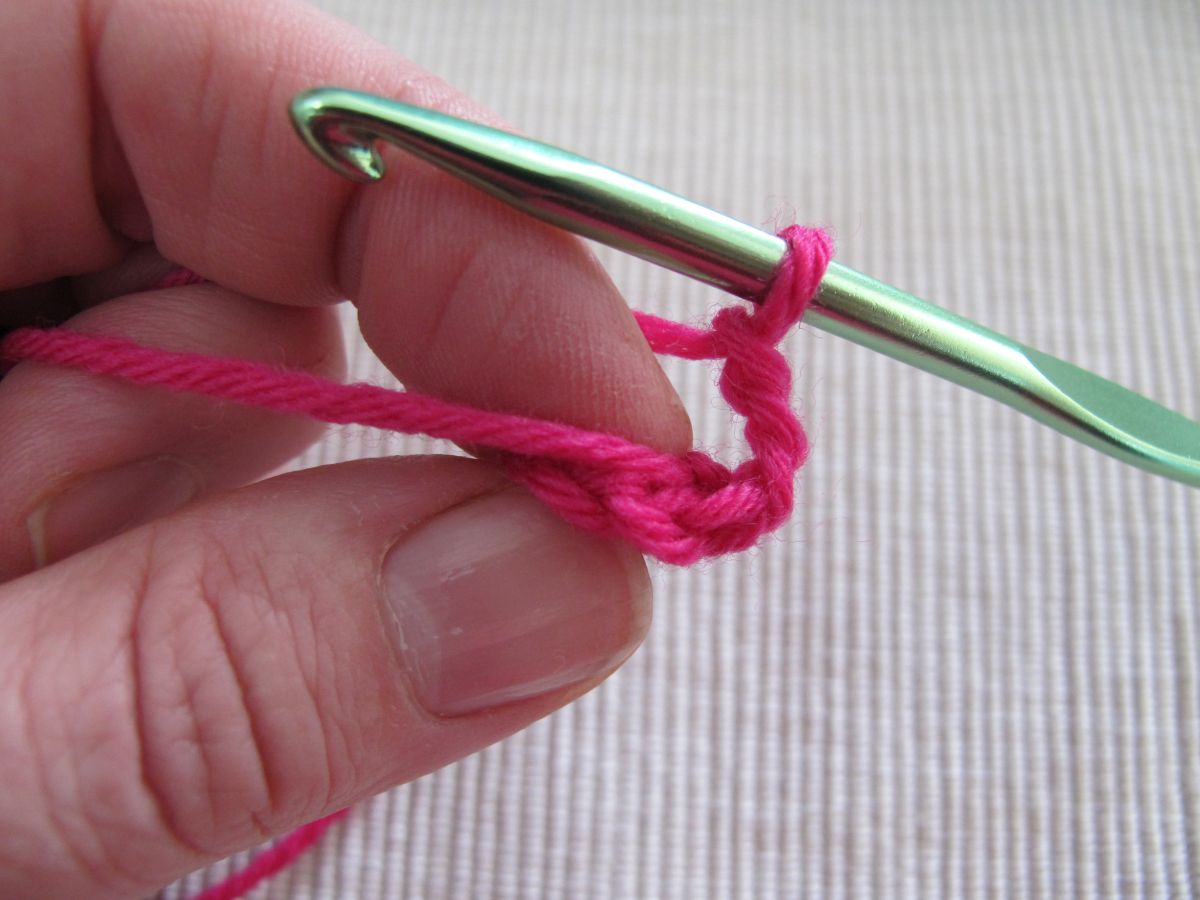
I’m using exactly the same technique as previously, holding the tail along the ring as I work the first round of the motif.
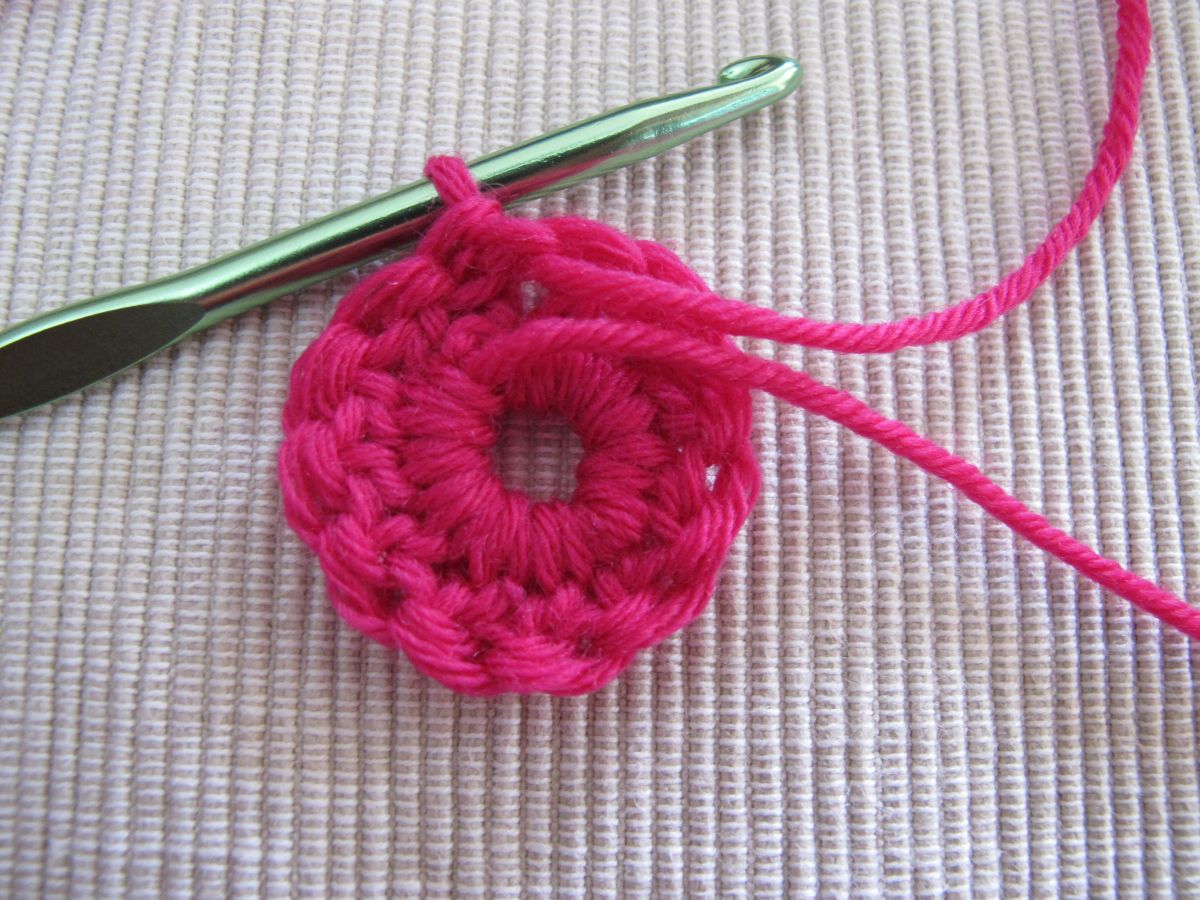
This is the back of the motif at the end of the first round. The starting end is now well secured by all the stitches in the first round. If you don’t want to leave it there for another reason, you can cut it at once.
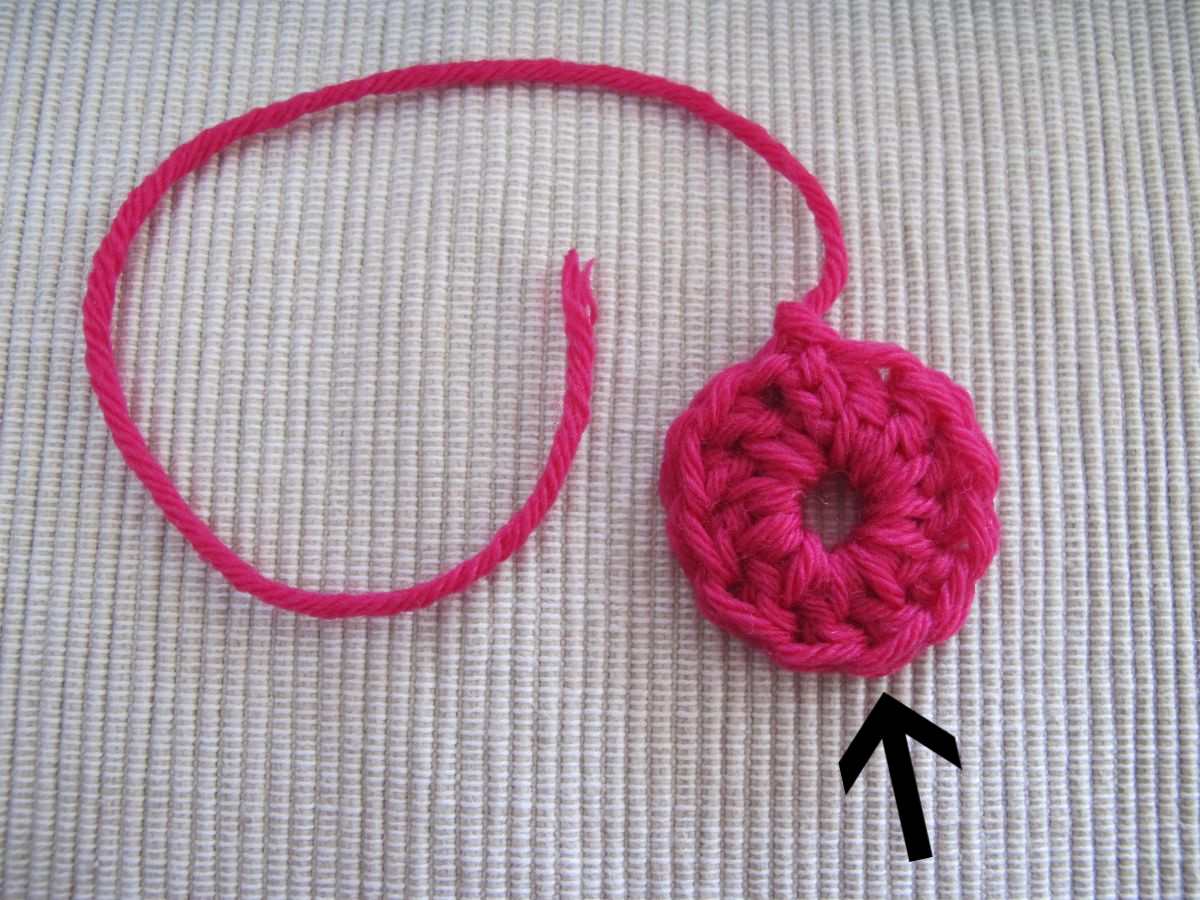
The next round is worked in another colour. I’m going to start the second round on the side opposite the first round, at the arrow.
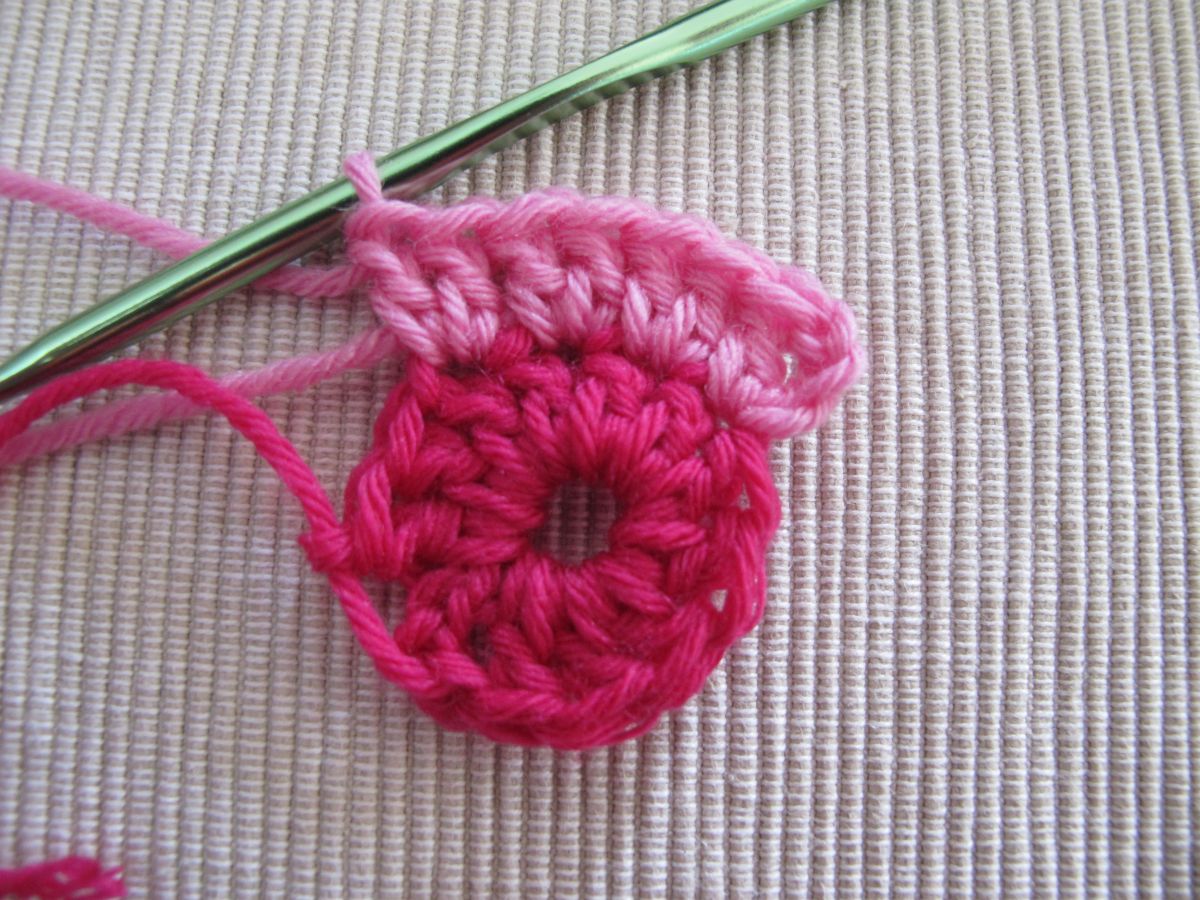
I weave in the light pink end as I work the first stitches in the round.
When I get to the hot pink end, the light pink one is well secured. I can now continue working around the hot pink end.

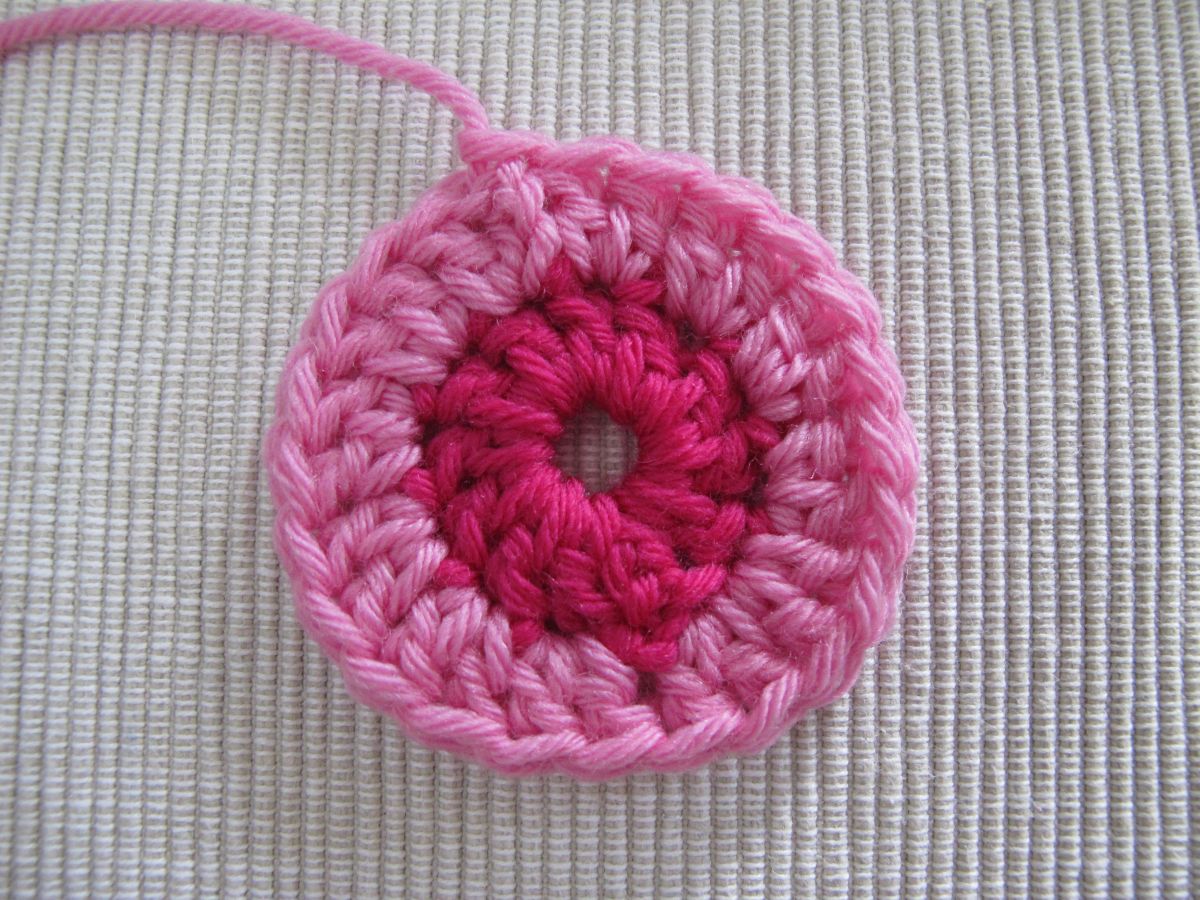
At the end of the second round, all I need to do is turn my motif upside down and cut the ends that have been woven in.
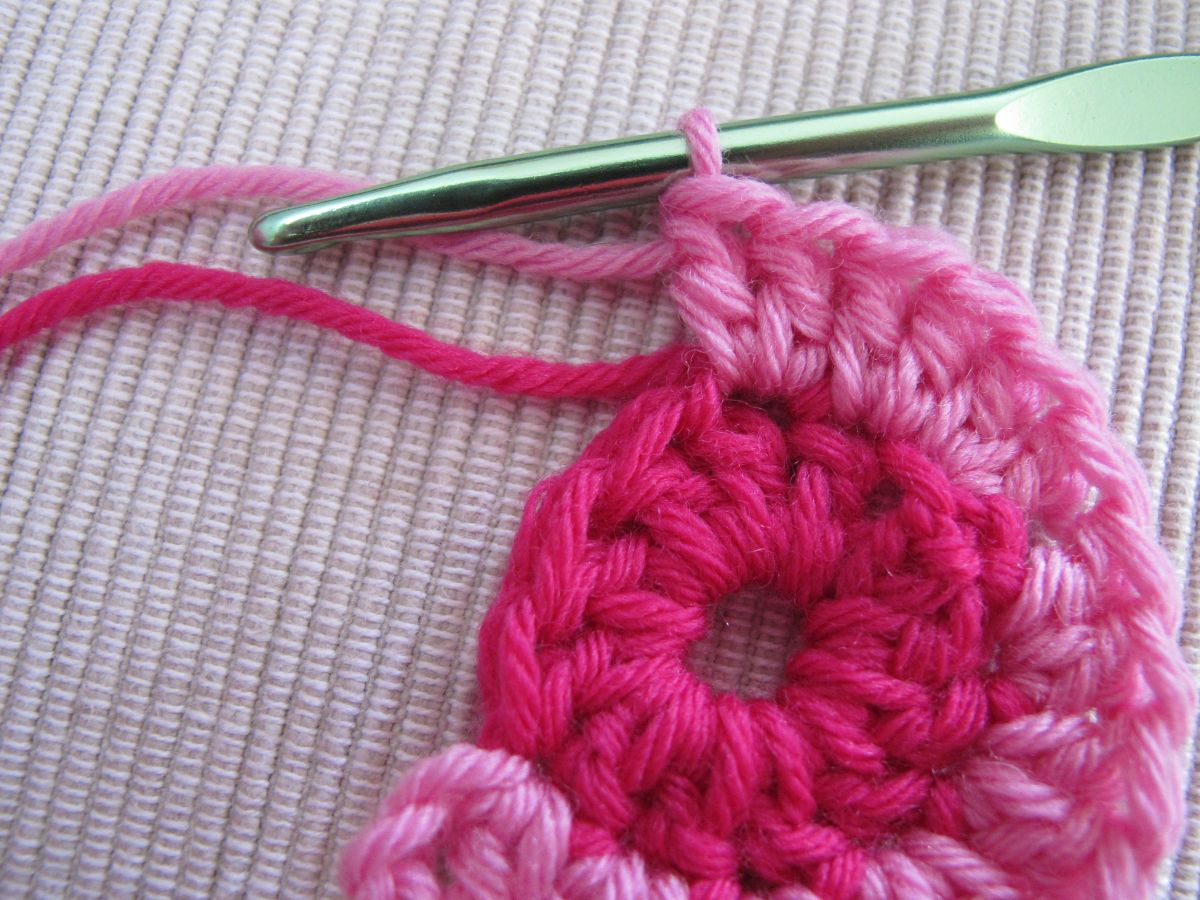
As my motif grows, I can change the spot where I join the now colour. I just need to make sure I have enough stitches to weave in the first end before I get to the second one.
The number of stitches required to secure the yarn end depends on the yarn and on your personal preference. In my opinion, 5 to 8 stitches are enough for most yarns. If your yarn is very smooth or slippery, you might need to adapt the number of stitches and perhaps also secure the end under a few stitches in the opposite direction, using a yarn needle.
This technique works well for motifs with a relatively dense pattern. If your chosen motif is a very open design, the ends held along the top of the previous rounds may be too visible. You might prefer to weave them in using a yarn needle. In this case, you can refer to my newsletter from September 2012 – it’s certainly not new, but the ideas still work!
What do you think about these techniques? Do you have a personal preference when weaving in ends in your crochet project? Feel free to share your experience and your thoughts in the comments below.
See you soon!
