Newsletter August 2012: Circles, circles everywhereNews:This month, I’m happy to present a design by… me, namely the stole Cirkel. After many drawings and swatches, I was able to draw round shapes on a background of squares, and explore the circle motif in different ways.
 This rectangular shawl is worked in laceweight linen, but you could, of course, use another laceweight yarn.
 More information in the shop.Circles, circles everywhereYou might think that I’m slightly obsessed with circles right now. And you might be right. But I must say that I wasn’t the one to notice this specific use of crocheted circles. When we were strolling around a handicraft store in Stockholm this summer, my husband suddenly said, « Look! This is crochet, isn’t it? »He was right, of course. He has been living with a crocheter long enough to spot crochet at a glance, even though he still persists in saying that he doesn’t want to learn how to do it himself. I thought that the necklace he showed me was nice, I smiled and I turned away. It was clever, but very simple. However, I had never seen anything exactly like it before.Of course, the following night I lay awake, figuring out the technique from memory and thinking about all the nifty things you could do with it. Necklaces, of course, but also belts, and why not a curtain or room divider of sorts?I also thought about how you could work these « circles on a string » without having to weave in any ends, by handling your yarn ends carefully in the process. And about how I needed to include them in the next newsletter. So here they are!Ch 6 and close to a ring with a sl st in first ch. Ch 3 (counts as a dc). Take care to position the yarn end along the ring, and work 17 dc into the ring and around the yarn end. The yarn end will be enclosed by the stitches.
 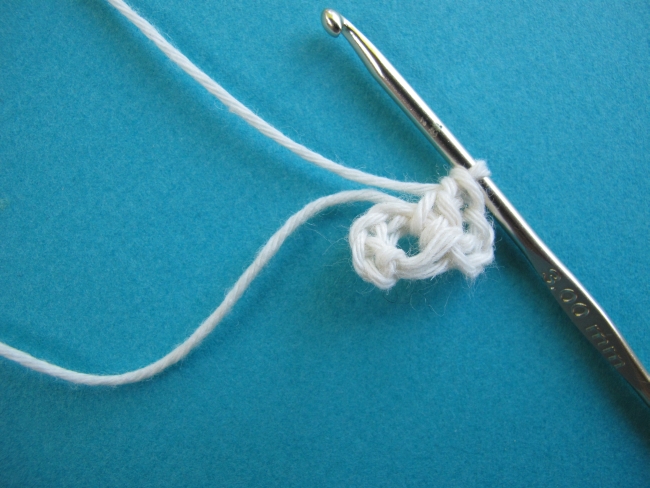 Close the round with a sl st in the 3rd ch at the beginning of the round. You have a circle with 18 dc. Fasten off.
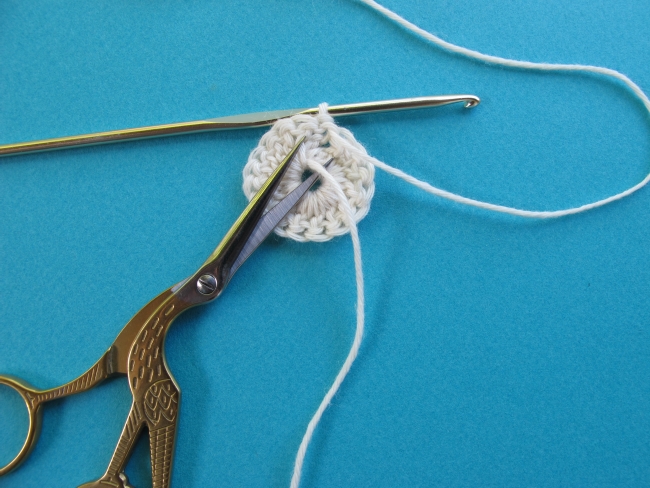
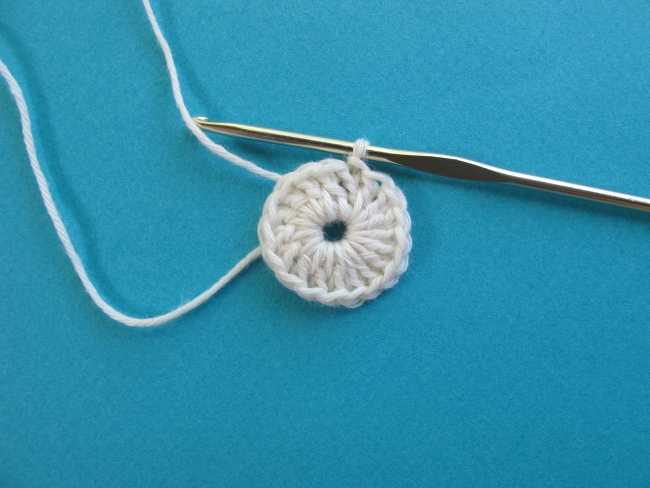 Leave the new yarn end hanging, and snip off the first yarn end, which is now secured by the stitches.
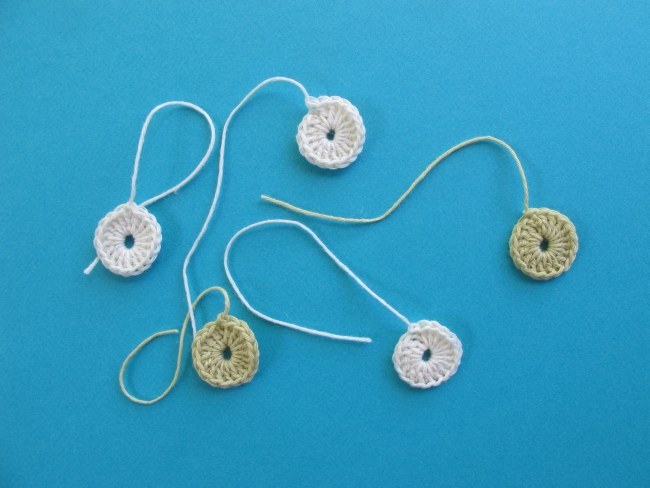
 Work as many circles as you like, in any colours you want. Try to use the same yarn weight for all circles – it will make your life much easier! I used a 3 mm (US C-2 or D-3) hook for fingering weight yarn, and a 1.75 mm (US steel hook 6) hook for laceweight yarn. If using worsted weight yarn, I would try a 4 mm (US G-6) or slightly larger hook.
 Now, we will « string » the circles together and weave in the hanging yarn ends in one go.Attach the yarn for the string with a sc a couple of stitches from the join where the yarn end dangles. Exact placement is not crucial, but it should be somewhere near the join.
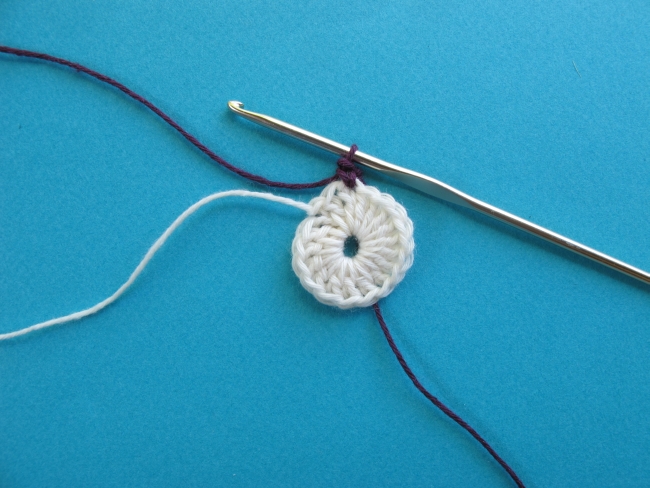 When you reach the yarn end, position it along the top of the stitches and continue working in sc into the dc and around the yarn end.
 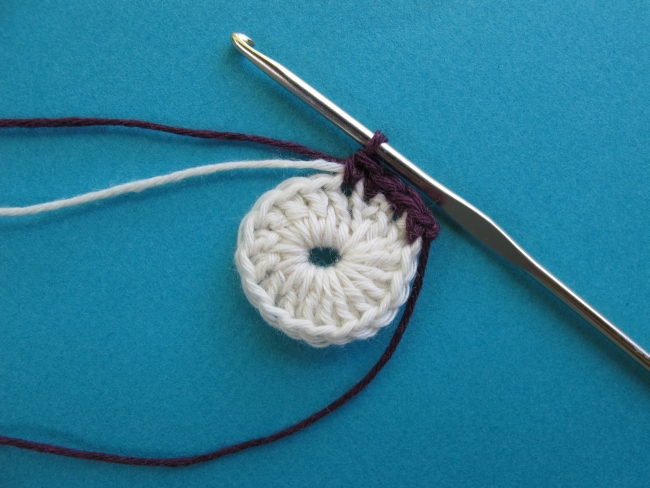 Work a total of 10 sc. Ideally, work the last sc without catching the yarn end (let it dangle behind the work). This way, it will be even more invisible once you snip it off.Work any number of chains to create the string between the circles. I chained 6, but it depends on the look you want to achieve. Work in sc around the next circle exactly as you did around the first one, and continue like this until you have attached all your circles.
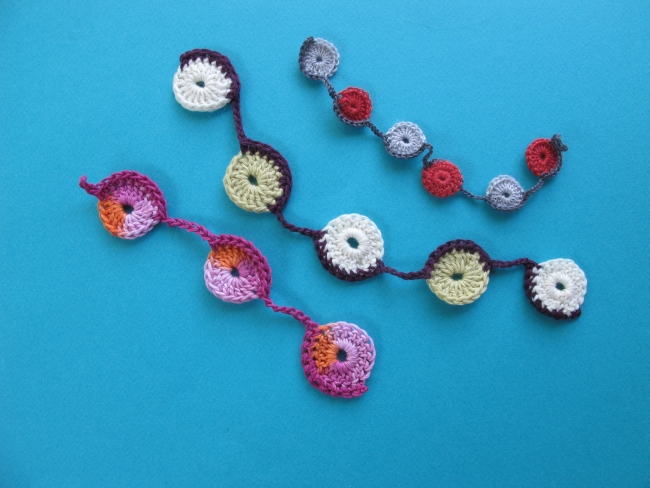
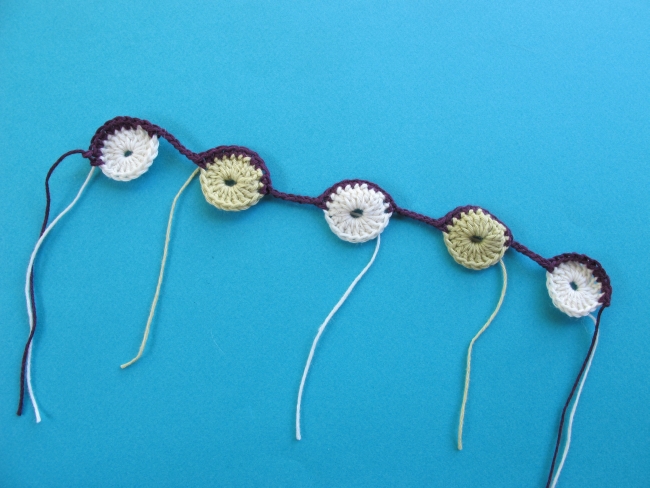 You can now snip off the yarn ends from the circles – sorry, but I have no solution for the yarn ends from the string, other than weaving them in!Try working these circles on a string in different yarn weights and colours. And let me know if you find any new, interesting ideas for using them!
See you soon!

