
In the shop
Warm your neck in a very colourful way with this brand new crochet pattern by Véronique Chermette: the 5 rectangles snood.
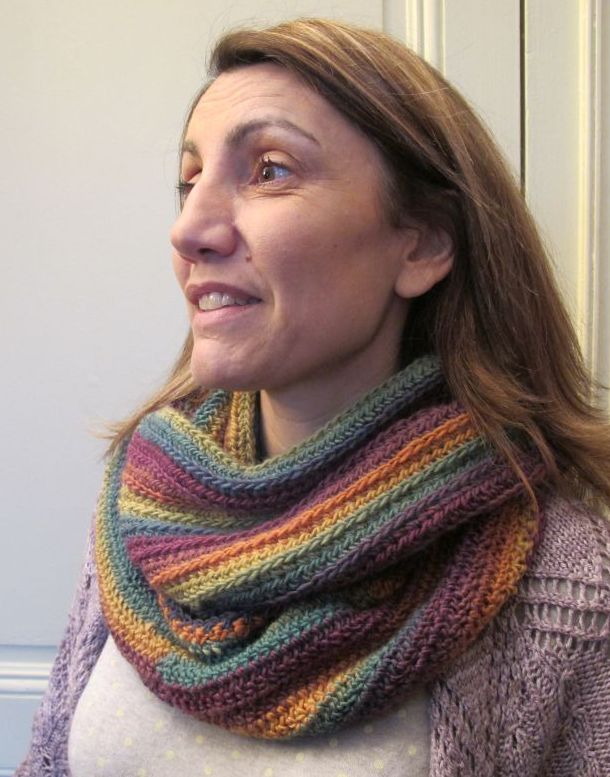
Worked in a modular fashion with a simple but smart stitch pattern based on half double crochets, 5 rectangles can be made in any worsted weight yarn. The design will be particularly enhanced by a long-striping yarn. Véronique chose to make her snood in Mochi Plus, col Equinoxe.
To celebrate the publication of the 5 rectangles pattern, I’m happy to introduce a special offer, valid until Feb 7, 2016: when you buy the pattern and 6 balls of Mochi Plus (the quantity required to make the snood), one ball is free (the price is deducted before payment.
If you enjoy Kirsten Kapur’s knitted lace shawls, you will love her book Shawl Book One.
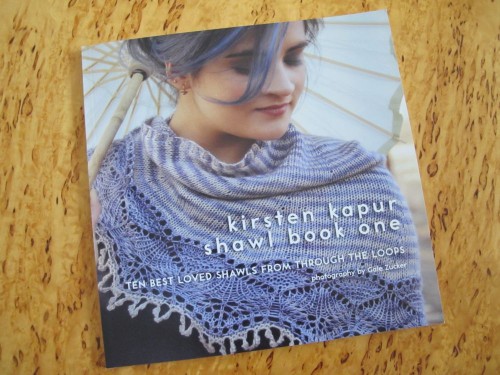
In this book you will find the ten most popular of Kirsten’s shawl patterns.
The book is entirely in English.
On the blog
 As a result of December’s Advent Calendar, I was able to show a lovely series of collages of projects, all made by the people who joined the calendar. You can find them here: leaf collage, rounded flowers, third collage and final fireworks.
 I also did a series of articles on which yarns to use to knit the patterns in the book Shawl Book One – you can find them in the « inspiration » category.
C2C (corner to corner)
Suddenly, lots of people are talking to me about C2C! So what is it?
Basically, it’s crocheting a square diagonally, from one corner to the other. However, when you talk about C2C, you talk about a specific technique.
I knew about squares worked diagonally – you can see them in my Sock Yarn Bags and in EclatDuSoleil’s blanket Colourful Hug. However, those are mitered squares, worked in rows with specific decreases.
In C2C, the square is made up of interlocking dc blocks, worked one after the other without cutting the yarn. In this newsletter, we are going to look at how to make a simple square.
Let’s start with the first block.
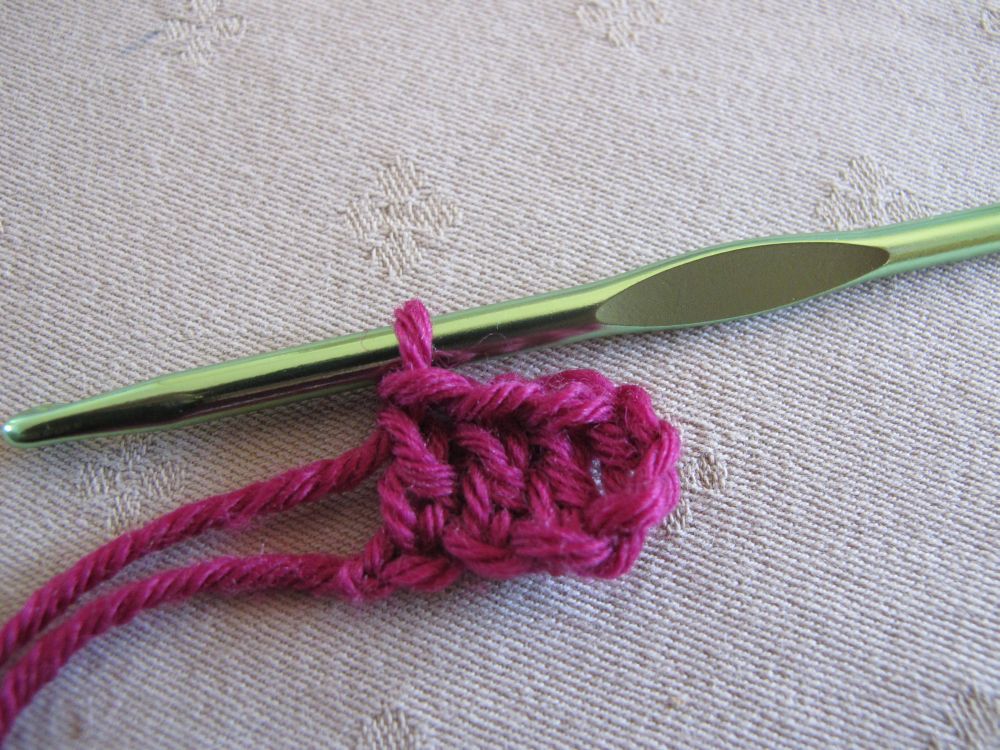
Ch 6, 1 dc in the 4th ch from the hook, 1 dc in each of remaining 2 chs.
The block is made with 3 ch (to the right) and 3 dc. All the blocks in the square will have the same components, even if they are not all worked in the same way (we will get back to that).
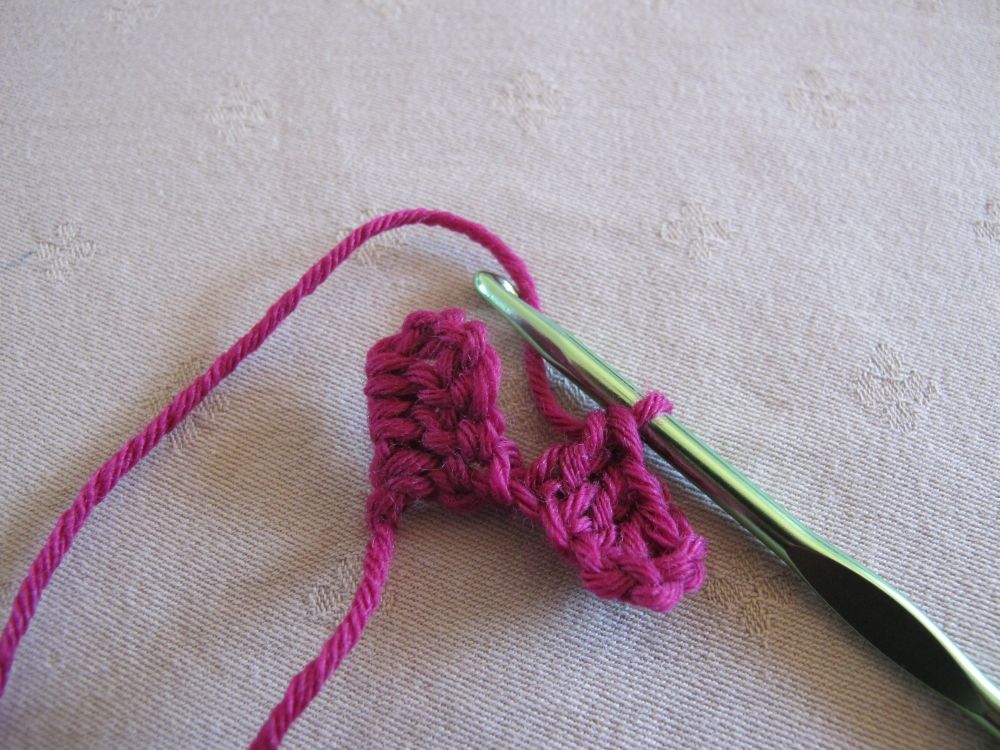
Block 2 is made right next to block 1: Ch 6, 1 dc in the 4th ch from the hook, 1 dc in each of remaining 2 chs.

Now we are going to attach block 2 to block 1. To do this, we need to flip block 1 up, so that the 3 chains (at the bottom in the photo above) are at the top.
Block 2 stays in place. Now we will attach the two blocks with a sl st in the 3-ch space in block 1.
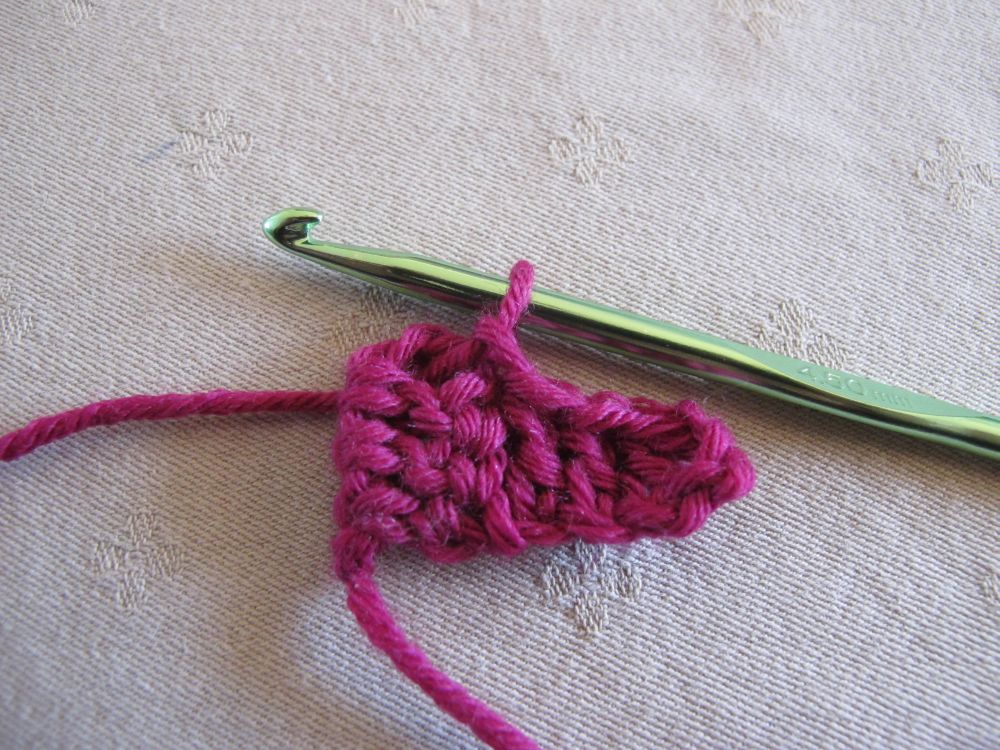
Let’s make block 3. It is worked a little differently:
Ch 3, 3 dc in the same 3-ch space (the one in block 1, where we just made the sl st).
We are going to call this a continuation block.
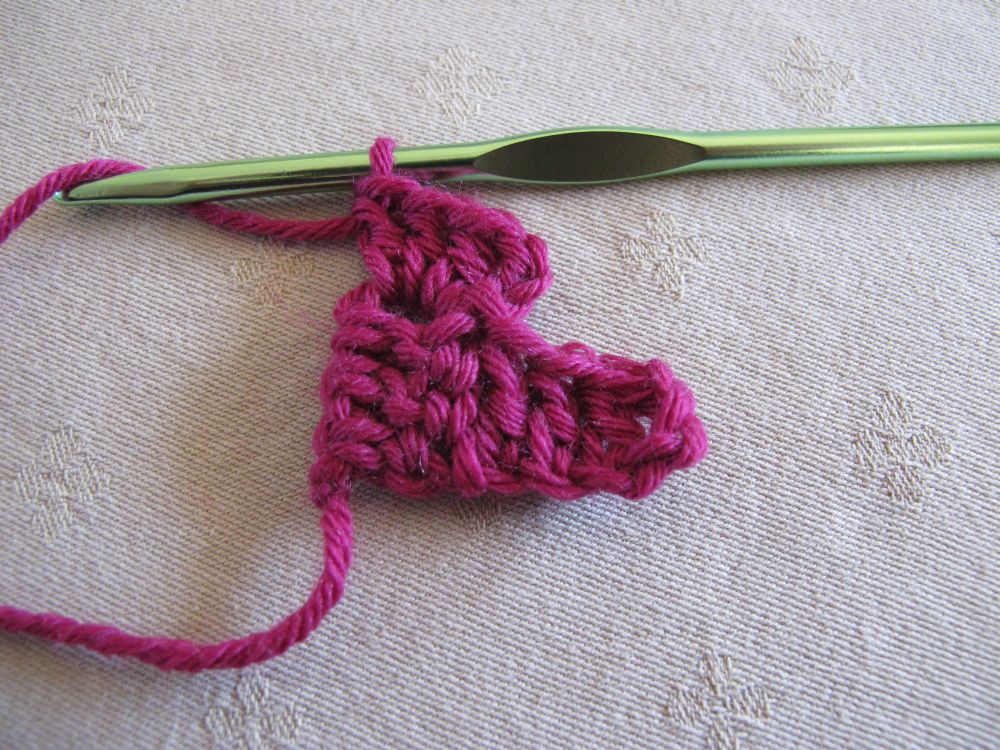
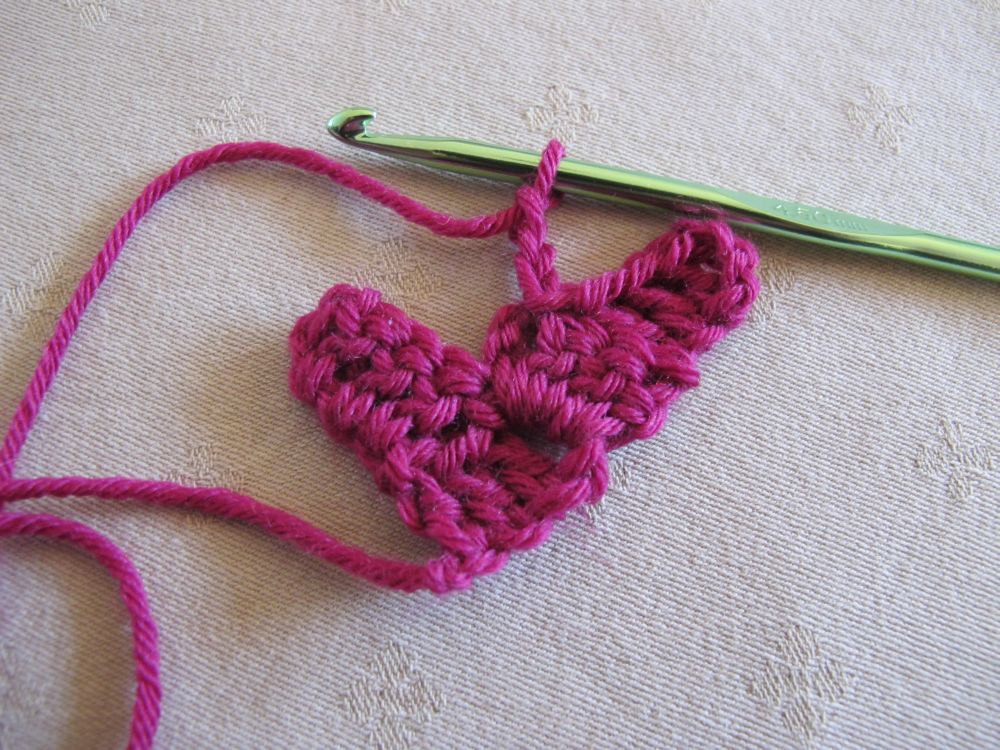
We have worked the first two rows of blocks in our C2C square:

Now, let’s turn the work to start the next row of blocks. The hook will be at the right edge of the work.
The first block in the row is block number 4 in our square. It is worked like blocks 1 and 2:
Ch 6, 1 dc in 4th st from the hook, 1 dc in each of remaining 2 sts.
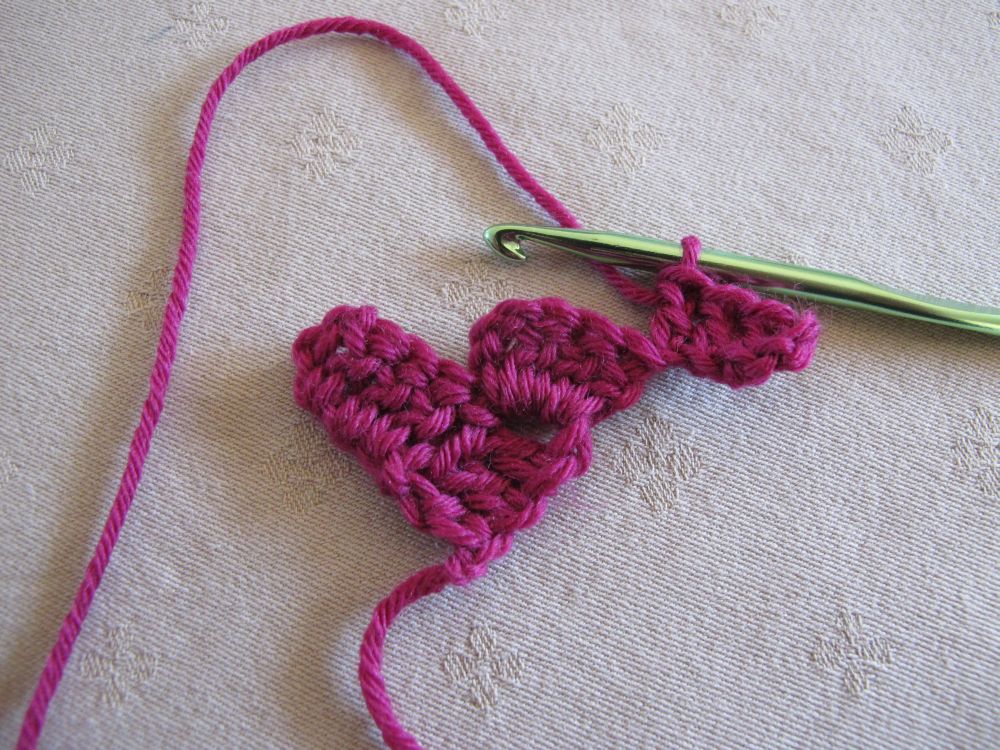
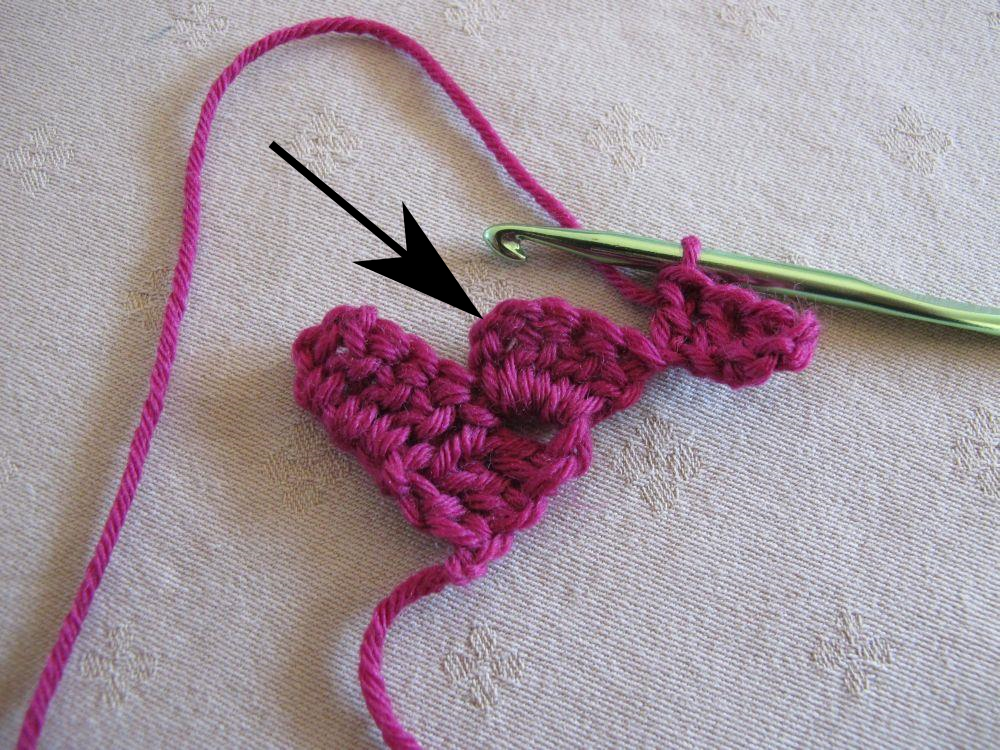
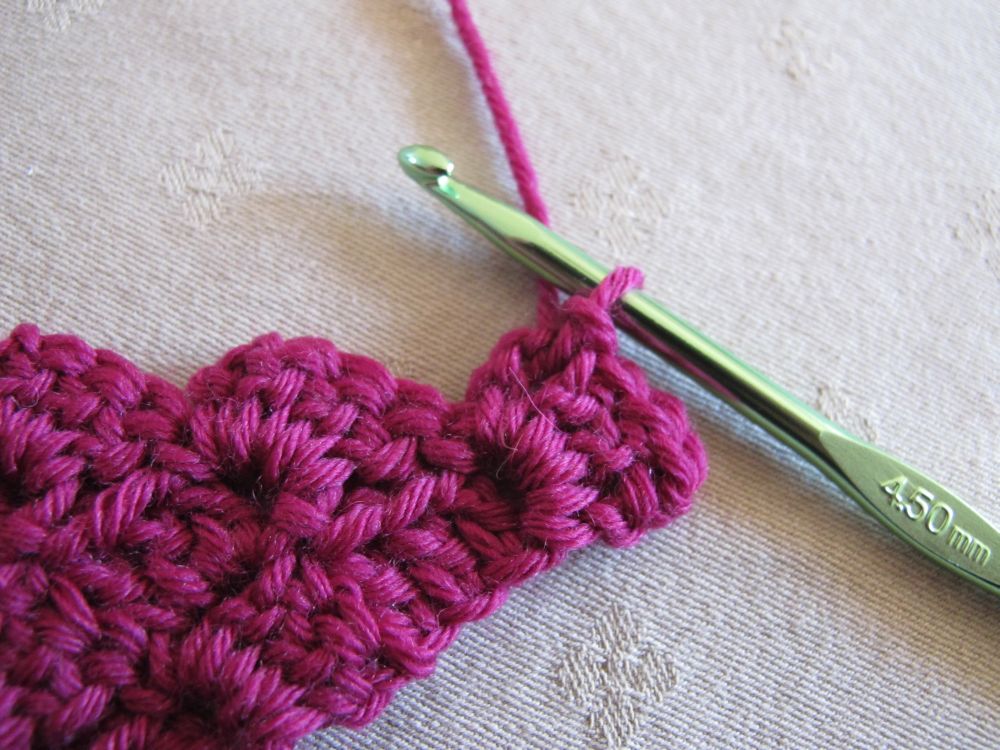
We will attach this block in the 3-ch space in the block in the row below, the one indicated by the arrow below:
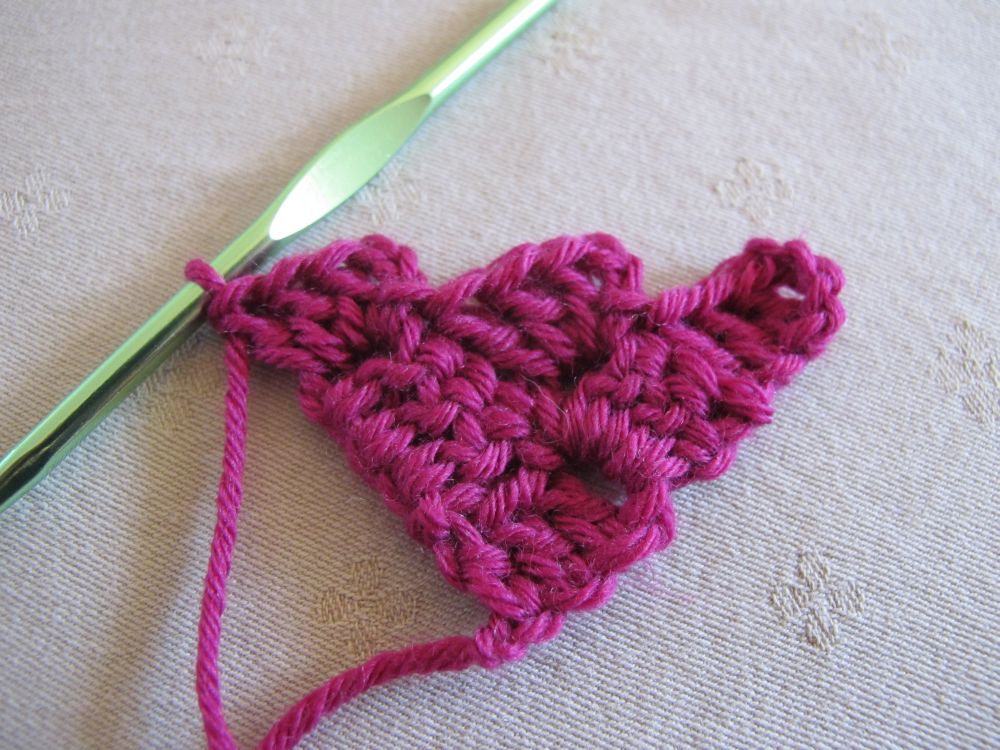
We make 2 more continuation blocks:
*Ch 3, 3 dc in the same 3-ch space (where the sl st was just made), attach with a sl st in the ch space of the next block in previous row ; repeat from * to make the 2nd and 3rd blocks in the row.
If we take a look at our schematic, it becomes clear that the first block in every row is the one that is worked differently, starting with a ch 6.
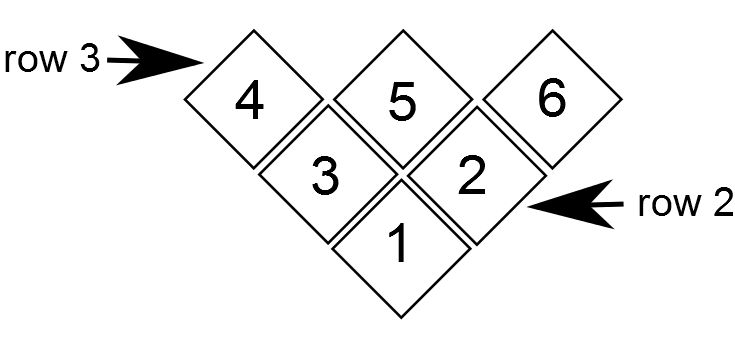
Block 1 is the first (and only!) block in row 1, block 2 is the first in row 2 and block 4 is the first in row 3 (the arrows indicate the direction of work).
We can also see that we add a block every row – we are making increase rows.
When you work on a larger scale, it’s not pratical to assign a number to every block. It is better to number the rows. We only need to remember that the first block in each increase row is started by chaining 6 and working the stitches into this chain, and that the following blocks are continuation blocks, worked by inserting the hook in the ch-space of the block in the row below.
Let’s work two more rows!
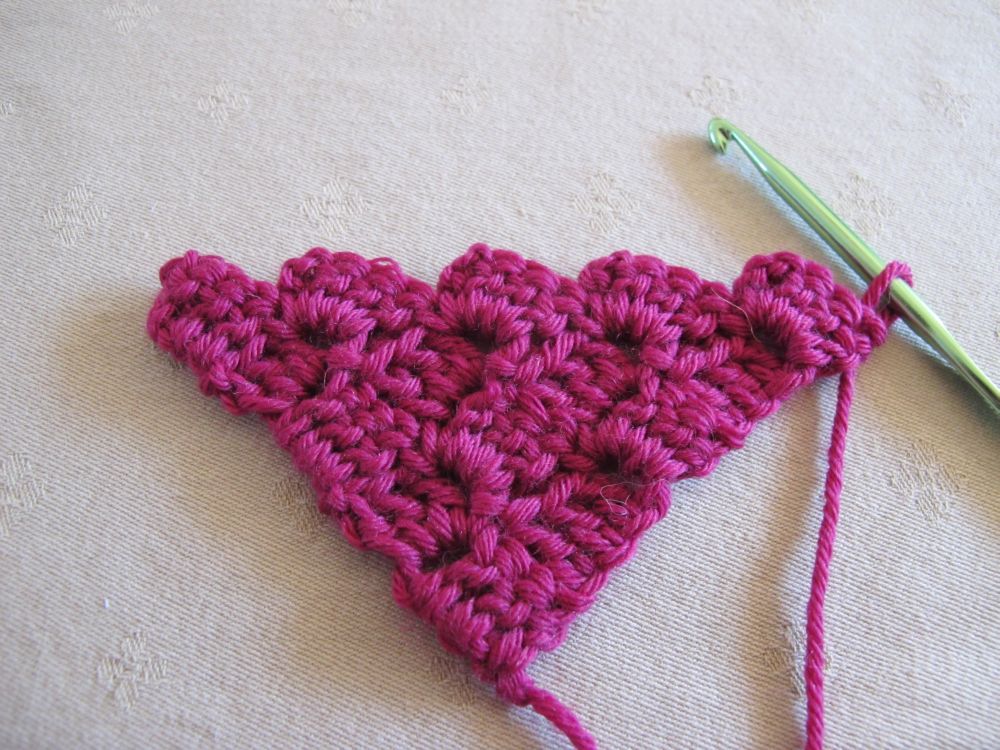
Here we have 5 rows. Since we started with one block in row 1 and added a block for each row, there are five blocks in row 5.
That’s wide enough for our first square – but we have only made half of it so far. Now we will start decreasing to shape the second half.
1 sl st in each of the 3 dc in the first block, 1 sl st in the ch-space.
Proceed directly with 4 continuation blocks.
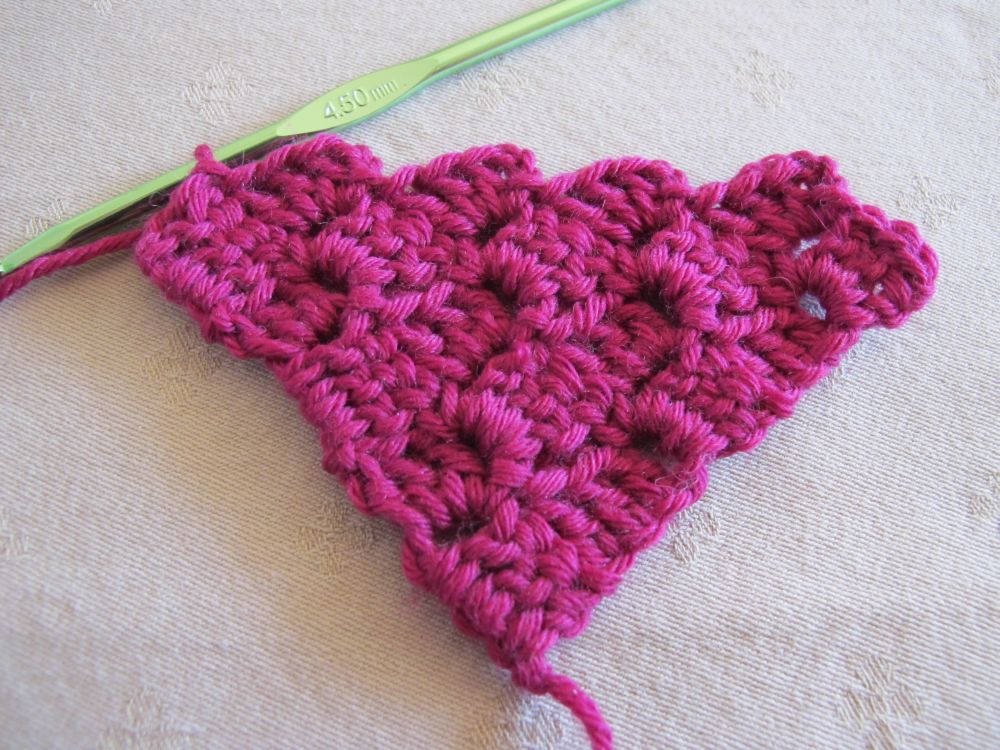
The last block is attached with a sl st in the ch-space of the last block in the previous row. There is a total of 4 blocks – one block decreased.
Repeat this row 3 times, starting with slip stitches in the first block in the previous row and decreasing one block in every row.
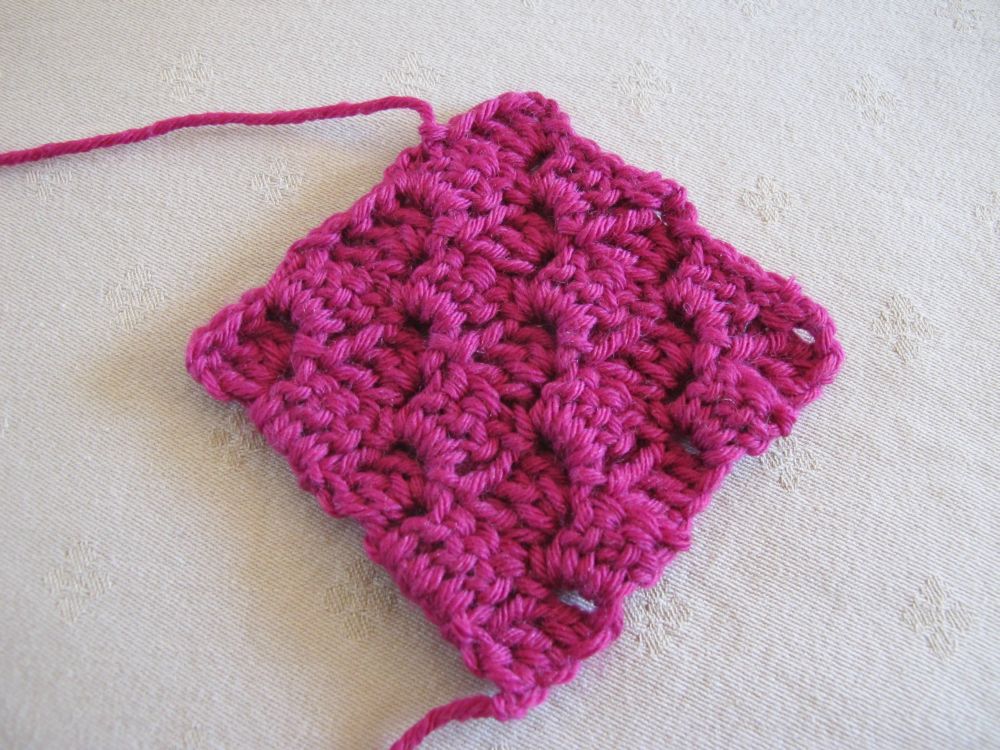
Here is our first C2C square, made from dc blocks and worked from one corner to the other!
It’s nice as it is, fun to make and with an interesting texture. But I think that like me, you have the feeling that you can make more than simple squares with this technique.
Let’s talk about that next month – and in the meantime, do feel free to discuss in the comments below!
See you soon!
