
In the shop
This summer, I had the pleasure to introduce new colours in two yarns that I love.
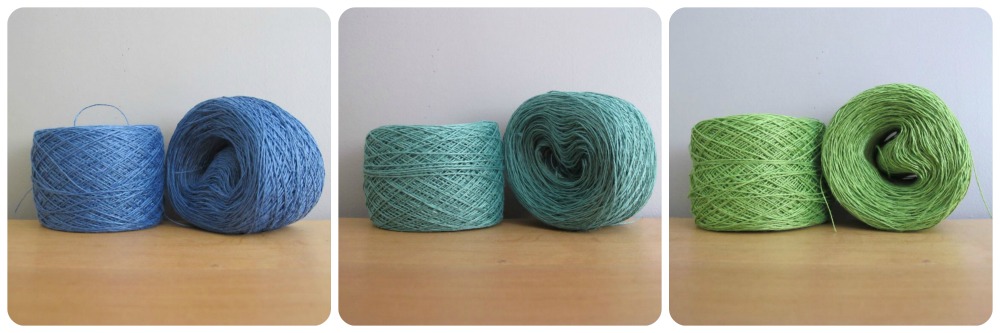
The delicate yet sturdy laceweight linen is now available in the colours horizon blue, emerald and apple green.
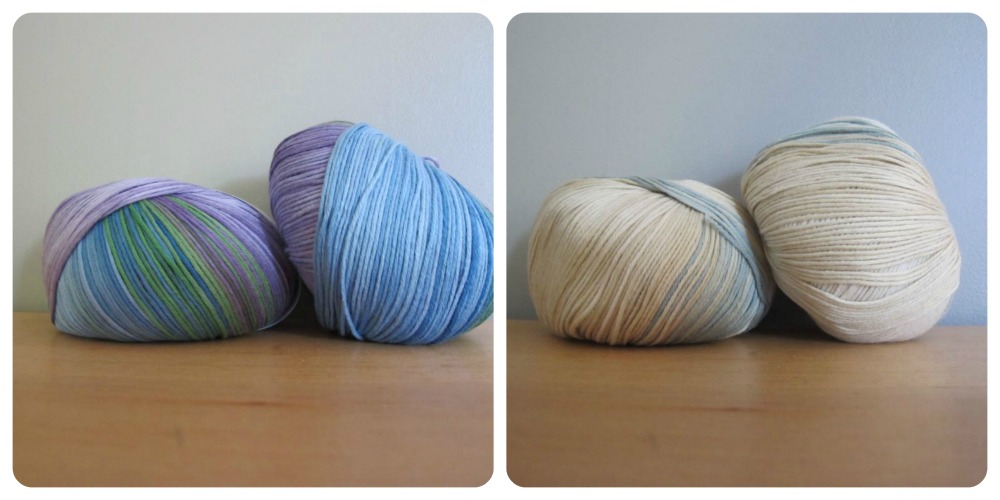
Two new colourways in the multicoloured organic cotton: Blueberries on the Branch (blue and green) and Sails on the Baltic Sea (cream with touches of blue).
Since these new colours arrived just before my summer break, I haven’t yet had the time to work samples with them. But beautiful materials are always in season, so I hope to present some ideas on the blog in the weeks to come!
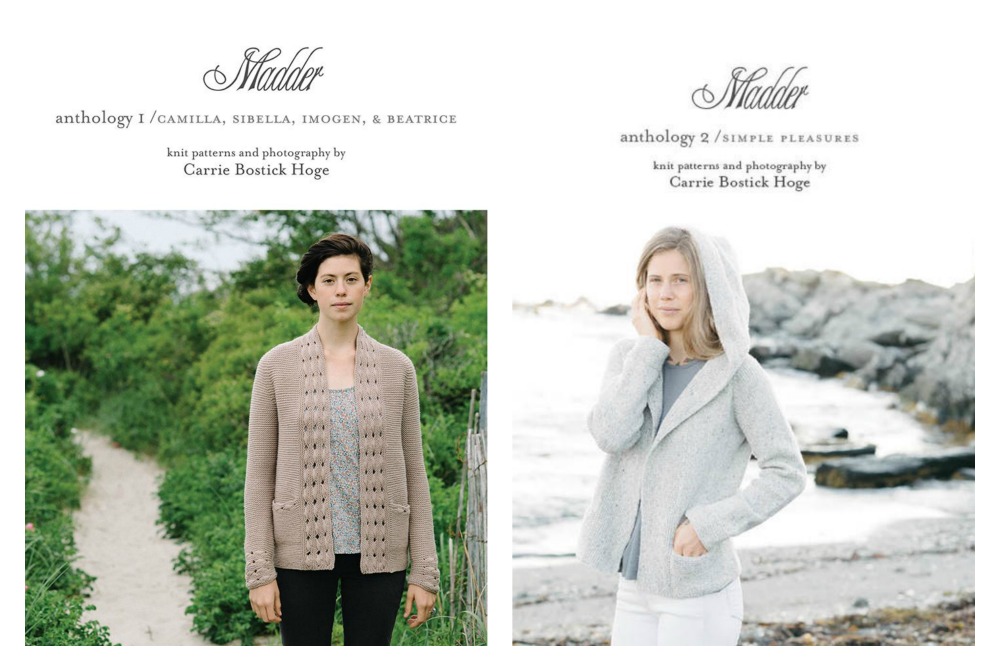
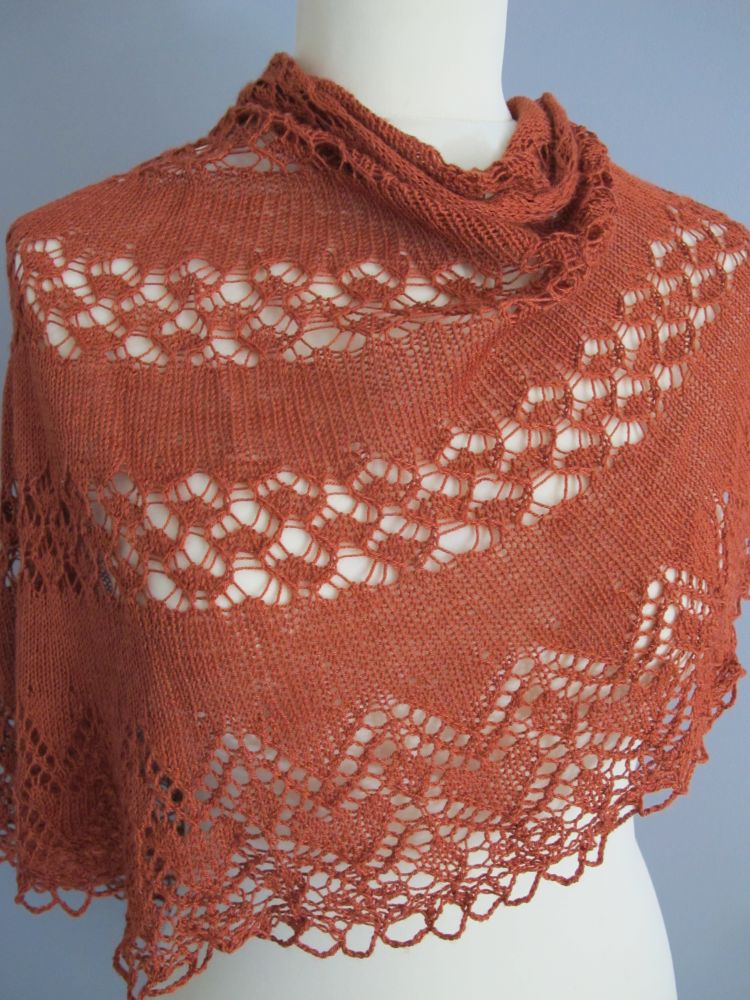
Carrie Bostick Hoge’s popular books Madder Anthology I and Madder Anthology 2 – Simple Pleasures are back in stock.
Check out the beautiful garments knitted from these books by French blogger Sandra on her blog, By Sandra’s Hand.
On the blog
A few ideas on how to use the superb Covent Garden yarn in crochet …
And just before leaving, I published a new episode of my podcast in French!
Hairpin lace – simple borders and joins
In the last two newsletters we’ve discussed how to use your hairpin lace loom to make a basic strip, as well as a couple of tips and tricks to make this strip easier to handle.
Now it’s time to start making things!
Let’s start with a few simple ideas, in which our strip retains its basic shape but gets a little border and company from other strips.

Here is a simple edging for a strip. I just made a single crochet in each loop.
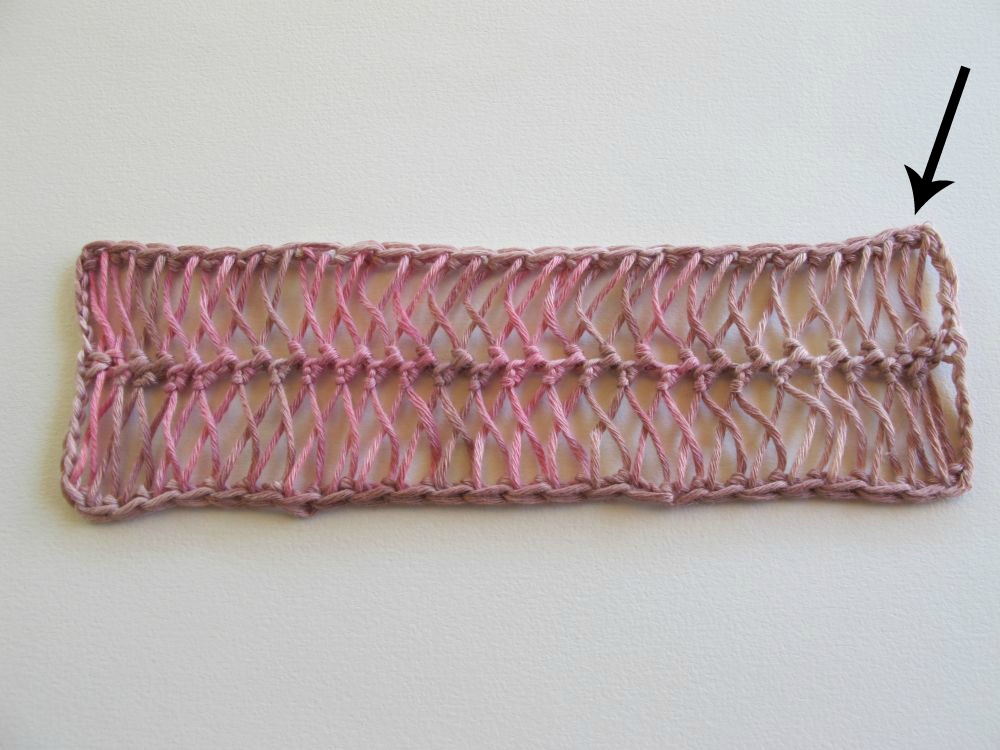
Laying the strip in front of me on the table, I started with a sc directly in the top right loop. I continued with a sc in each loop to the end of the strip.

To finish off the short end of my strip, I first chained a few stitches to get a chain arch the length of the top loop in the strip (half the width of the strip). The number of chains you need to make depends on your hook, your yarn, and of course the width you’ve set between the rods on your loom. You have to test how many chains you need for each project.
I then made a sc in the « backbone » (center) of my strip. I continued chaining to get to the tip of the first loop on the other side of the strip, and I continued with a sc in each loop on this side (of course flipping the strip so that the unfinished loops were at the top).
Once the edging round was finished, I closed the round with a slip stitch in the first sc, and blocked my strip.
The result is nice, but relatively narrow. If you use only single strips, the width of your work is limited to the width of your loom. This is why you need to know how to join strips to make a wider item.
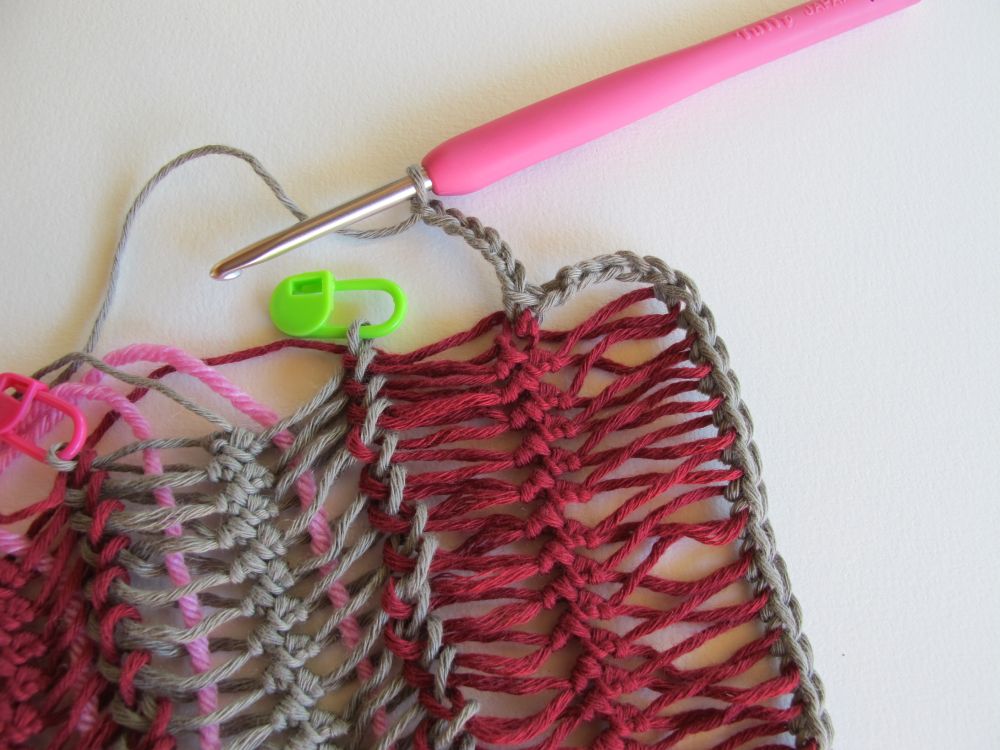
To start, we are going to join the loops in two strips one by one.
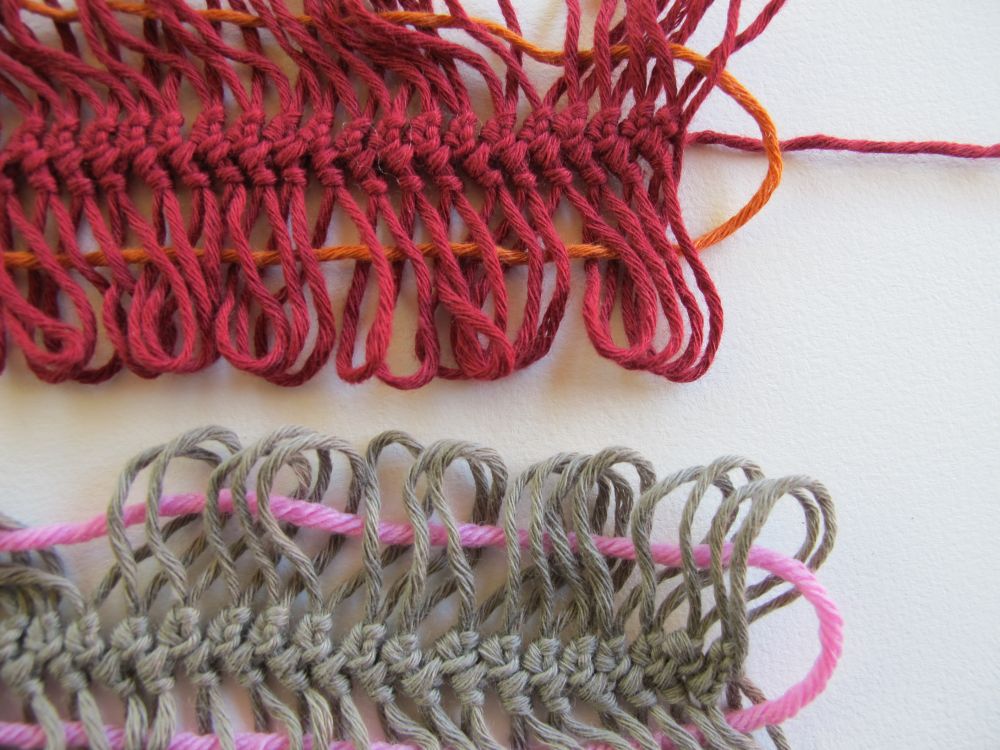
Here are the two strips to be joined.
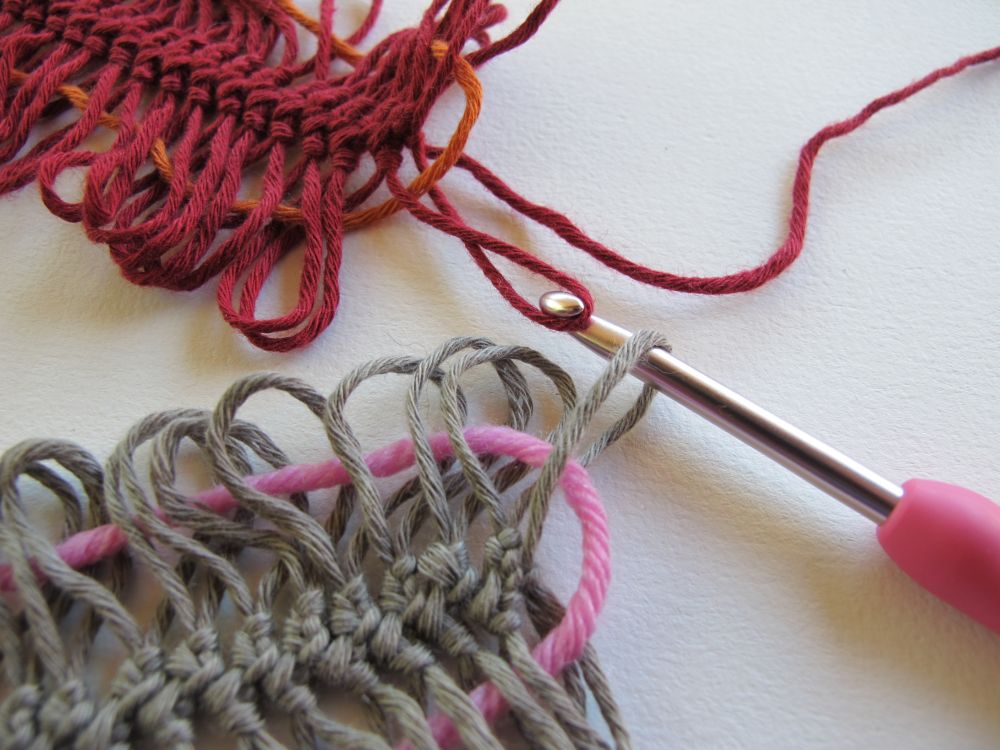
I insert my hook in the first loop in the bottom strip and catch the first loop in the top strip…
… and pull it through the loop on my hook.
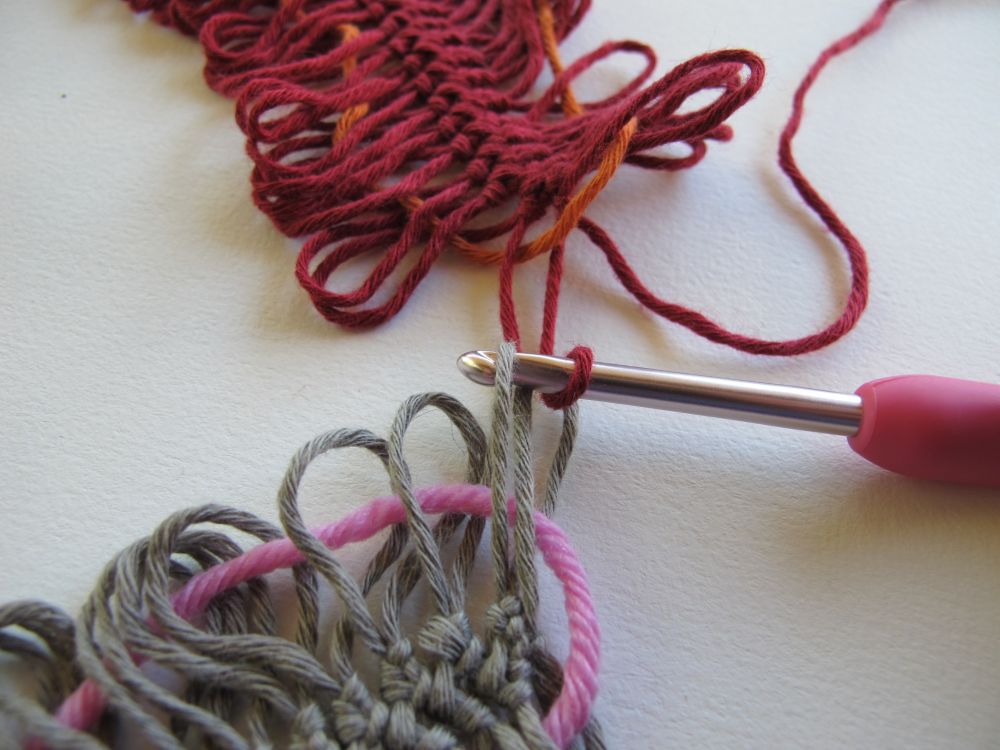
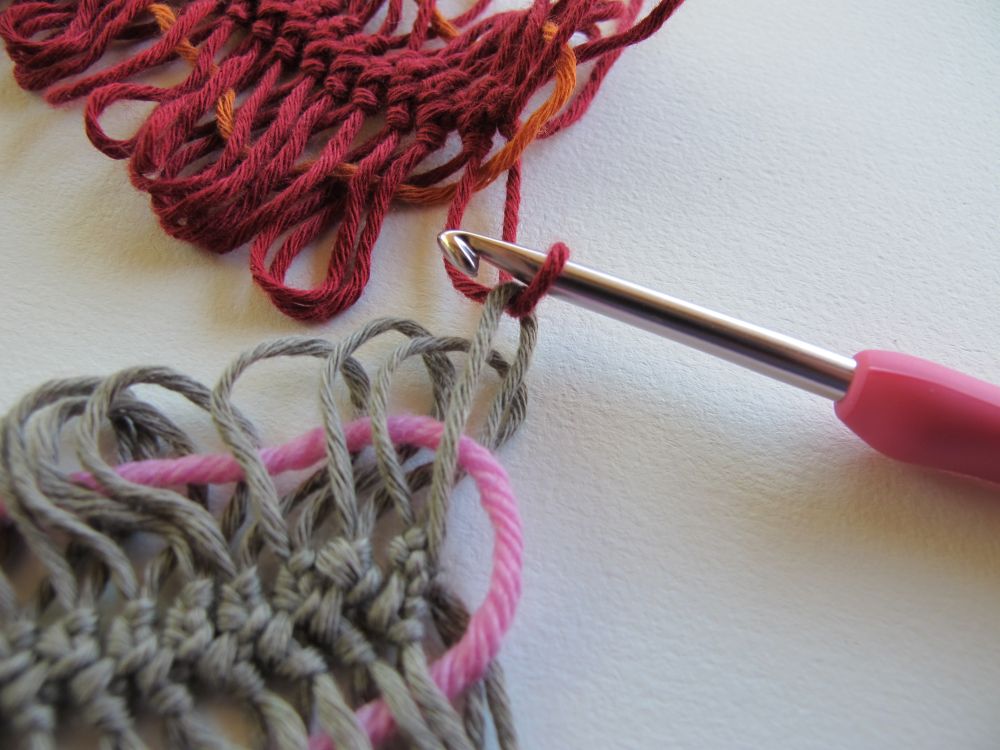
I continue, alternating a loop from each strip. For your first try, it’s easiest to join two strips of different colours. In my example, if the loop on my hook is red, I know that I need to catch a grey loop next.
Please note that no yarn is added here, it’s simply a question of pulling the loops through one another.
For the photos above I placed the two strips on my table, to make the photos clearer. However, I find it easier to join the strips holding them in my hand. For a newbie like me, this can be done as shown in this short video:
If you are an experienced hairpin lace crocheter and hold your strips differently, please tell us in the comments below!
At the end of the two strips, one loop is left on your hook, whichyou will need to secure. For the time being, just put a marker (of the safety pin kind) in this loop to prevent your join from unraveling. We’ll get back to this loop when we edge our work.
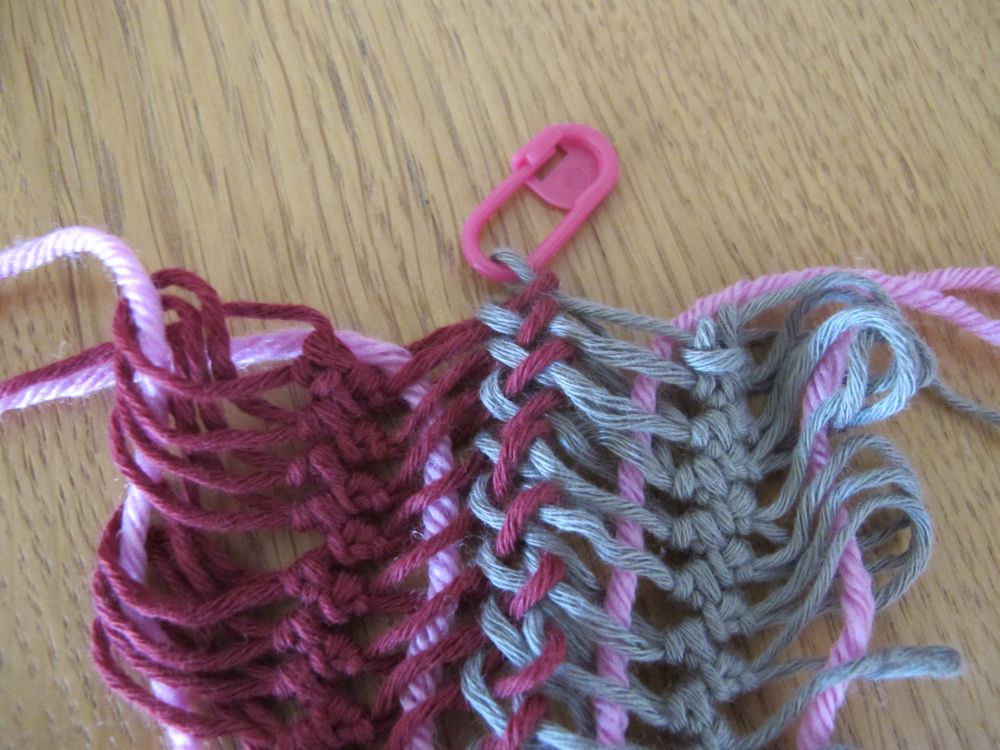
When all strips are joined (I used three short strips here) I make an edging starting exactly as for the single strip (see above).

When you have secured all the loops in the first strip you can remove your guideline.
Along the short end, I continue as for the simple edging explained above, to the first live loop with a marker.

I make a sc in this loop. It is now secured, so I can remove my marker and continue with the edging.
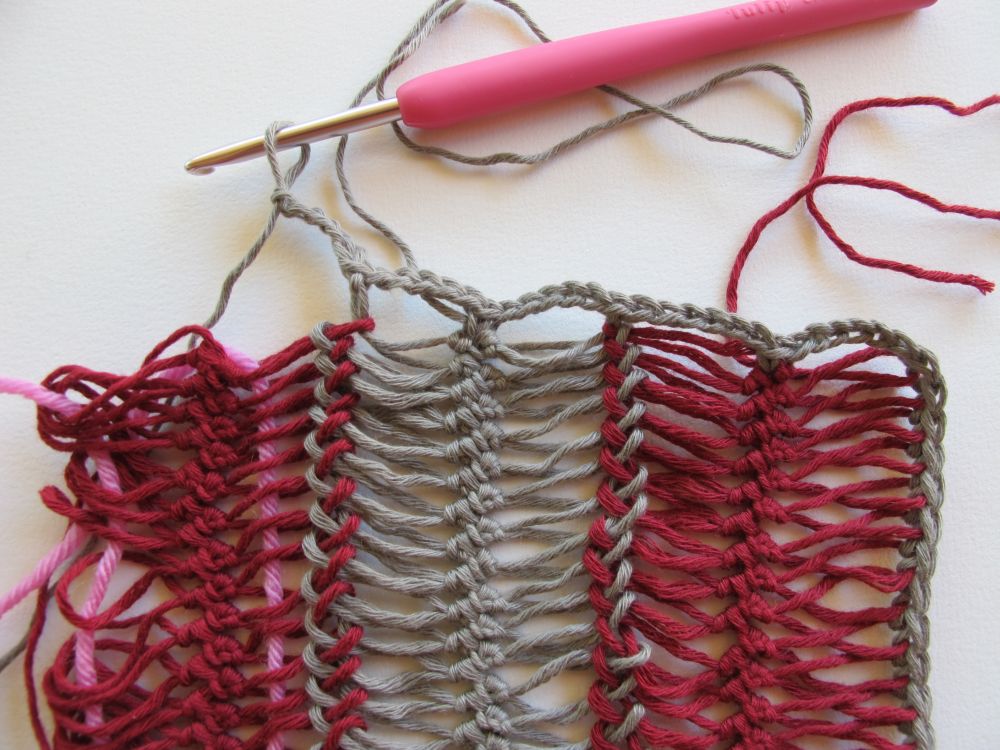
Once my edging is finished and the round is closed with a slip stitch, I remove all guidelines, fasten the ends and block.
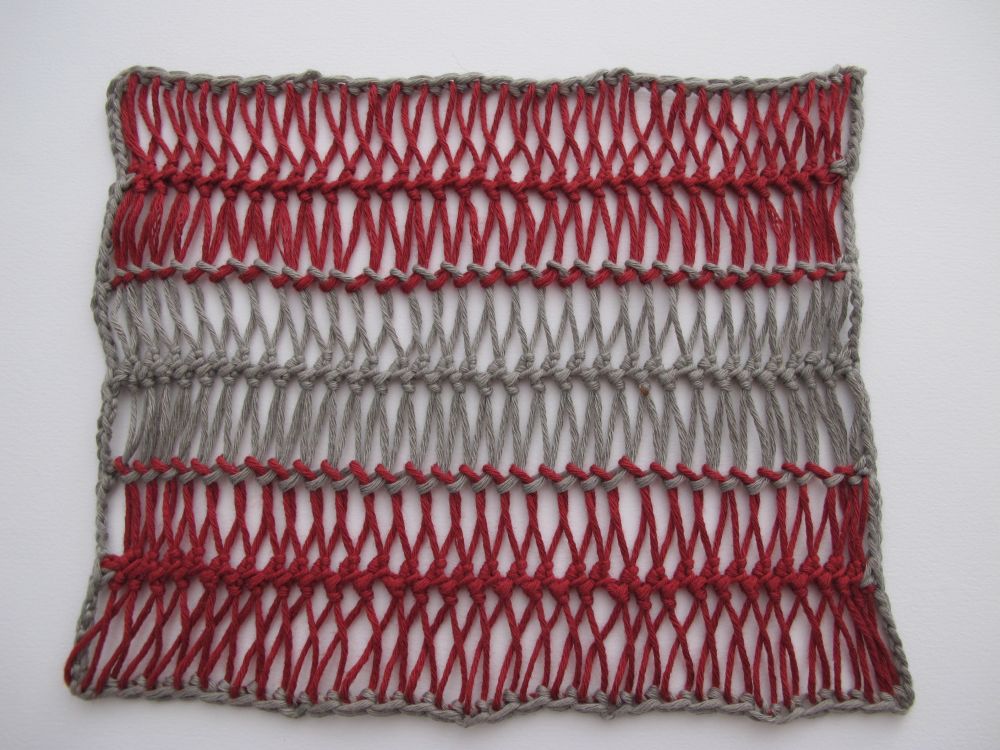
I like it! It’s simple and rather graphic – perhaps not what you first think of when you think of hairpin lace, but I love this kind of look!
Next time we will see how to vary these simple techniques. And until then, I’ll be so happy to read your comments below!
See you soon!

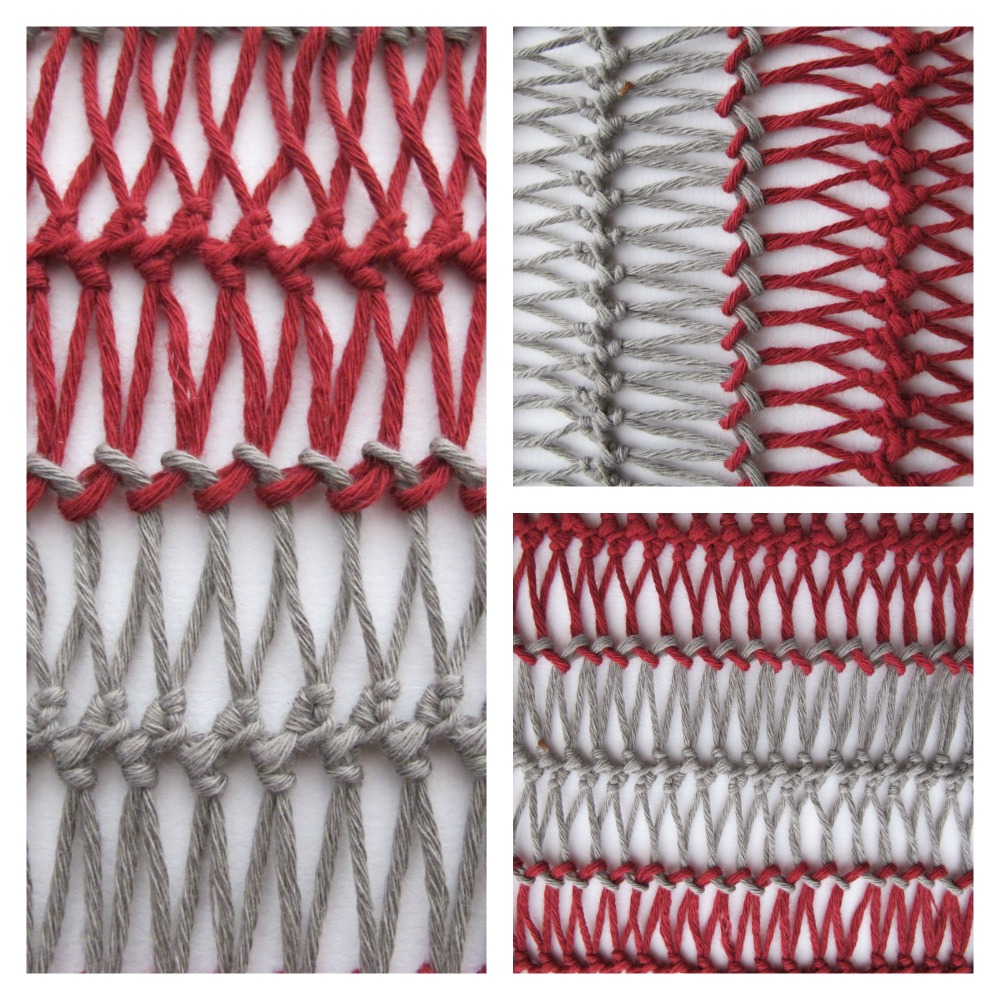
All swatches in this article
(unless otherwise mentioned)
were worked in Annette Petavy Design’s Organic Cotton
with a 3.5 mm hook.