
New yarn:
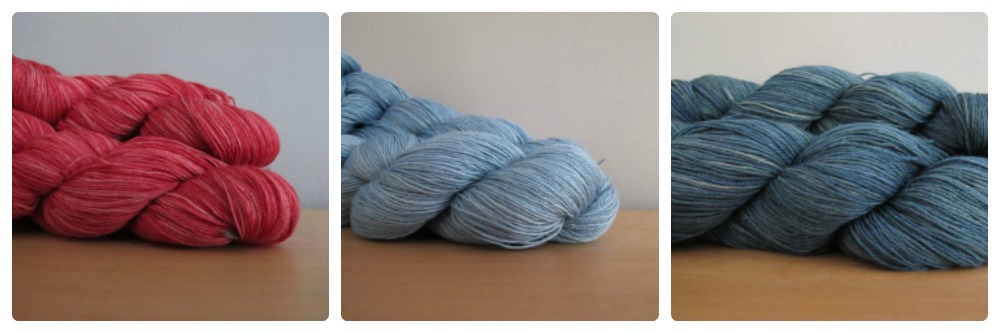
An exceptional yarn: Beth Chatto, a laceweight wool and silk blend in subtle, plant-dyed colours.
As explained previously, I am no longer updating the English webshop. The link above leads to the French shop. You are very welcome to place an order via email.
For any orders in the English webshop, please select « bank wire » as your payment option at checkout. I will send you a Paypal invoice by email.
I am also investigating the possibility of a separate webshop for yarn customers outside France, and specifically how to reduce shipping costs for destinations abroad. Stay tuned!
Events:
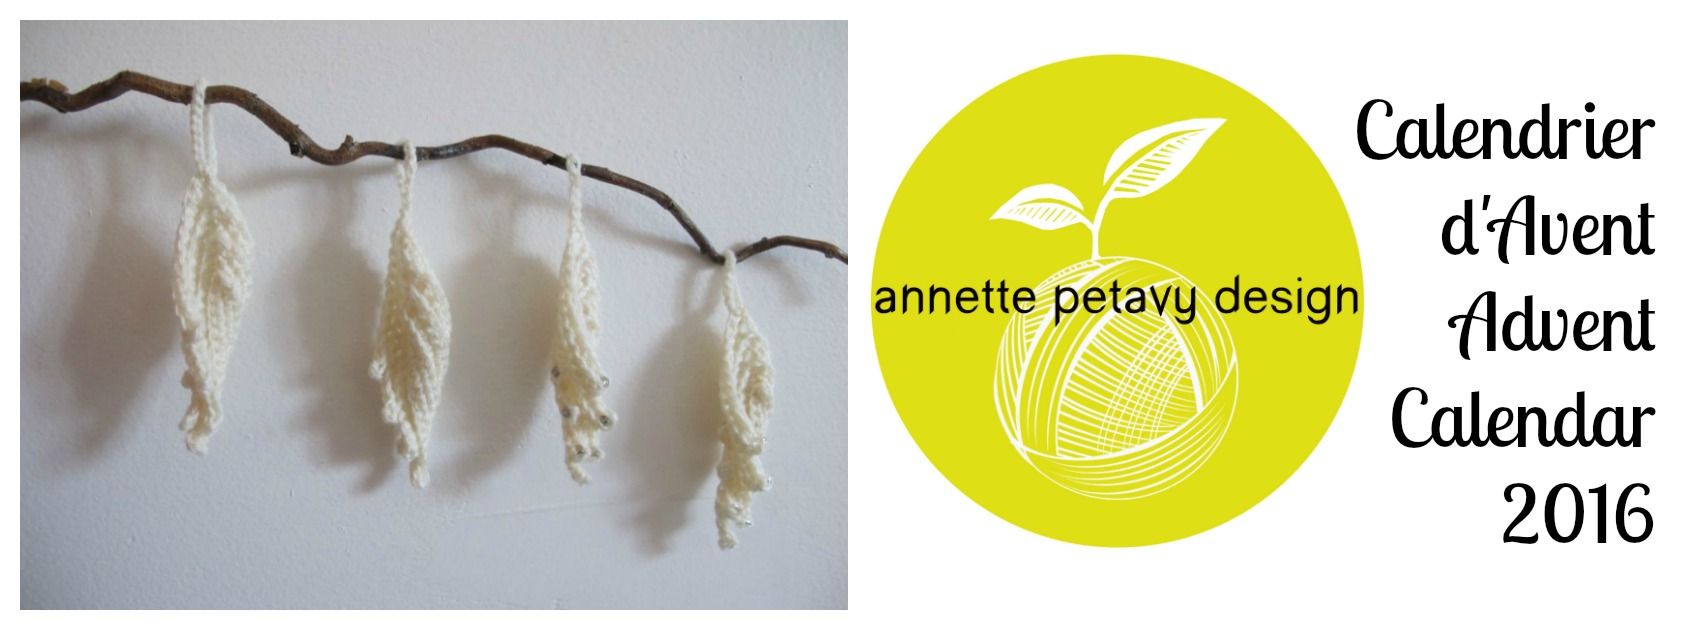 The 2016 Crochet Advent Calendar has started, but you have plenty of time to catch up! Everything is on the blog – in both English and French. Please feel free to join us!
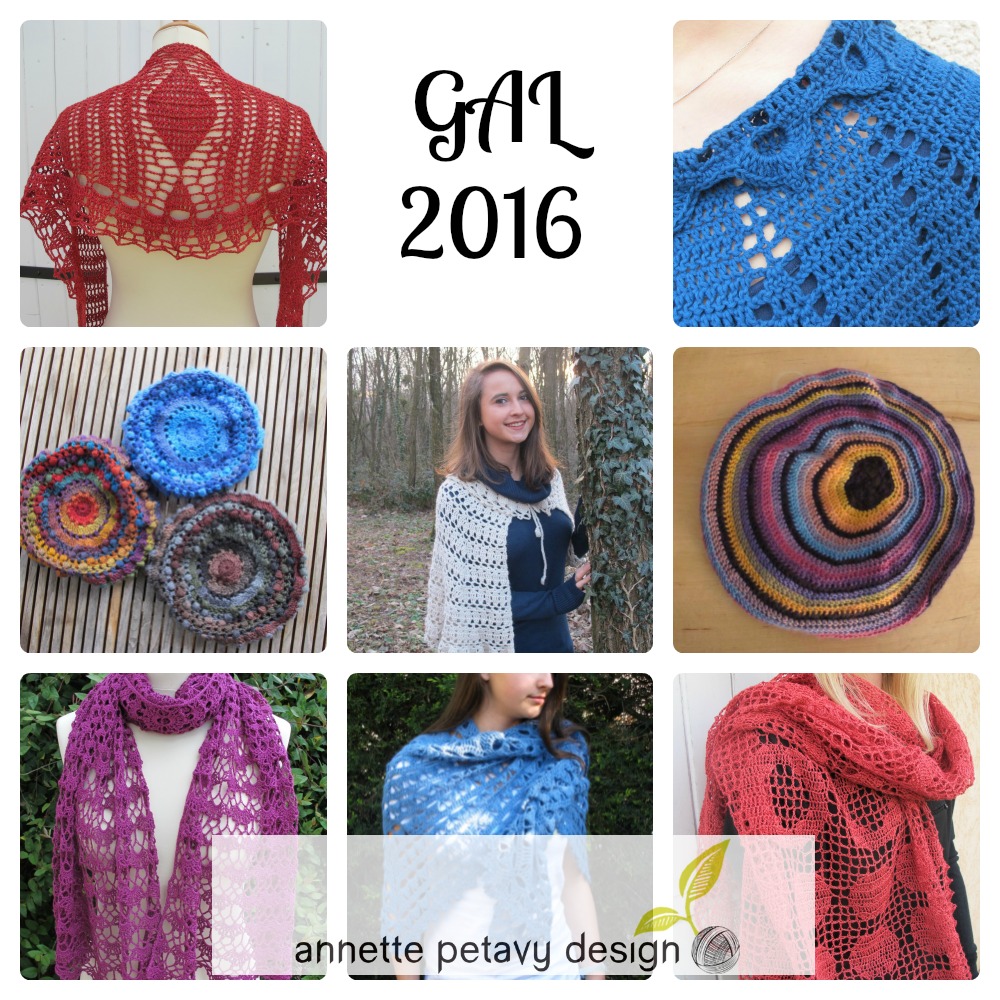 I am participating in the Ravelry Gift-A-Long (GAL). The sale just ended, but you are very, very welcome to participate in the GAL with one of my patterns. I have of course donated prizes as well, both coupon codes and a physical prize. The latter can be shipped anywhere in the EU.
If you want to listen to me speaking French and see my face 😉 you can check out my vlogs – short, unedited videos in French. The first one is here, the second is here, and you can subscribe to my YouTube channel here.
Crochet ribbing – how to use it:
Last month, I discussed different ways to create ribbing in crochet, to add elasticity and texture to your projects.
But knowing how to make ribbing is not all – you also need to know how to use it in a project.
This can be something of a challenge, since the ribbings I explained are worked horizontally. You add ribs by adding rows, and the height of the ribbing is determined by the number of stitches, right from the start. This makes it relatively unlikely that the rest of your project is worked in the same direction as the ribbing.
We are going to look at three different ways to add ribbing to your projects.
Start with the ribbing
You start with the ribbing, and you continue your project by working the first row into the ribbing selvedge.
This is the technique I used in the Naadam fingerless mittens:
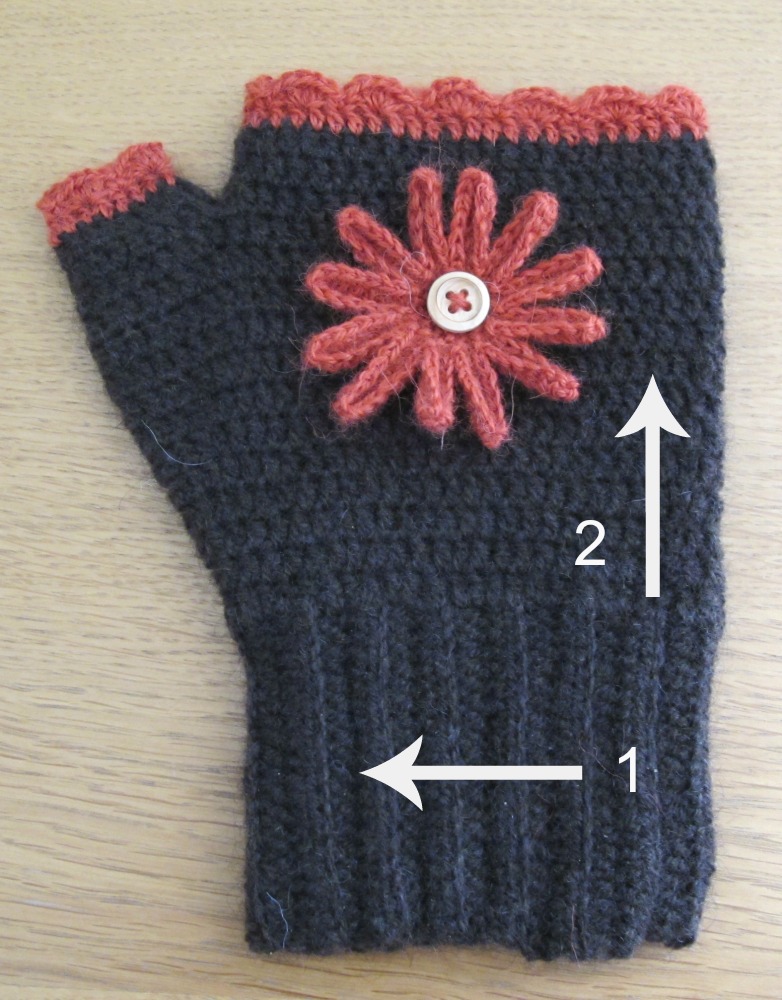
First of all (1) the ribbing is crocheted, closed to a ring to form the cuff and tilted sideways. After that (2) the rest of the fingerless mitten is worked, starting with a row in which the hook is inserted into the selvedge of the ribbing, and then continuing upwards.
To make the transition between the ribbing and the rest of the project both look good and work well, you will need to know how many stitches to work into each row of ribbing on the first row. If you are making a small project for yourself you can of course improvise and see what works best – it’s so easy to rip out crochet if your first try isn’t conclusive.
This was not enough for me when I needed to write a clear and precise pattern for the Naadam mittens in three sizes. I worked two swatches, one for the ribbing and one for the stitch pattern used in the rest of the mitten (solid dc). I decided how many rows of ribbing I needed for each size, and how many dc were needed to get the right hand circumference. Next step was to calculate how the dc’s in the first row of the mitten should be spread over the ribbing selvedge – and then I went on to test and adjust (because you can never get around that final step – crochet is never just about maths, even if it helps a lot!)
It’s up to you to decide whether you prefer improvisation or mathematics!
Make the ribbing separately and attach it to finish the piece
Generally speaking, I love the facility with which you can integrate ribbing, borders, collars and so on directly into a crocheted project, without making separate parts – I find this both efficient and elegant.
But sometimes it’s very, very useful to make your ribbing separately and attach it to your project after it’s done. This can be the case when working a hat from the top down – as in my beret Excentrique.
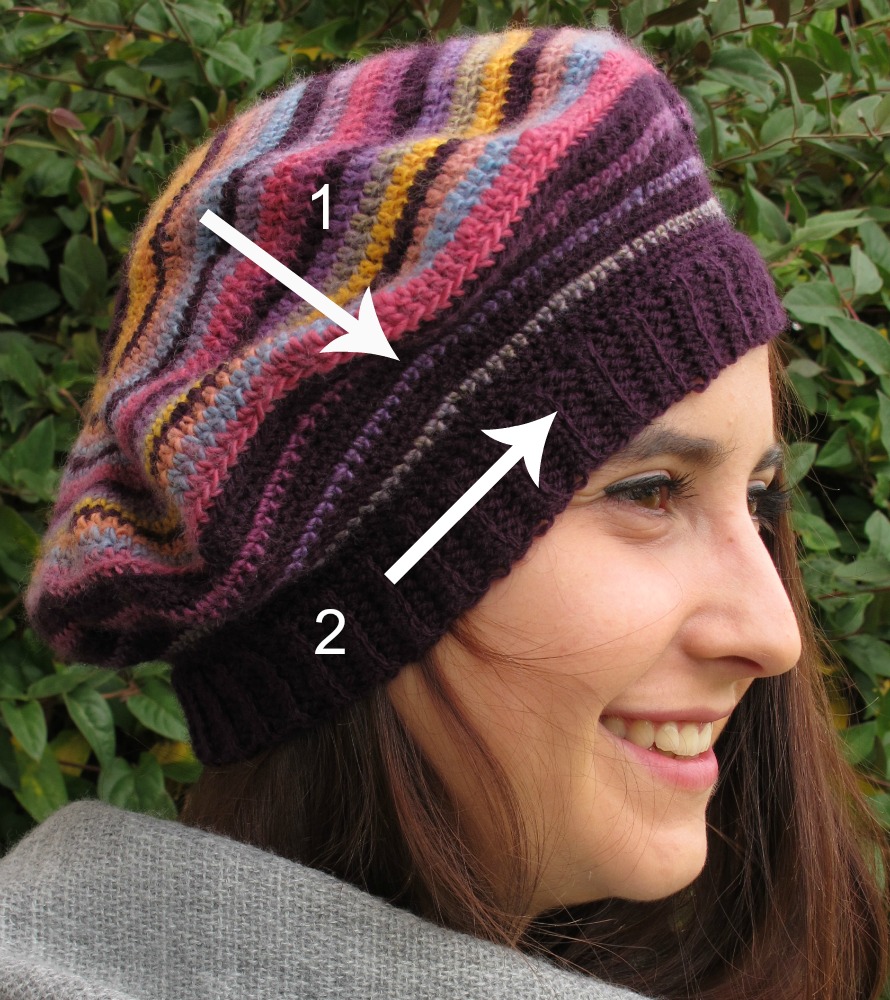
The hat itself is worked from the top down (1); the ribbing (2) is made separately and finally attached to the bottom of the hat.
When working Excentrique I pinned the ribbing to the bottom of the beret, right sides facing, and attached it with a simple round of sc.
This method has two major advantages:
- You can easily adjust the length of the ribbing to any head circumference, without needing to adapt the pattern in any other way.
- No maths! Stretch the ribbing slightly to make it fit to the bottom of the hat, pin and crochet the two parts together, no questions asked.
Attach the ribbing as you make it
This is the solution if you want to work your project top down but you don’t like to work the ribbing as a separate piece.
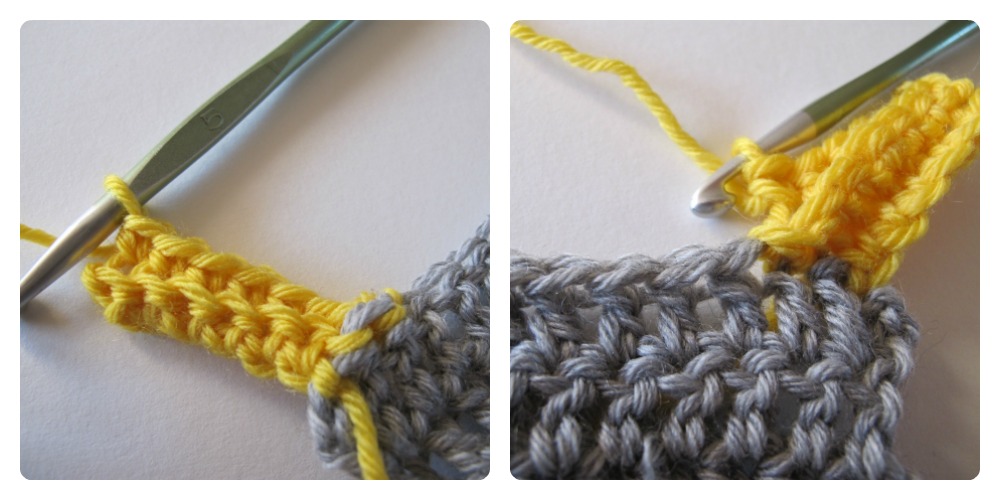
I haven’t worked a design this way (yet), but others have! Among the various methods I found when searching the Internet, this is the one I prefer. The type of ribbing used is single crochet in the back loop only.
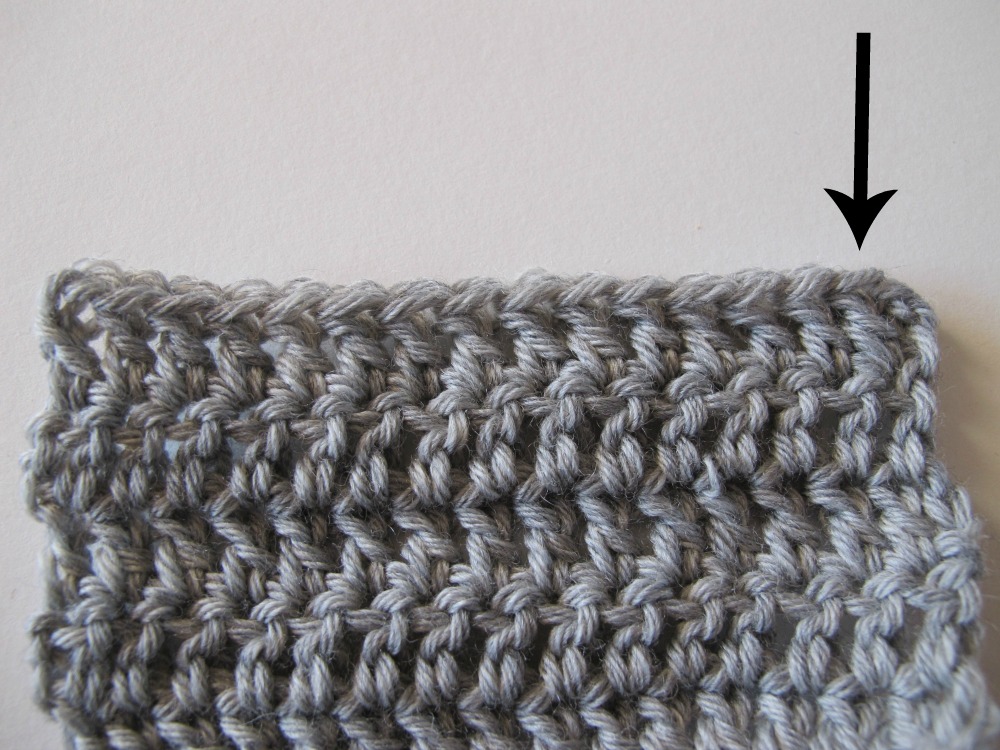
Let’s imagine that this swatch represents a project that we want to finish with ribbing. We attach the yarn in the first stitch, at the arrow.
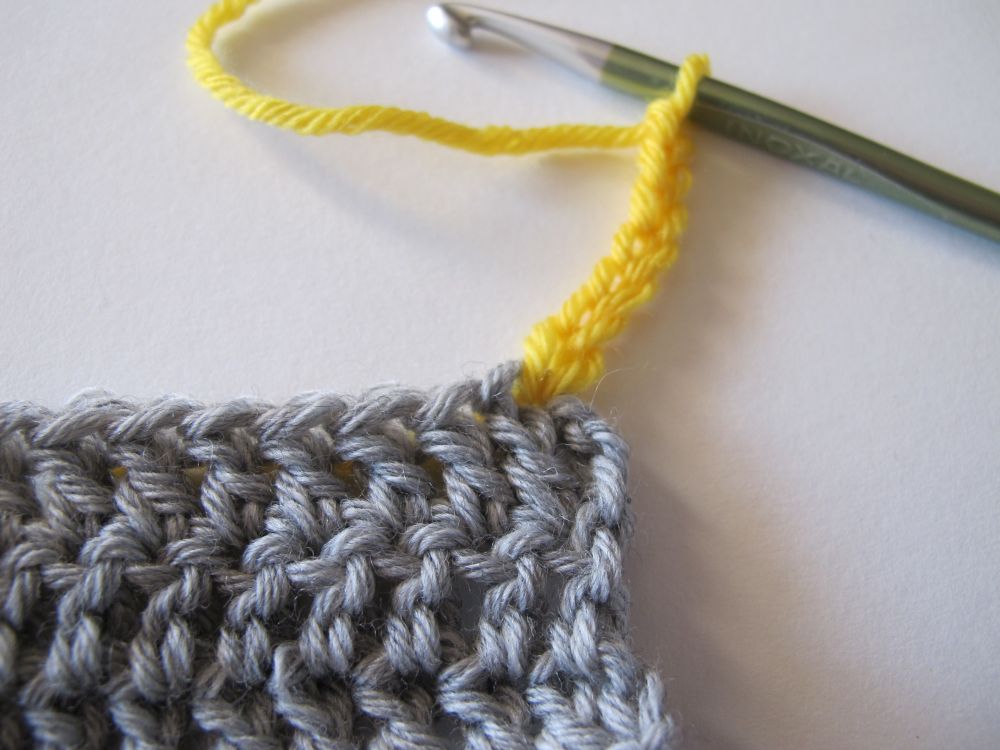
We want to make our ribbing 6 stitches high. Chain 6 + 1 = 7. 1 sc in the 2nd st from the hook, 1 sc in each of next 5 ch. There are 6 sc.
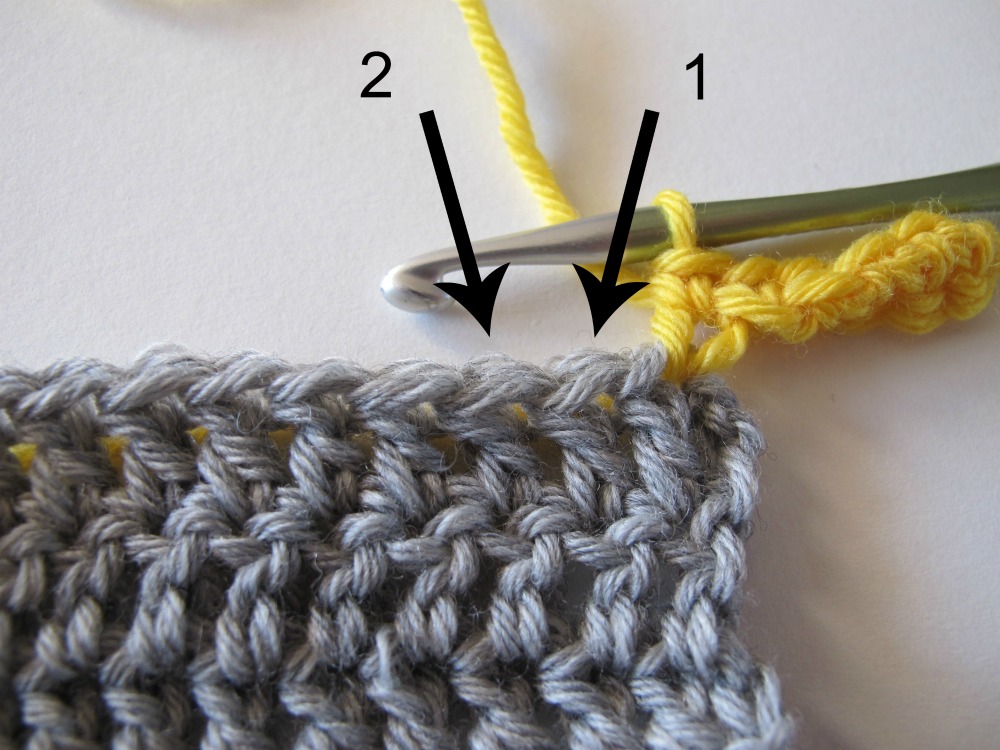
Now we’re going to make 1 sl st in each of the next 2 sts in the main piece. These 2 stitches are the ones designated by arrows 1 and 2 in the picture.
(You need to make 2 sl sts because you add 2 rows to the ribbing every time you work back and forth.)
Work the 2 sl sts and turn.
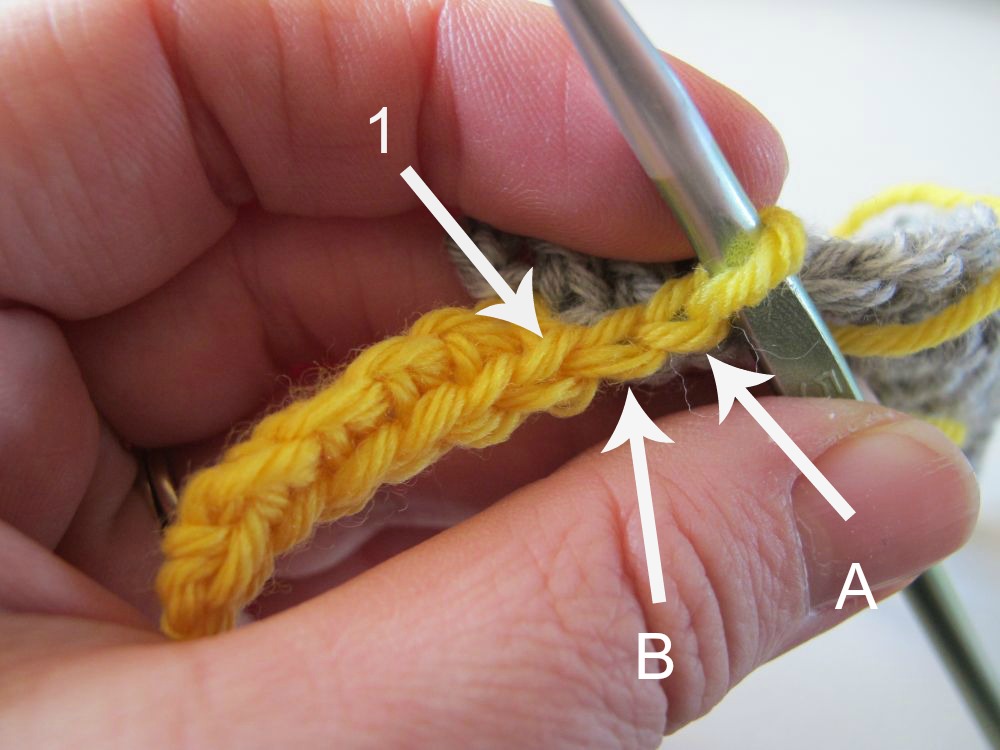
Flip the work towards you so you can see the tops of the stitches. This makes it much easier to distinguish the different stitches. The 2 sl sts just made are designated by arrows A and B. We are going to skip them and leave them alone. The next sc, which is the first stitch in the next row of the ribbing, will be worked into the back loop of the stitch shown by arrow 1. (Do not chain before this sc).
Continue working in sc blo to the end of the row. There are 6 sts. Turn, ch 1 and work back in sc blo.
Repeat by working 1 sl st in each of the next 2 sts in the main piece, and repeat the steps above until you have finished your ribbing.
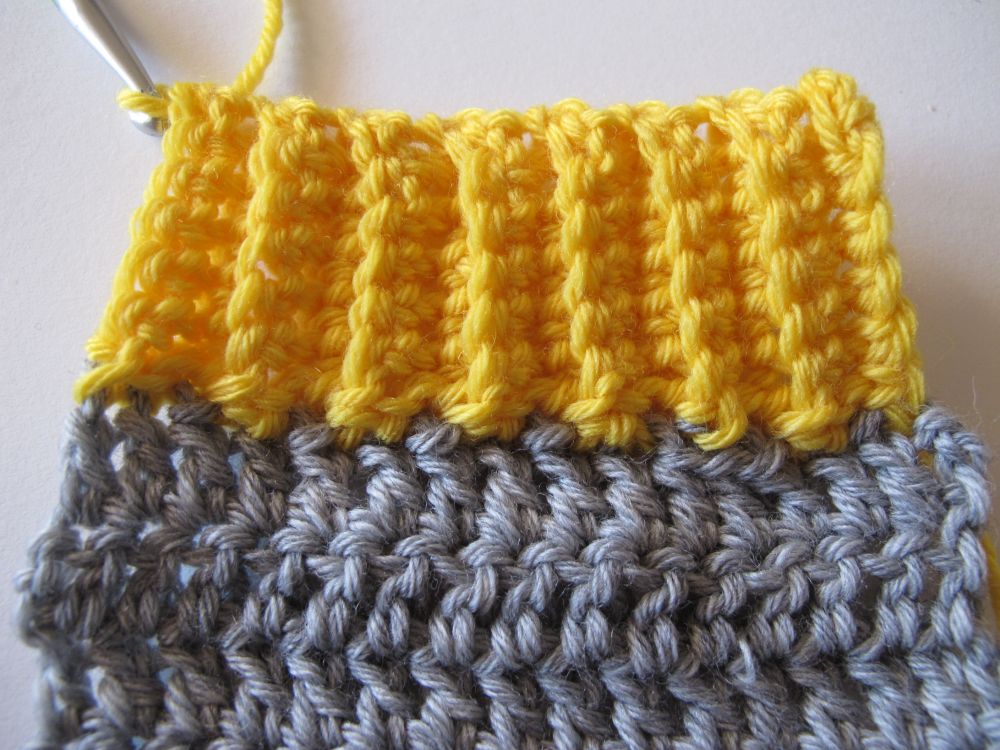
Here’s my sc blo ribbing, attached as I went!
This type of ribbing can pull in the main piece. If you want it to pull in less, or if you want to use another type of ribbing (such as hdc blo), you will need to experiment with the number of sl sts made to attach the ribbing. Play around and see how it goes!
Please don’t hesitate to share opinions, questions or your personal tips and tricks in the comments below!
The last newsletter of 2016 will be out at the very end of December. Until then, I wish you a wonderful festive season.
See you soon!
